Queueing apps before connecting a server
When a project at app.odac.run does not have a server attached yet, its Canvas opens in queue mode. You can add and arrange apps on the grid ahead of time, remove any you no longer need, and then connect a new or existing server to deploy them automatically.
Add apps to the queue
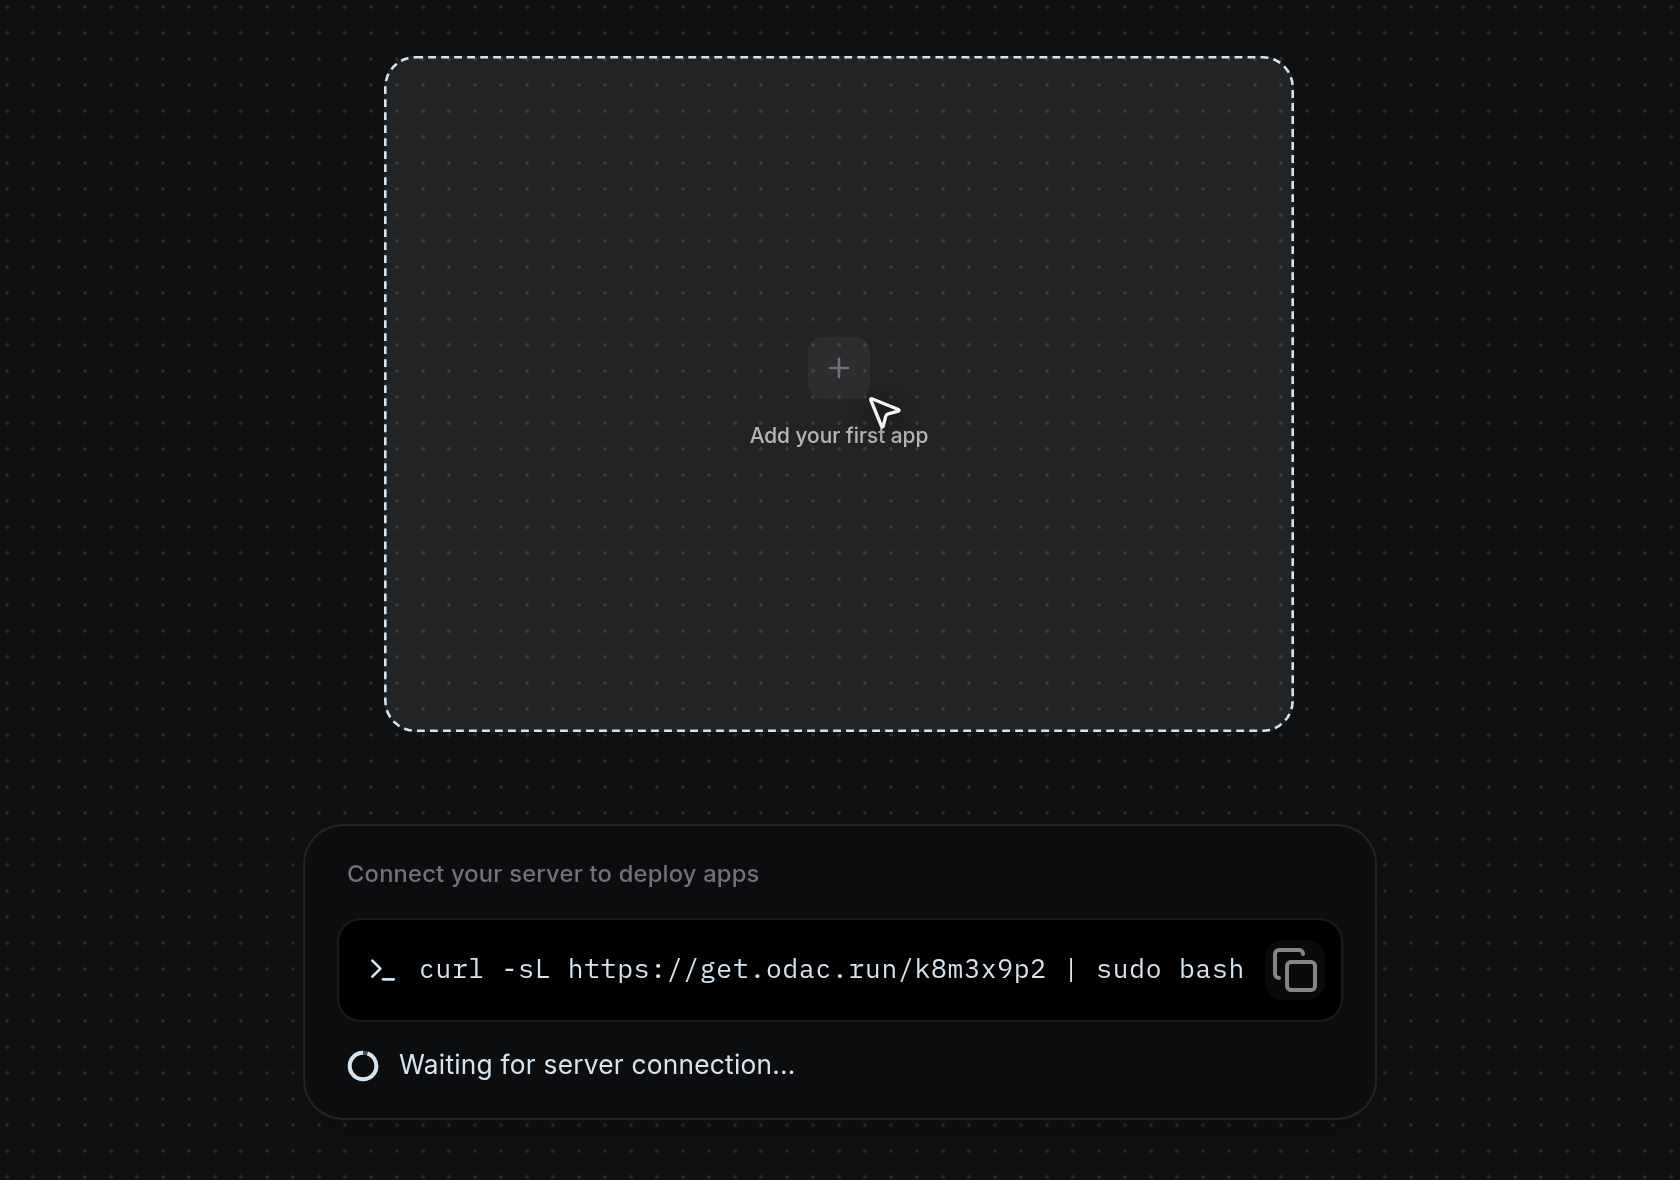
- Open a project that has no server attached. On an empty board, click the dashed Add your first app card in the center, click Add App at the top of the left sidebar, or double-click any empty spot on the dotted grid to open the app launcher.
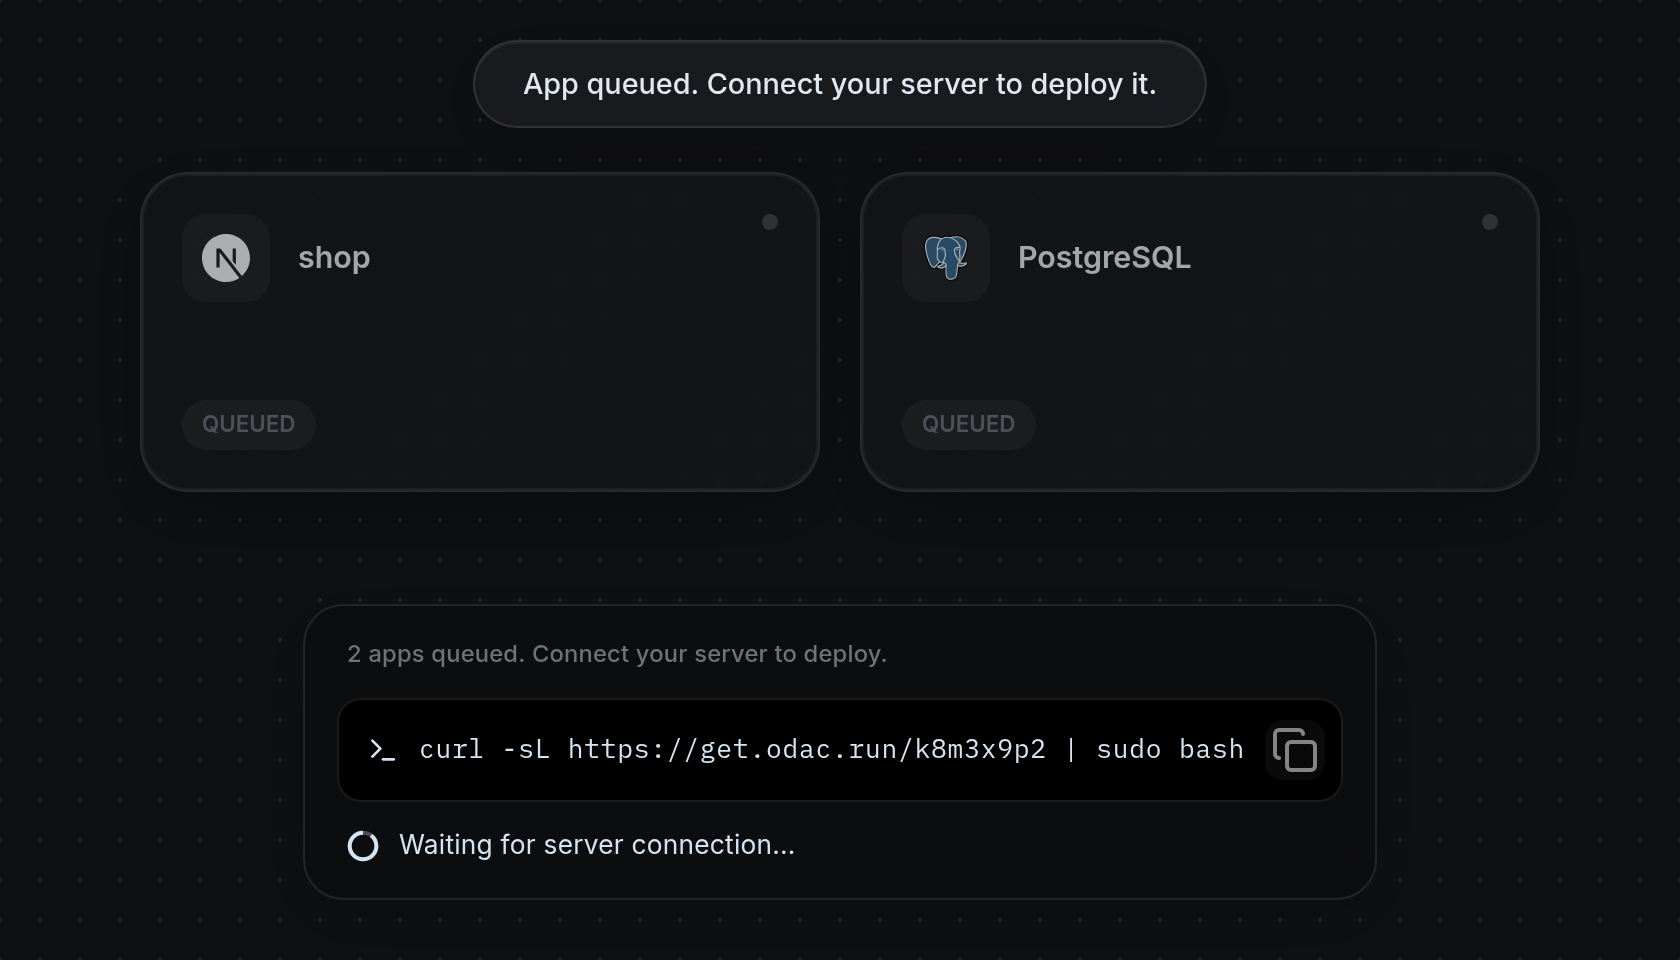
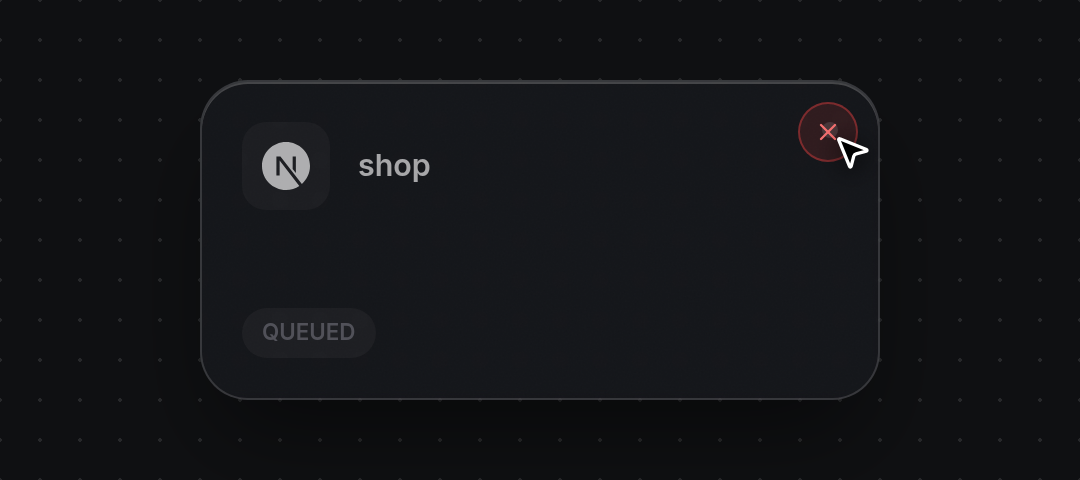
- Click or drag apps from the launcher onto the grid (see Browse and deploy from the launcher and Connect and deploy from GitHub). Each queued card appears dimmed with a gray status dot and a
QUEUEDbadge, while a top notification readsApp queued. Connect your server to deploy it.(or notes the required GPU if the app needs one). The bottom panel updates its heading with the total count, such as 2 apps queued. Connect your server to deploy.
Arrange, check, or cancel queued apps
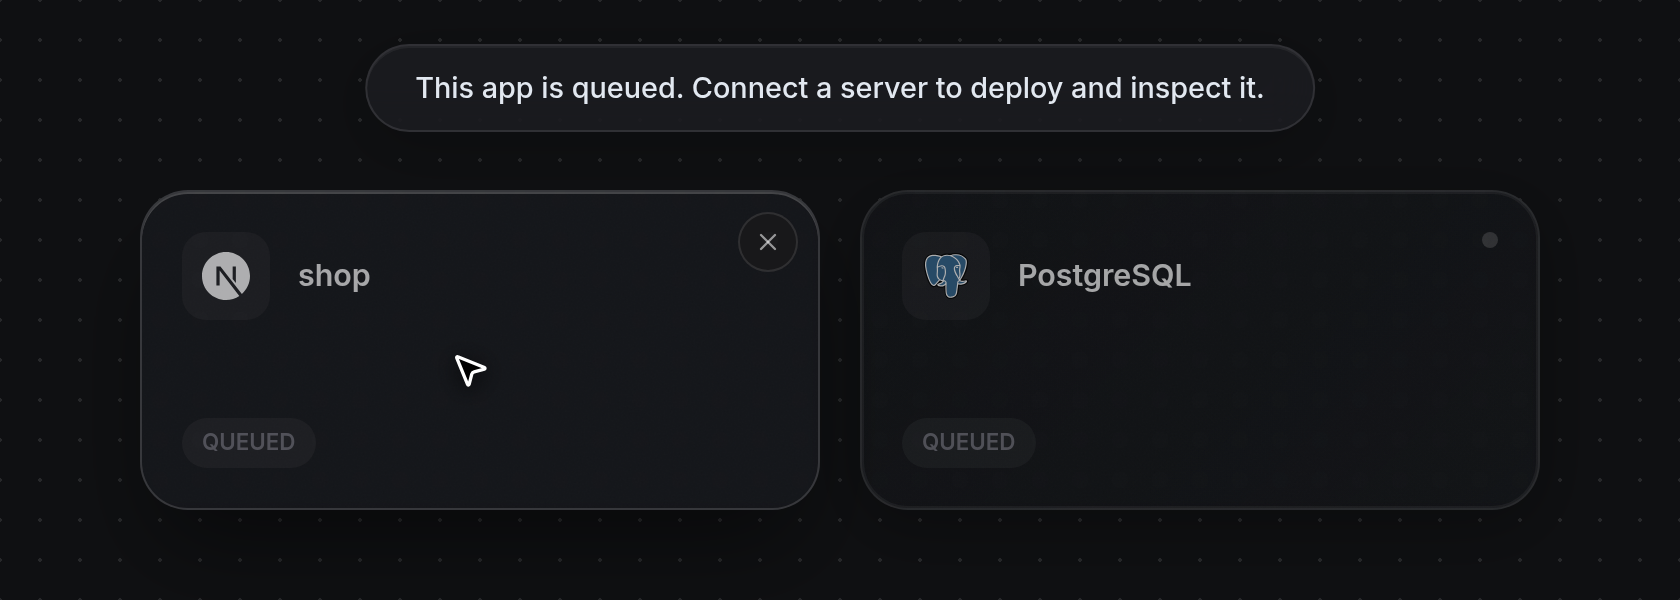
- Drag any queued card to a new cell on the grid to set your layout before deploying. Click a queued card without dragging to confirm its state: ODAC displays
This app is queued. Connect a server to deploy and inspect it.at the top of the screen, because the app inspector only opens once a server is attached.
- Hover over a queued card to reveal the Remove from queue
×button in its top-right corner, then click it once to cancel the app immediately. ODAC showsApp removed, lowers the queued count in the bottom panel, and brings back Add your first app if you remove the last queued card.
Connect a new server from the board
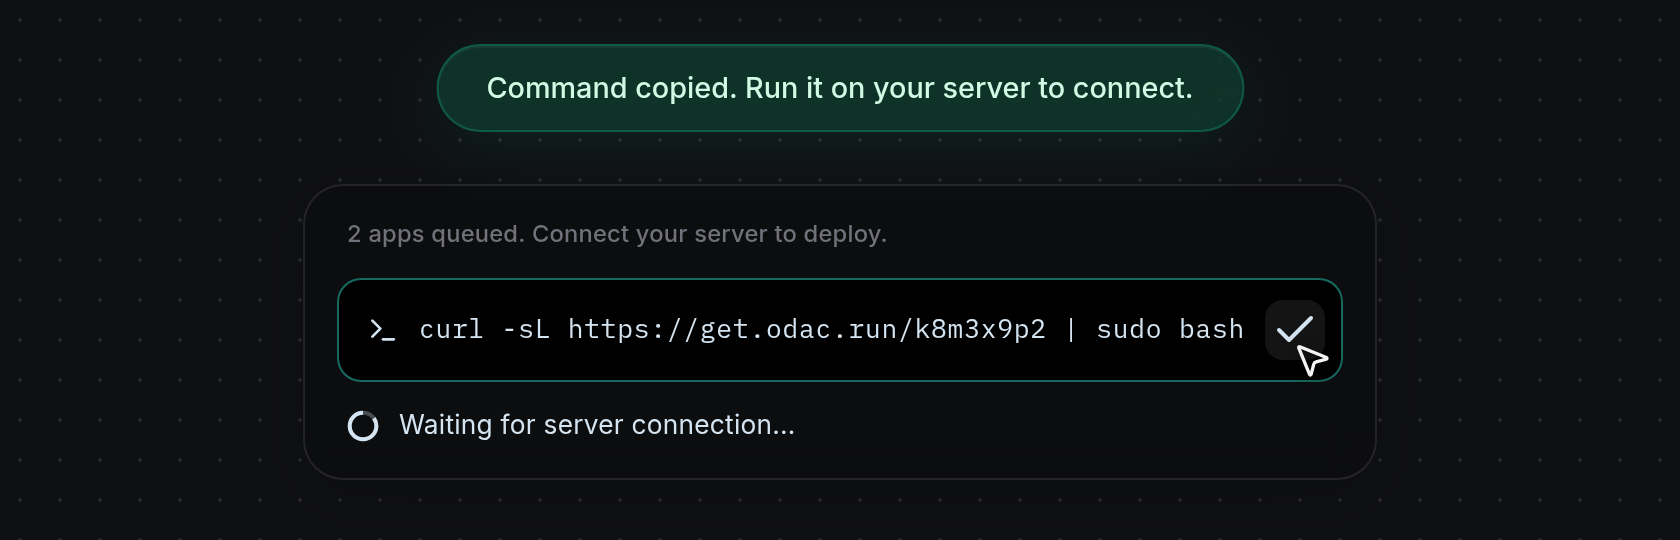
- Click the
curlcommand box in the bottom connect panel to copy the install command to your clipboard. The copy icon turns into a checkmark and ODAC showsCommand copied. Run it on your server to connect.
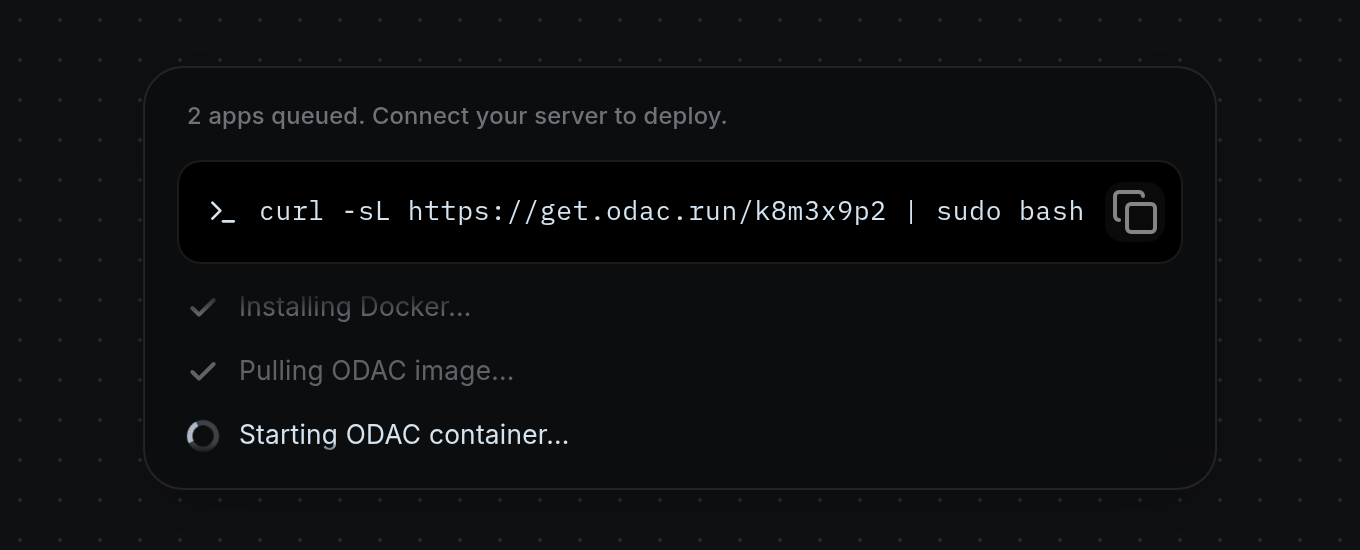
- Run the copied command in your server's terminal and watch the live connection feed below the command box. As setup runs, each step (such as
Detecting operating system...,Installing Docker...,Pulling ODAC image..., andStarting ODAC container...) animates with a spinner and checks off as it completes. Once the server connects, the feed readsConnected! Deploying your apps..., showsServer connected!, and refreshes the Canvas so your queued apps start building and deploying in place. For full server setup details, see Connect a server.
Attach an existing server instead
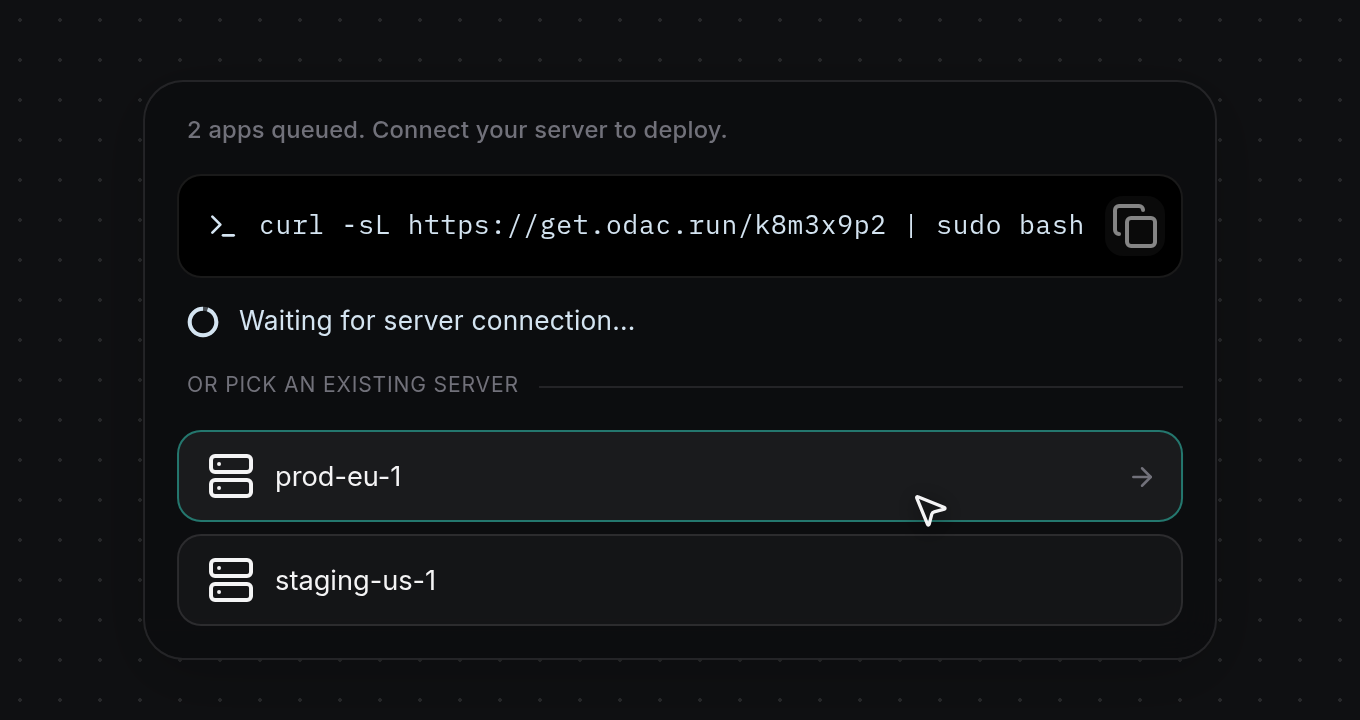
- If you already have servers on your account, they appear below the OR PICK AN EXISTING SERVER divider in the bottom connect panel. When your plan has reached its server limit, the install command is hidden and the panel reads
Server limit reached. Pick an existing server to deploy.(or the queued count followed byPick a server to deploy.) above your server list. Click any server button, such as prod-eu-1, to attach it to the project; ODAC showsServer attached. Deploying your apps...and refreshes the Canvas to start deploying all queued apps.