Issue and install a client certificate
Create a client certificate for a custom domain at app.odac.run, choose which hosts it unlocks and how long it stays valid, download the certificate file, and install it on macOS, iPhone and iPad, Windows, Android, or Firefox.
Open the certificate dialog
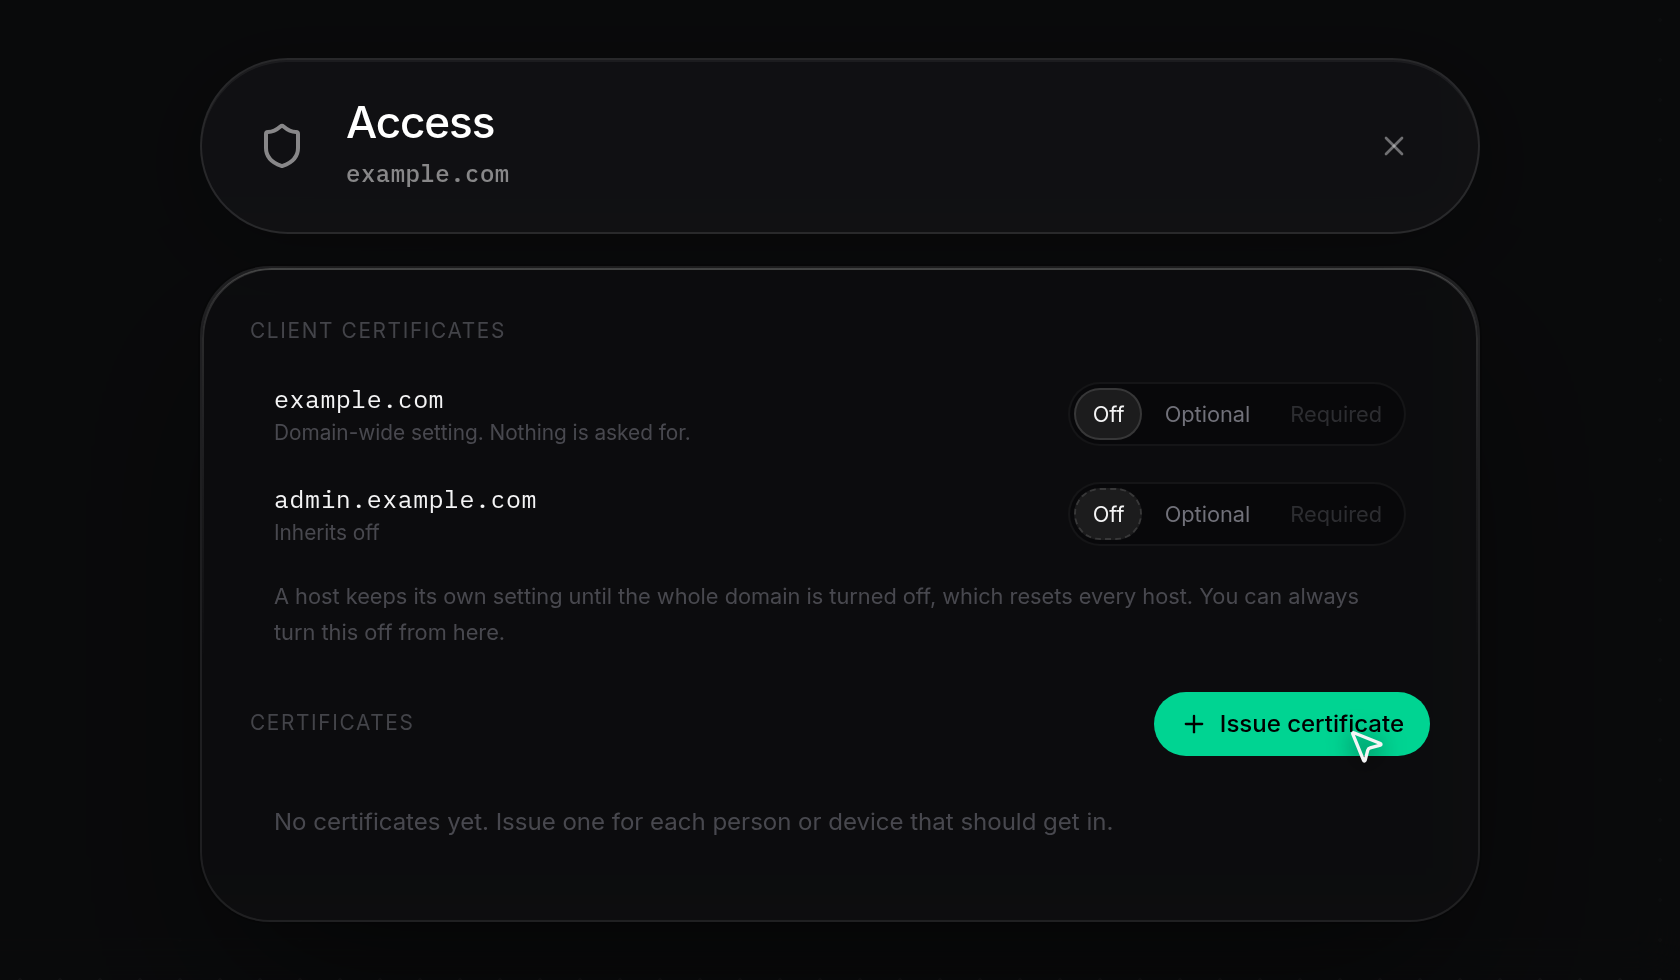
- Open a custom domain's Access sheet from Domains (see Protect a domain with client certificates). In the Certificates section, click Issue certificate.
If the domain is an ODAC infrastructure domain, belongs to a different server than the project's default, its server is offline, or your account lacks permission, Issue certificate appears disabled. For.odac.cctunnel certificates, see Tunnel sign-in and device certificates.
Set the name, hosts, validity, and file password
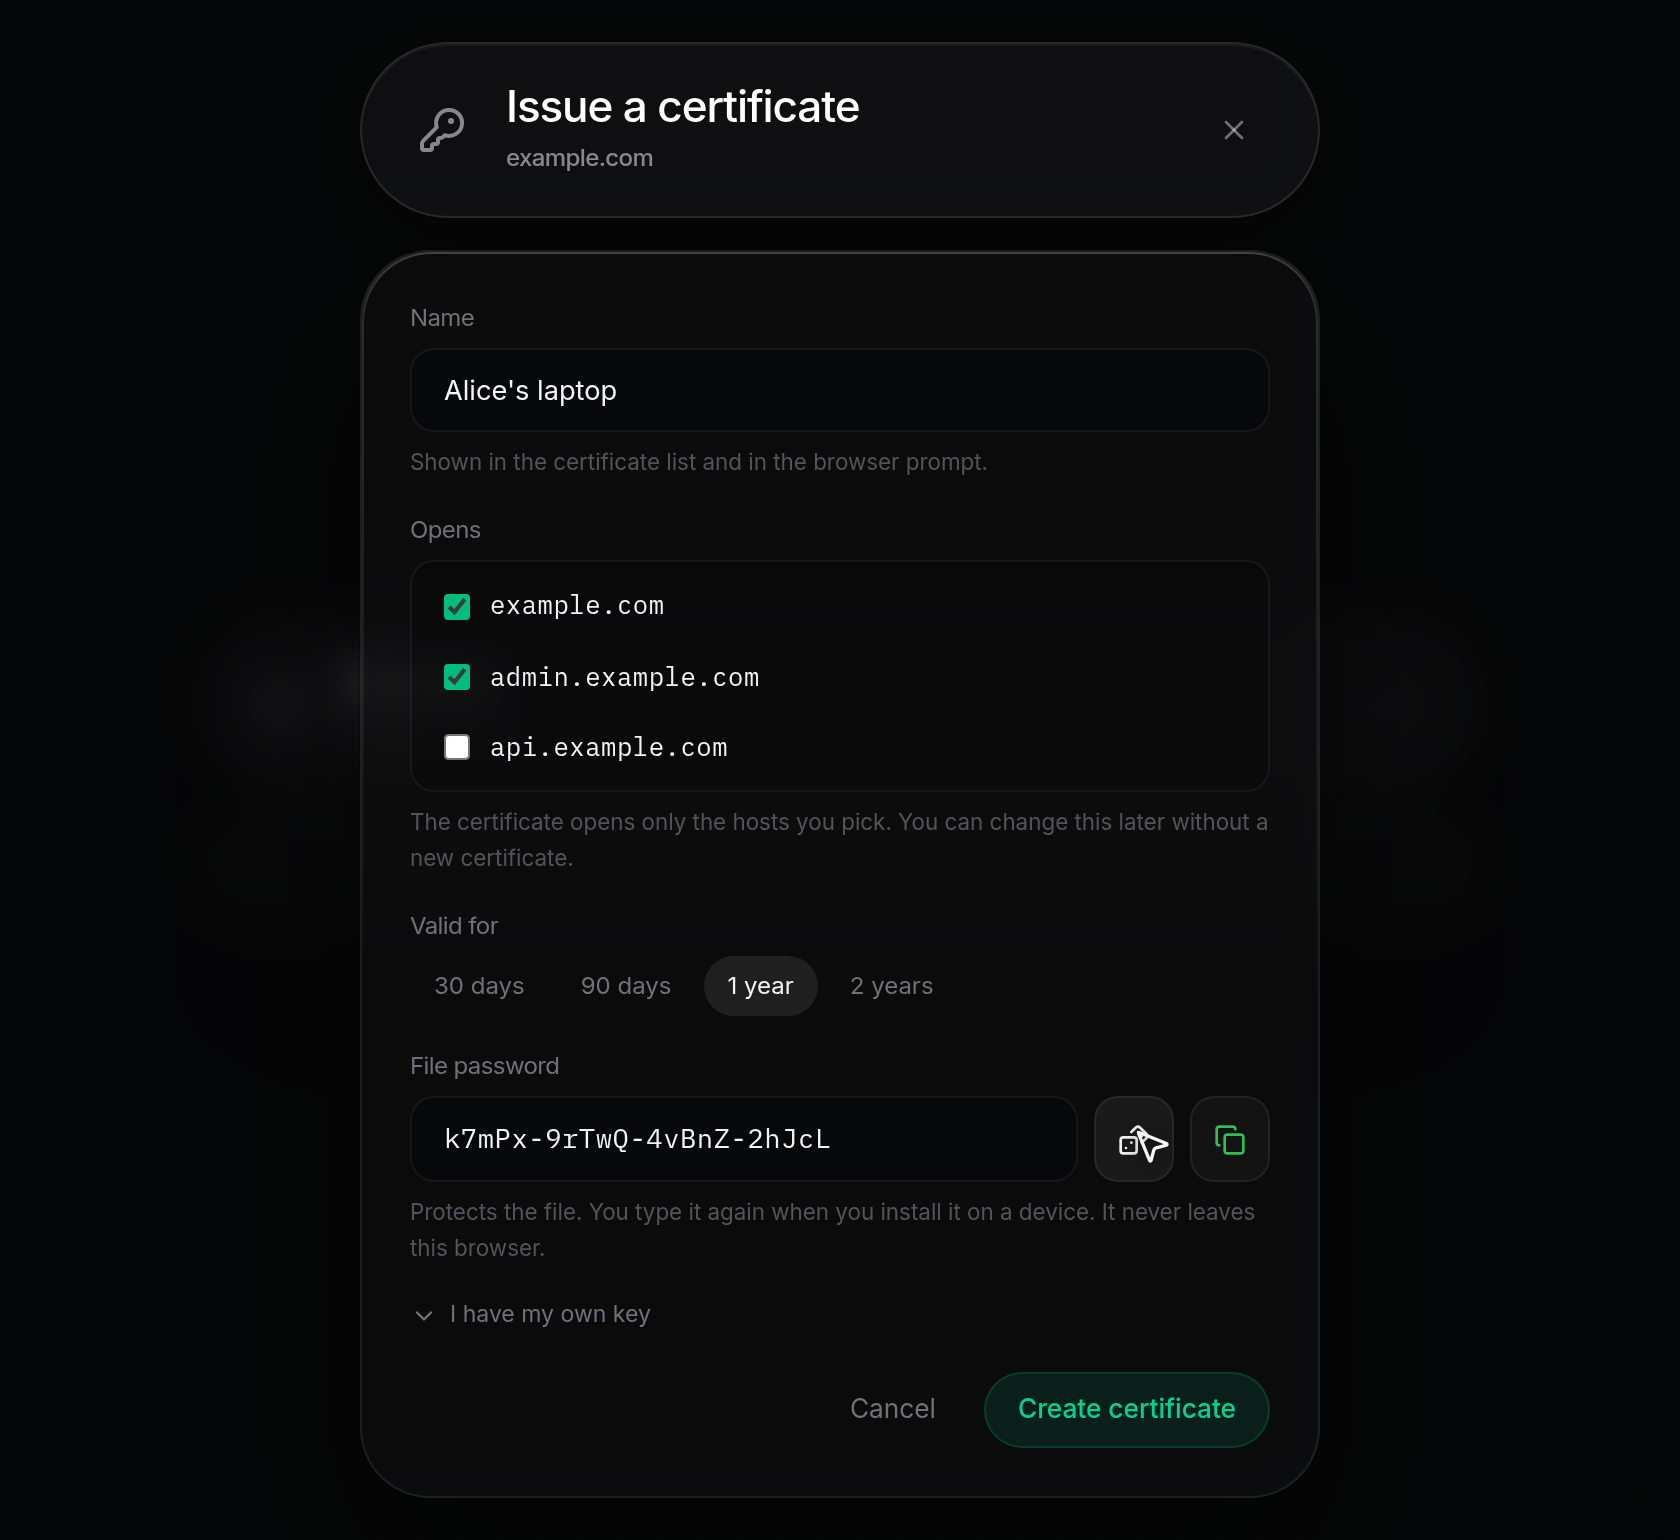
- In the Issue a certificate dialog, enter a Name (such as
Alice's laptop). This name appears in the Certificates list and in the browser's certificate prompt. - Under Opens, select each host the certificate should unlock. The root domain starts checked, and any subdomains on the domain appear below it. You can update which hosts a certificate opens later without issuing a new file (see Edit scope, renew, and revoke certificates).
- Under Valid for, select a validity period: 30 days, 90 days, 1 year (selected by default), or 2 years.
- Under File password, type a password or click Generate a password (the dice icon) to create a 20-character password and copy it to your clipboard. You can also click Copy password next to it at any time. Save this password until you install the certificate, because it protects the downloaded file and is required when adding the certificate to a device.
Or paste your own certificate request
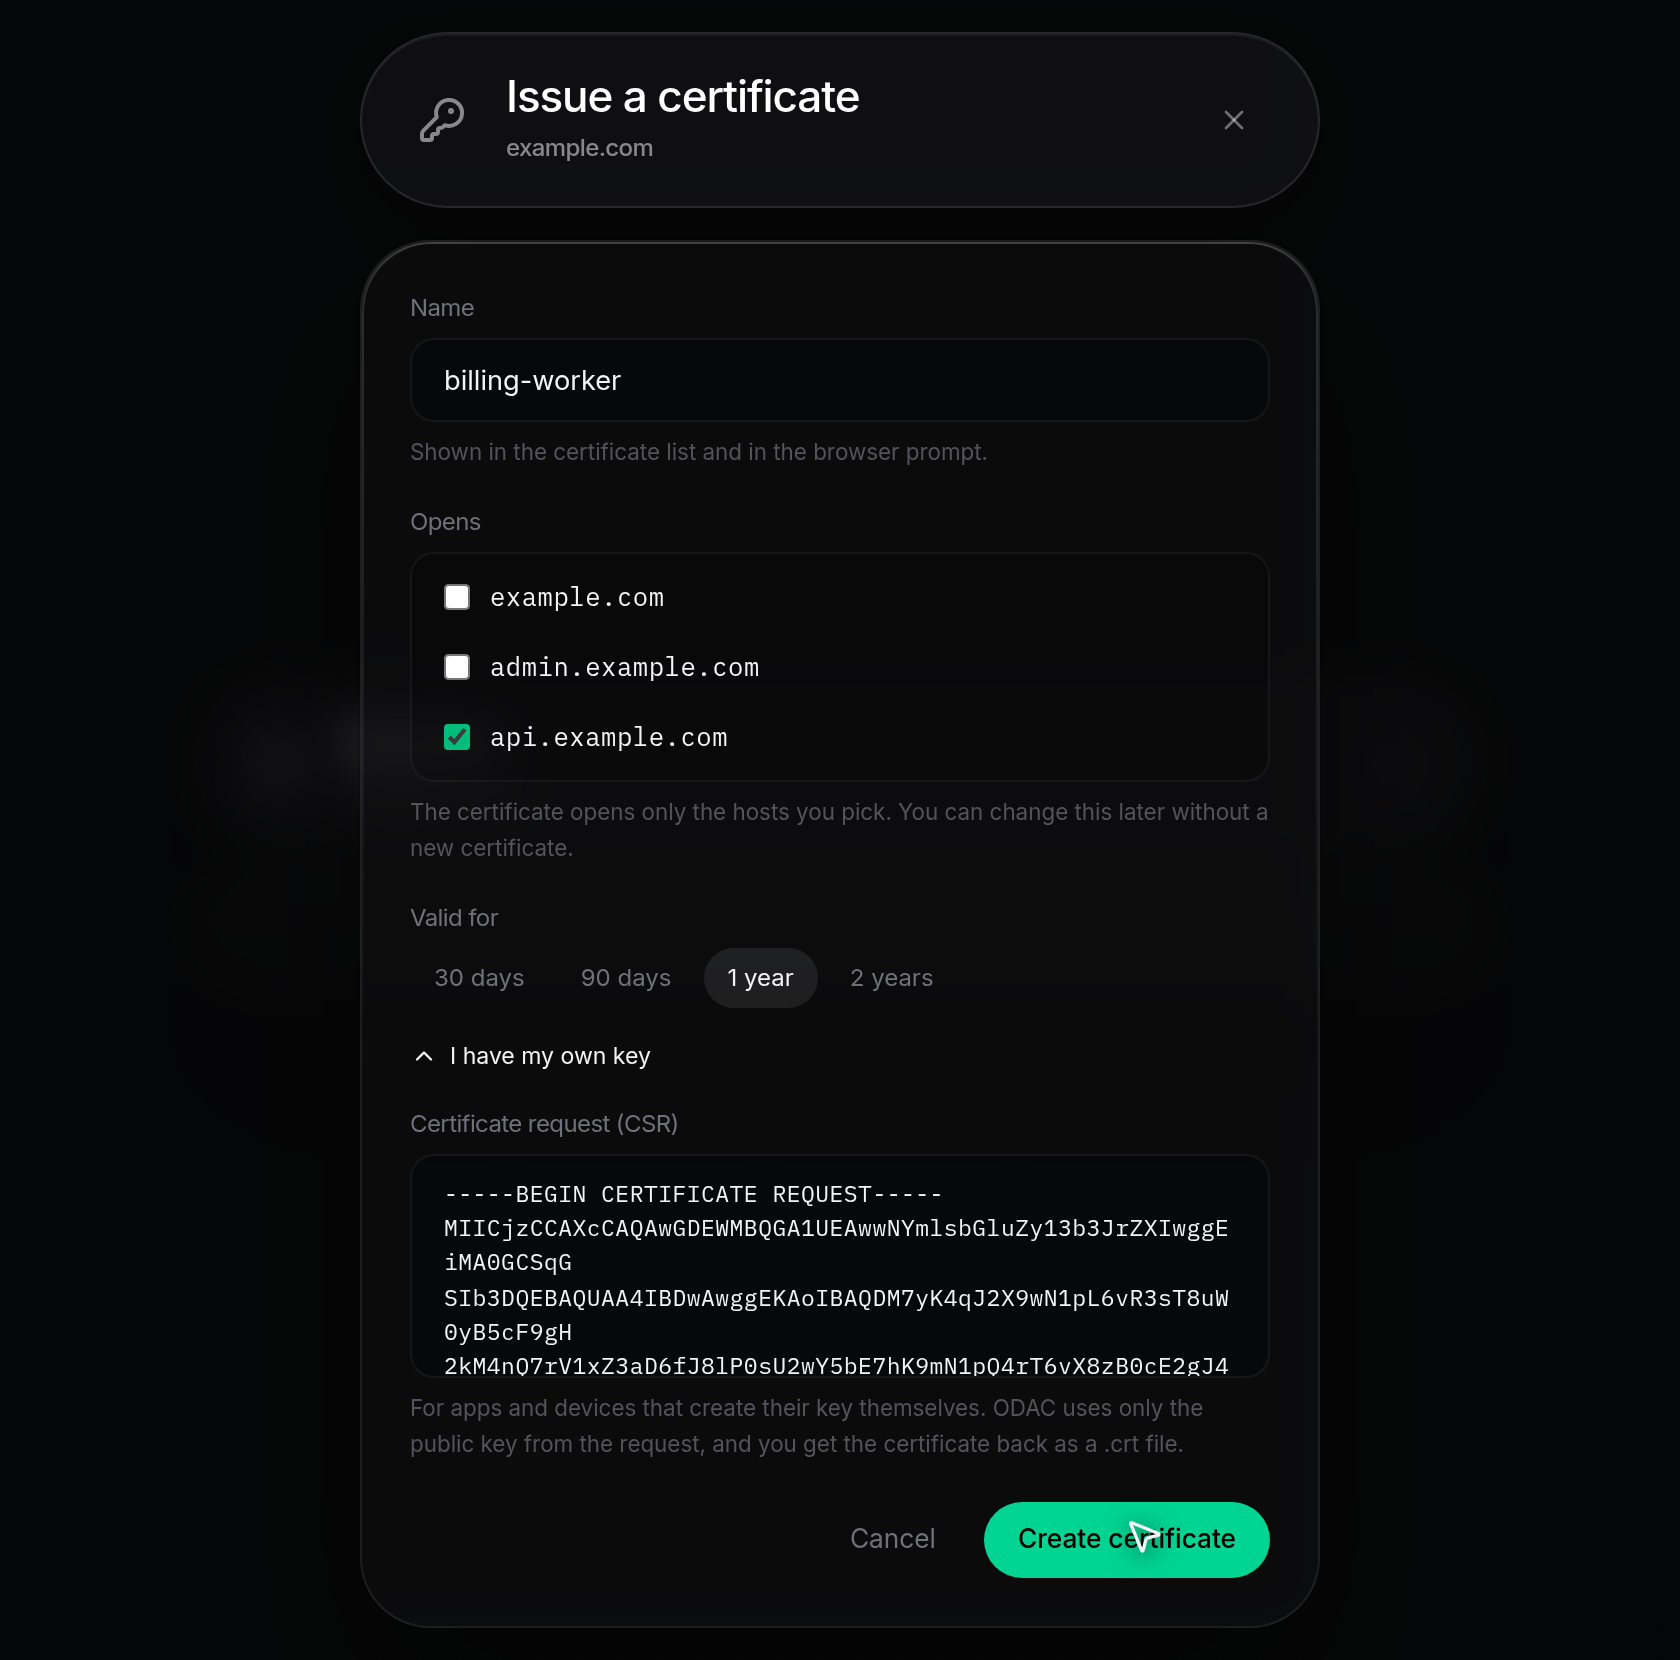
- If an app or device generated its own private key, click I have my own key instead of setting a File password. The password field collapses and Certificate request (CSR) opens.
- Paste the PEM certificate request starting with
-----BEGIN CERTIFICATE REQUEST-----and ending with-----END CERTIFICATE REQUEST-----, then click Create certificate. Never paste a private key into this field; ODAC accepts only the certificate request and returns a.crtfile.
Create and download the certificate
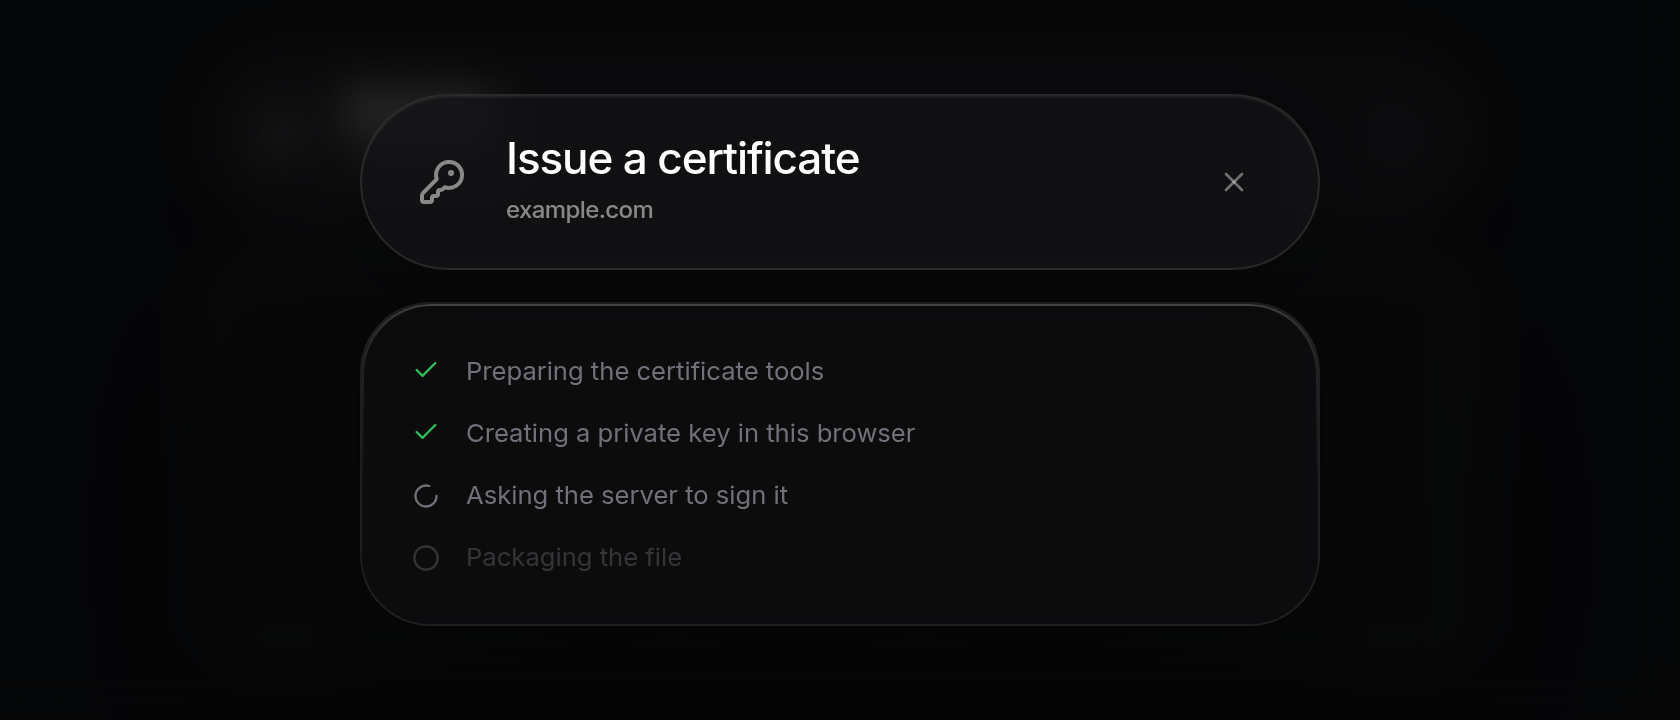
- Click Create certificate. The dialog switches to a progress list showing each step:
Preparing the certificate tools,Creating a private key in this browser,Asking the server to sign it, andPackaging the file(when using I have my own key, onlyAsking the server to sign itruns). If a temporary error interrupts signing, click Try again to retry or Back to return to the form.
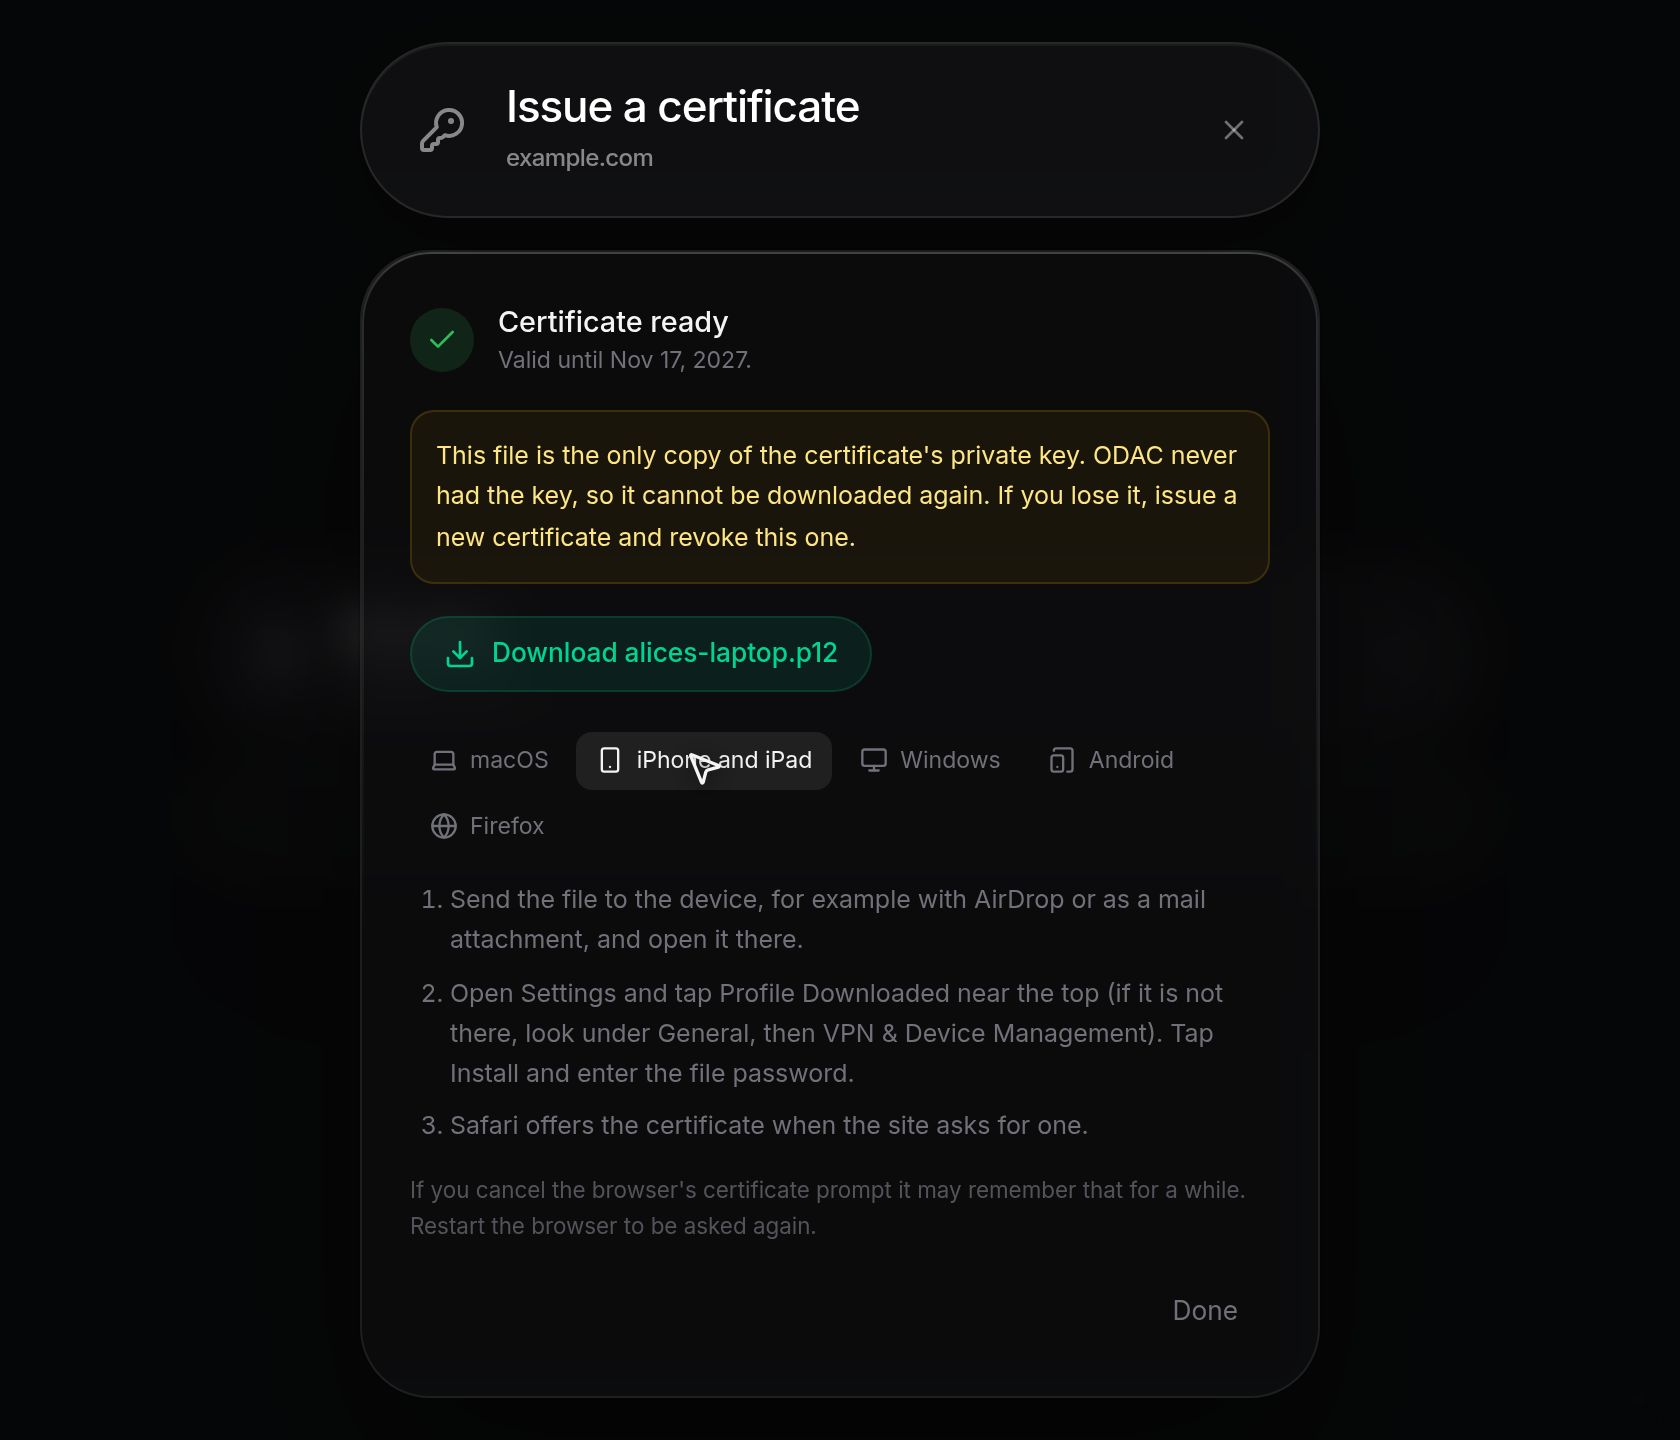
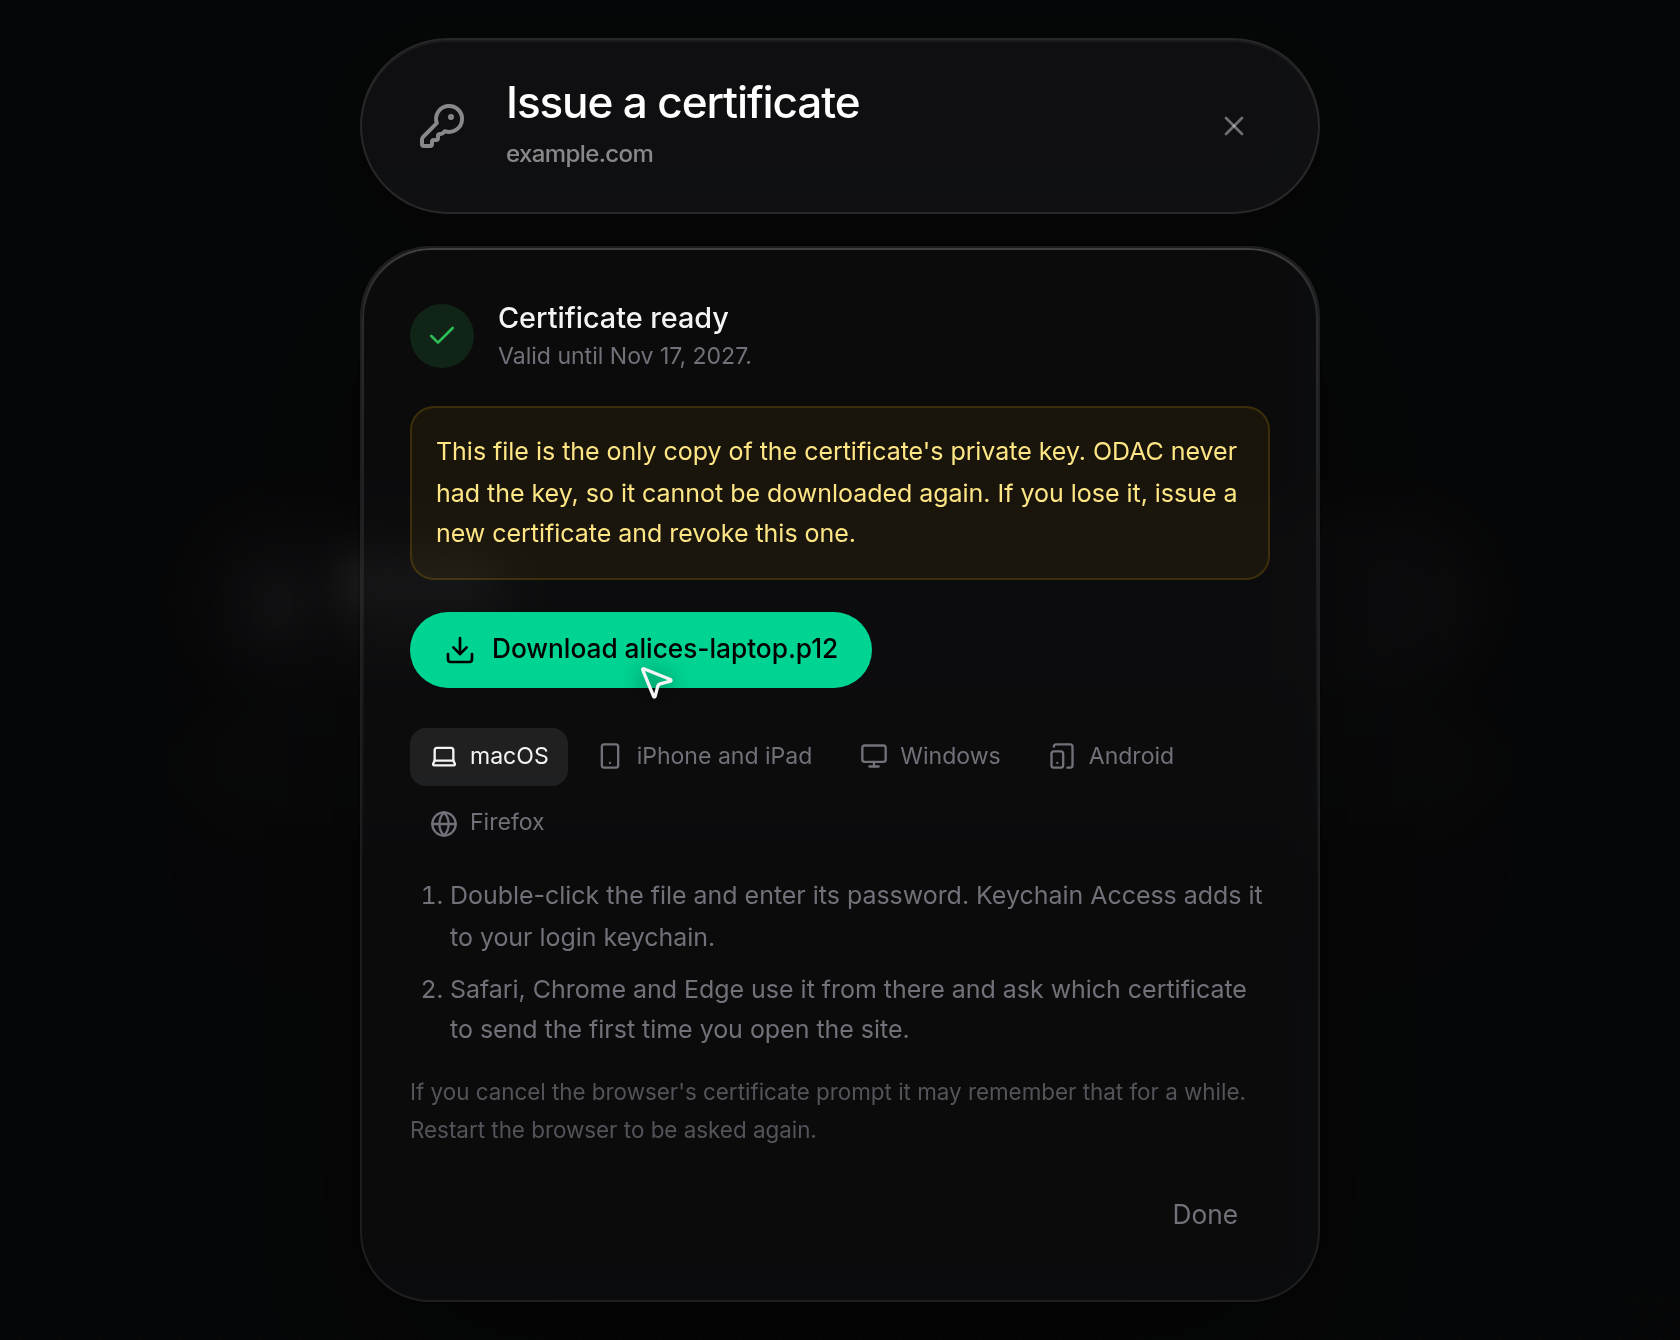
- When Certificate ready appears with the expiration date (
Valid until ...), click Download on the.p12file button (for example, Download alices-laptop.p12). Keep the downloaded file safe: as the notice explains, it is the only copy of the certificate's private key and cannot be downloaded again once you close the dialog.
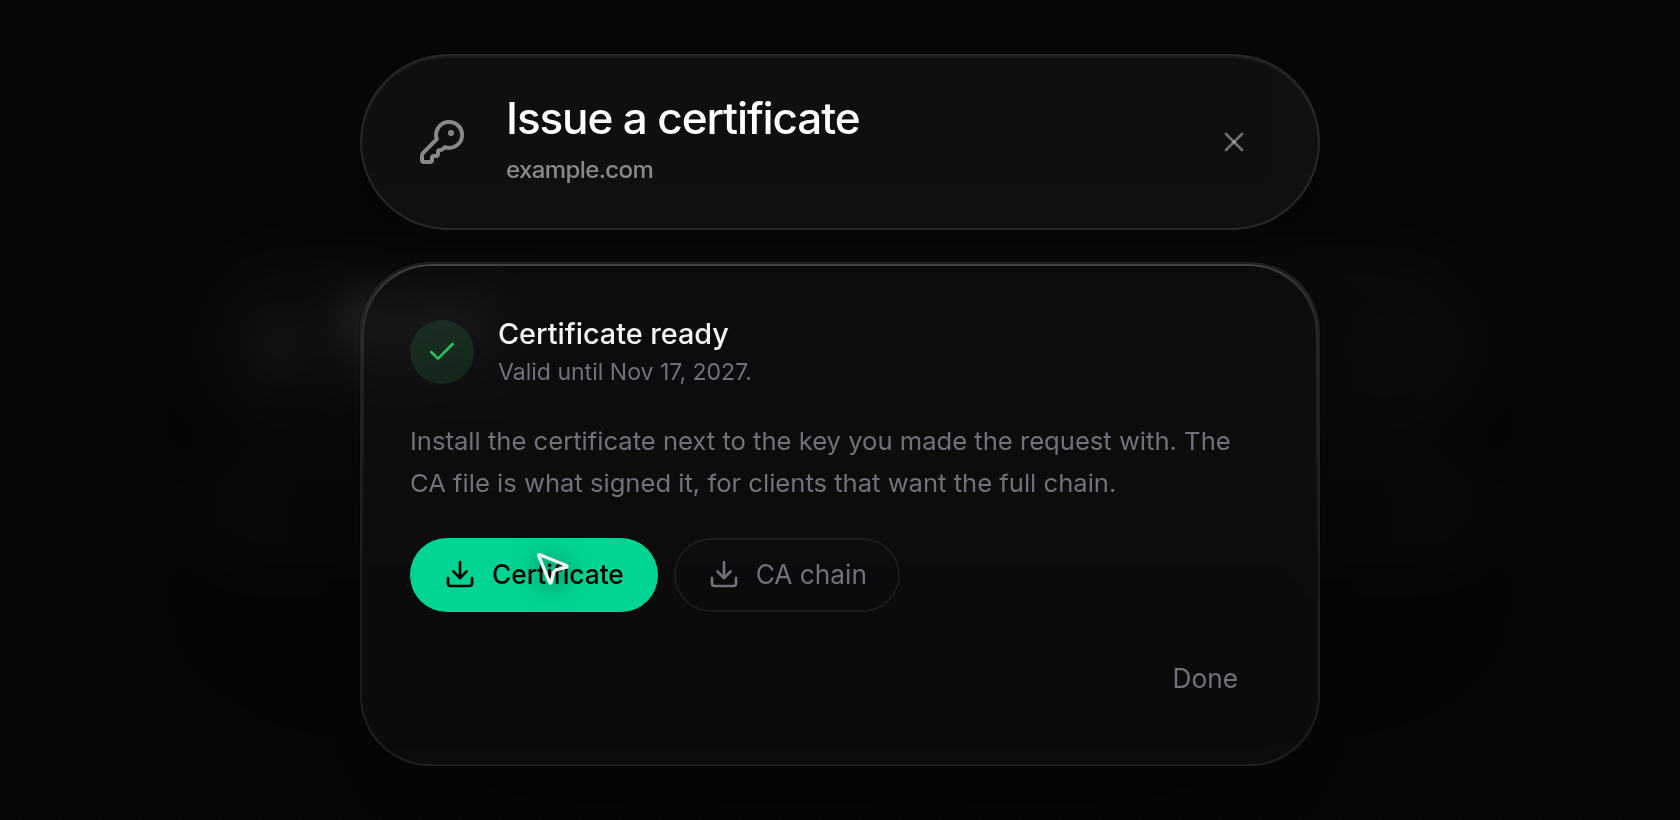
- If you used I have my own key, click Certificate to download the
.crtfile and CA chain to download the signing CA chain (-ca.crt), then click Done. Place the downloaded certificate alongside the private key you created on your app or device.
Install the certificate on a device
- Before clicking Done on the Certificate ready screen, select the tab matching the device or browser where you are installing the
.p12file, and enter the File password when prompted:- macOS: Double-click the
.p12file and enter its password so Keychain Access adds it to your login keychain. Safari, Chrome, and Edge read it from there and ask which certificate to send the first time you open the site. - iPhone and iPad: Send the
.p12file to the device (for example with AirDrop or as a mail attachment) and open it there. Open Settings, tap Profile Downloaded near the top (or open General, then VPN & Device Management), tap Install, and enter the file password. Safari offers the certificate when the site asks for one. - Windows: Double-click the
.p12file to open the Certificate Import Wizard, choose Current User, enter the file password, and keep the option to place the certificate automatically. Chrome and Edge read it from there and ask which certificate to send. - Android: Open Settings, search for
certificate, open the install option (Install a certificate or Install from device storage), and choose VPN and app user certificate. Pick the.p12file and enter its password. Chrome asks which certificate to use when the site requests one. - Firefox: Open Firefox Settings, then Privacy & Security, then View Certificates. On the Your Certificates tab, choose Import, pick the
.p12file, and enter its password.
- macOS: Double-click the
- Once installed, click Done to close the dialog. If you dismiss or cancel a browser's certificate prompt, the browser may remember that choice for a while; restart the browser to be asked again.