Configure ports, networks, and volumes
Manage network modes, custom networks, outbound internet access, port mappings, and persistent volumes for any app from the Settings panel in its right-hand inspector drawer at app.odac.run.
Open the Settings panel
- Open the app's inspector drawer from the Canvas (see Inspect, rename, restart, and delete an app) and click Settings (the gear icon) in the inspector header.
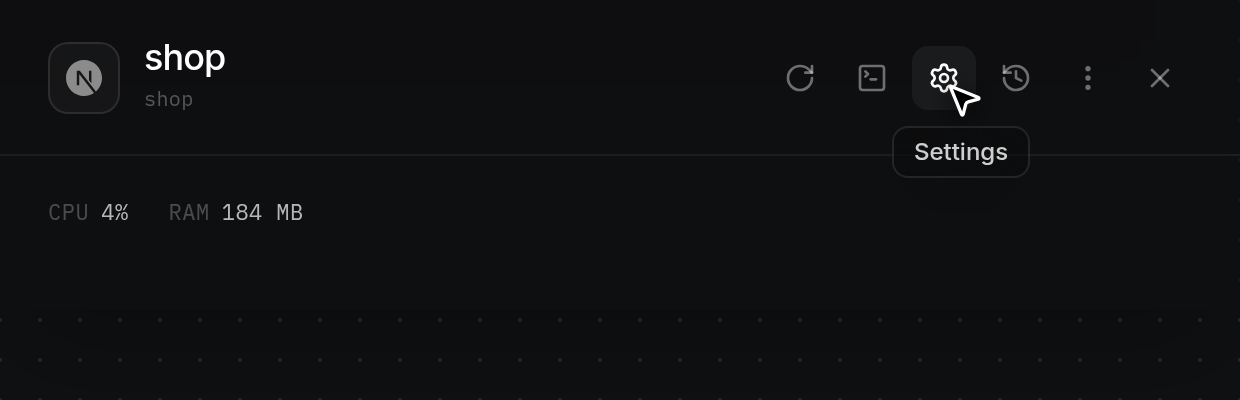
- The inspector drawer widens, collapses the overview sections, reveals the Back (
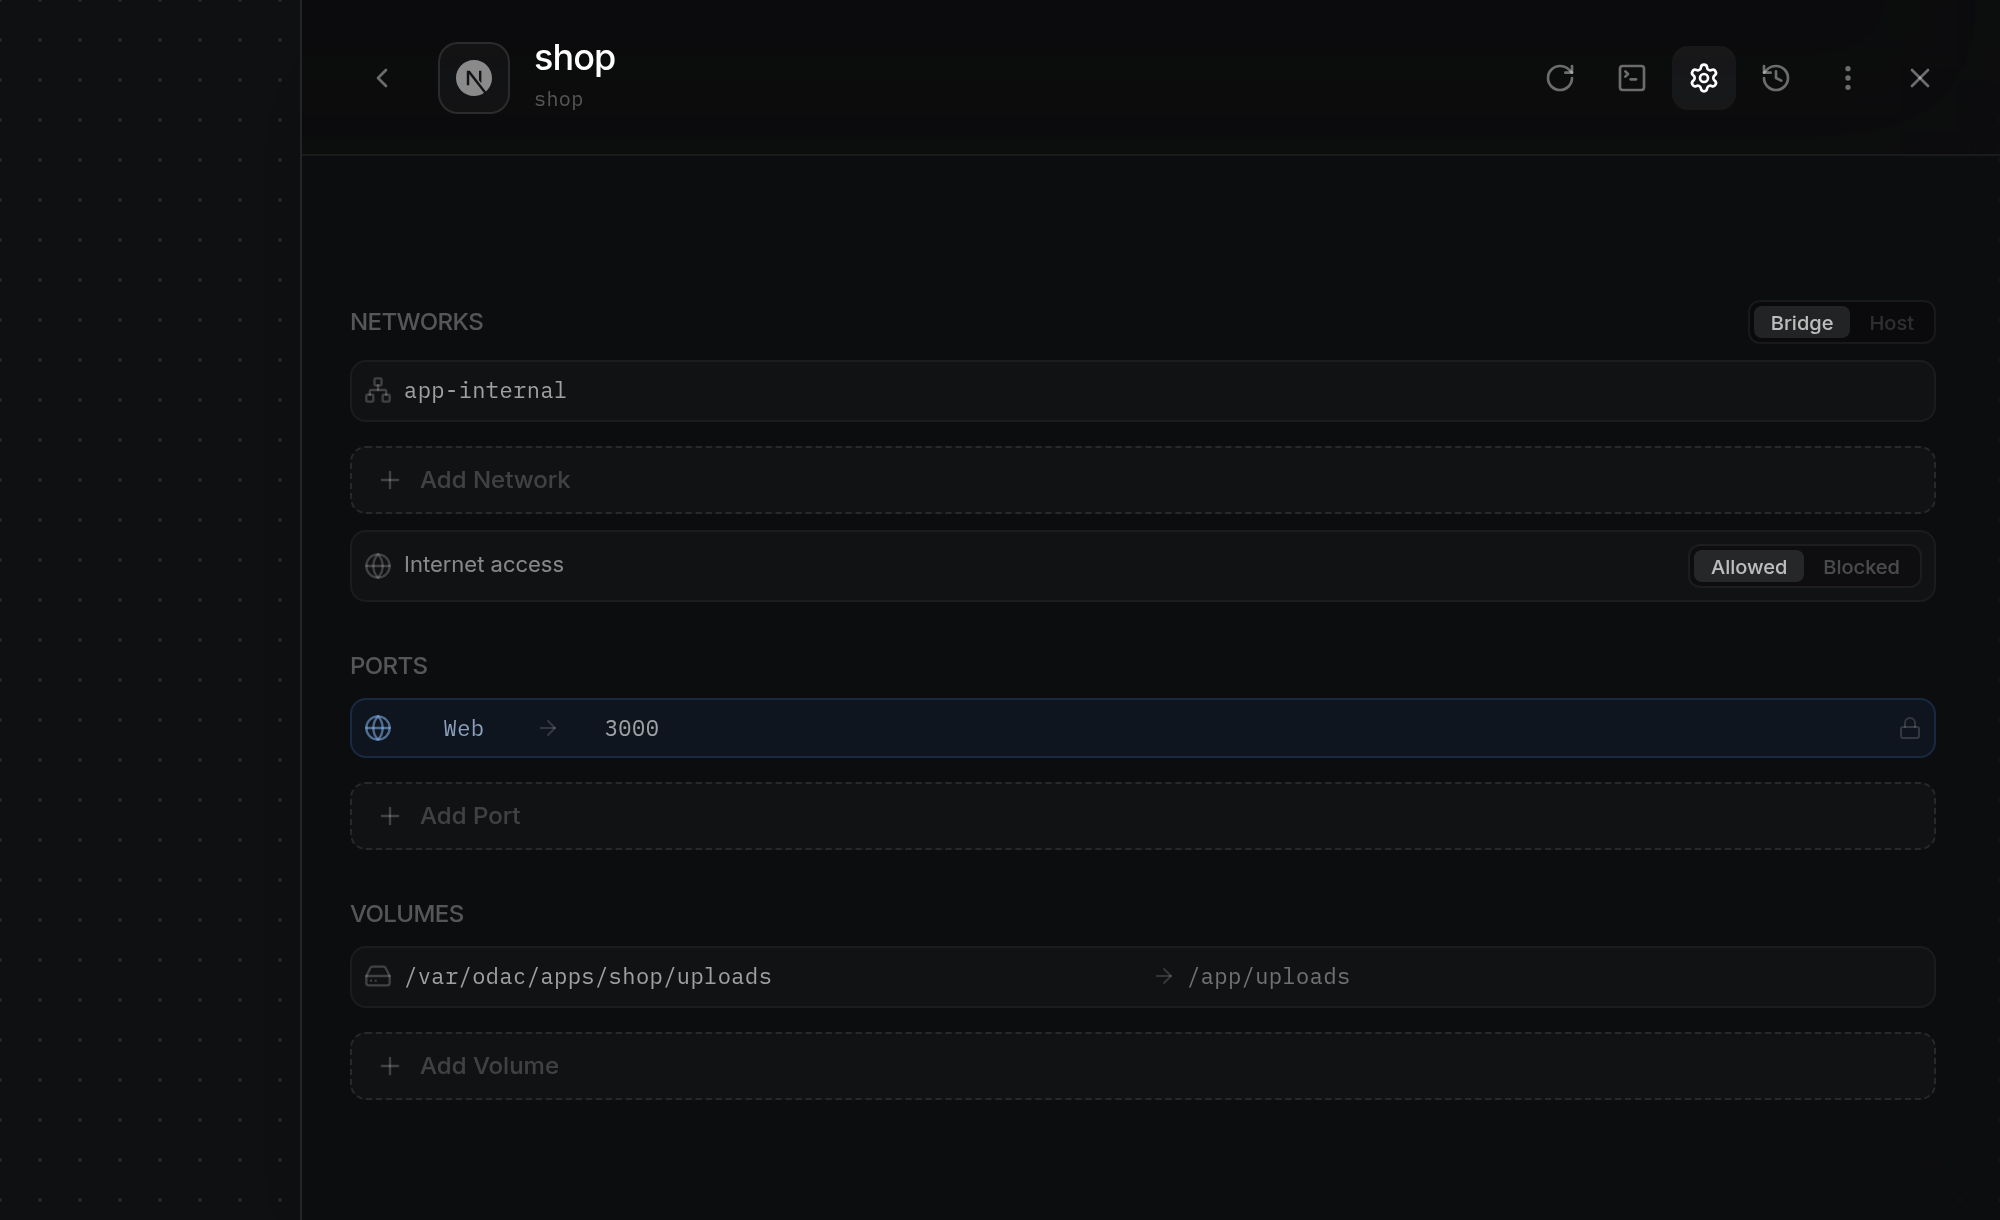
<) button in the header, and opens the Settings panel with three sections: Networks, Ports, and Volumes.
Switch between Bridge and Host network modes
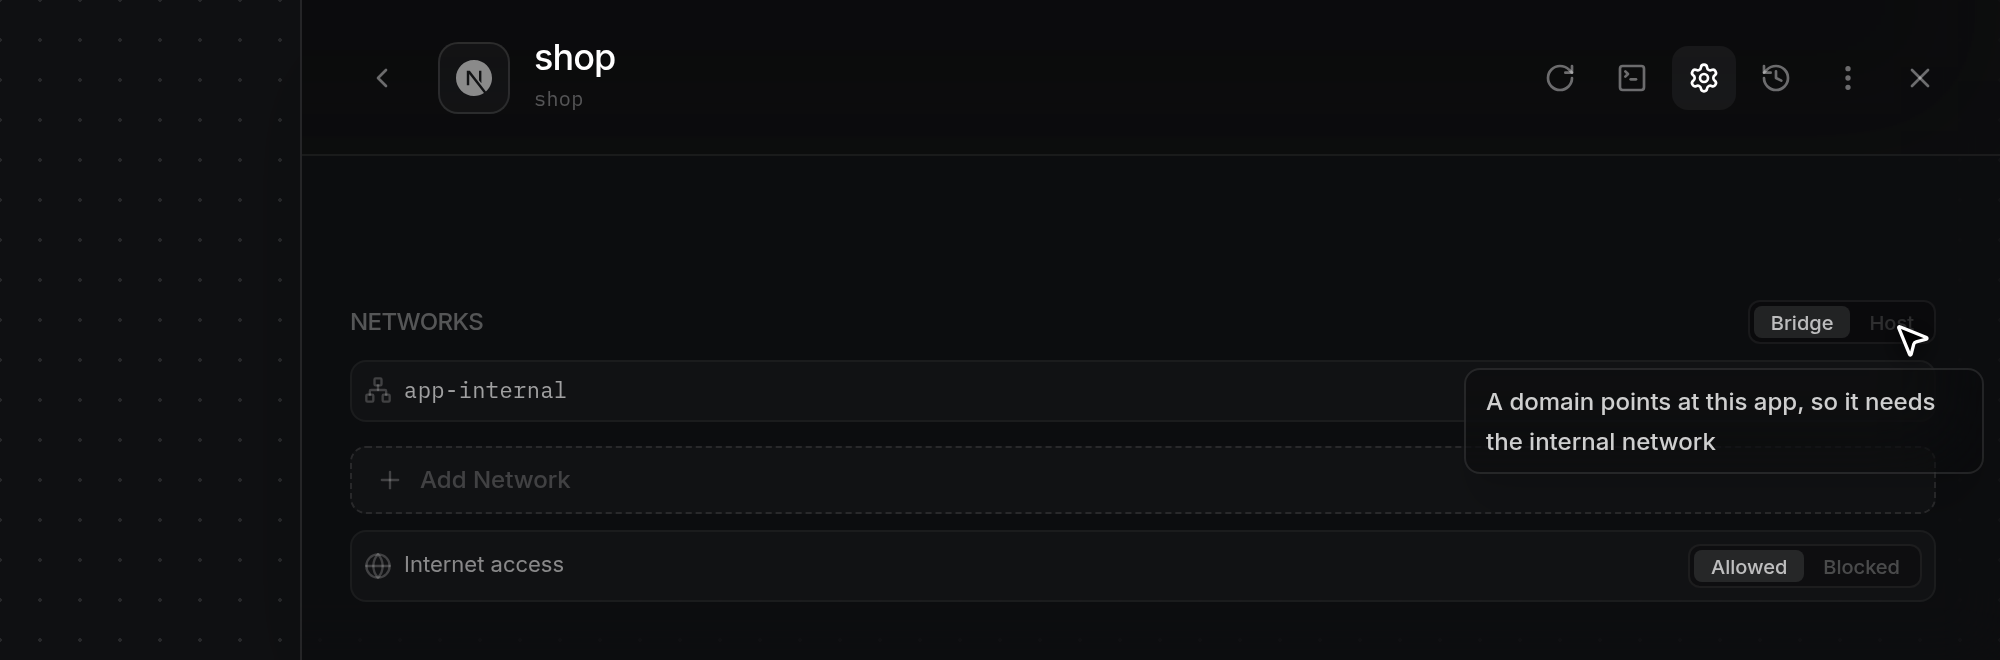
- Check the Bridge and Host switch at the top right of Networks. Bridge is the default mode: your app runs on an isolated internal network, can join custom networks, and maps ports to the server. If the app has a custom domain or
.odac.cctunnel attached (see Attach domains and tunnels to an app), Host appears dimmed and locked with the messageA domain points at this app, so it needs the internal network. Remove the app's domains and tunnel first if you need Host mode.
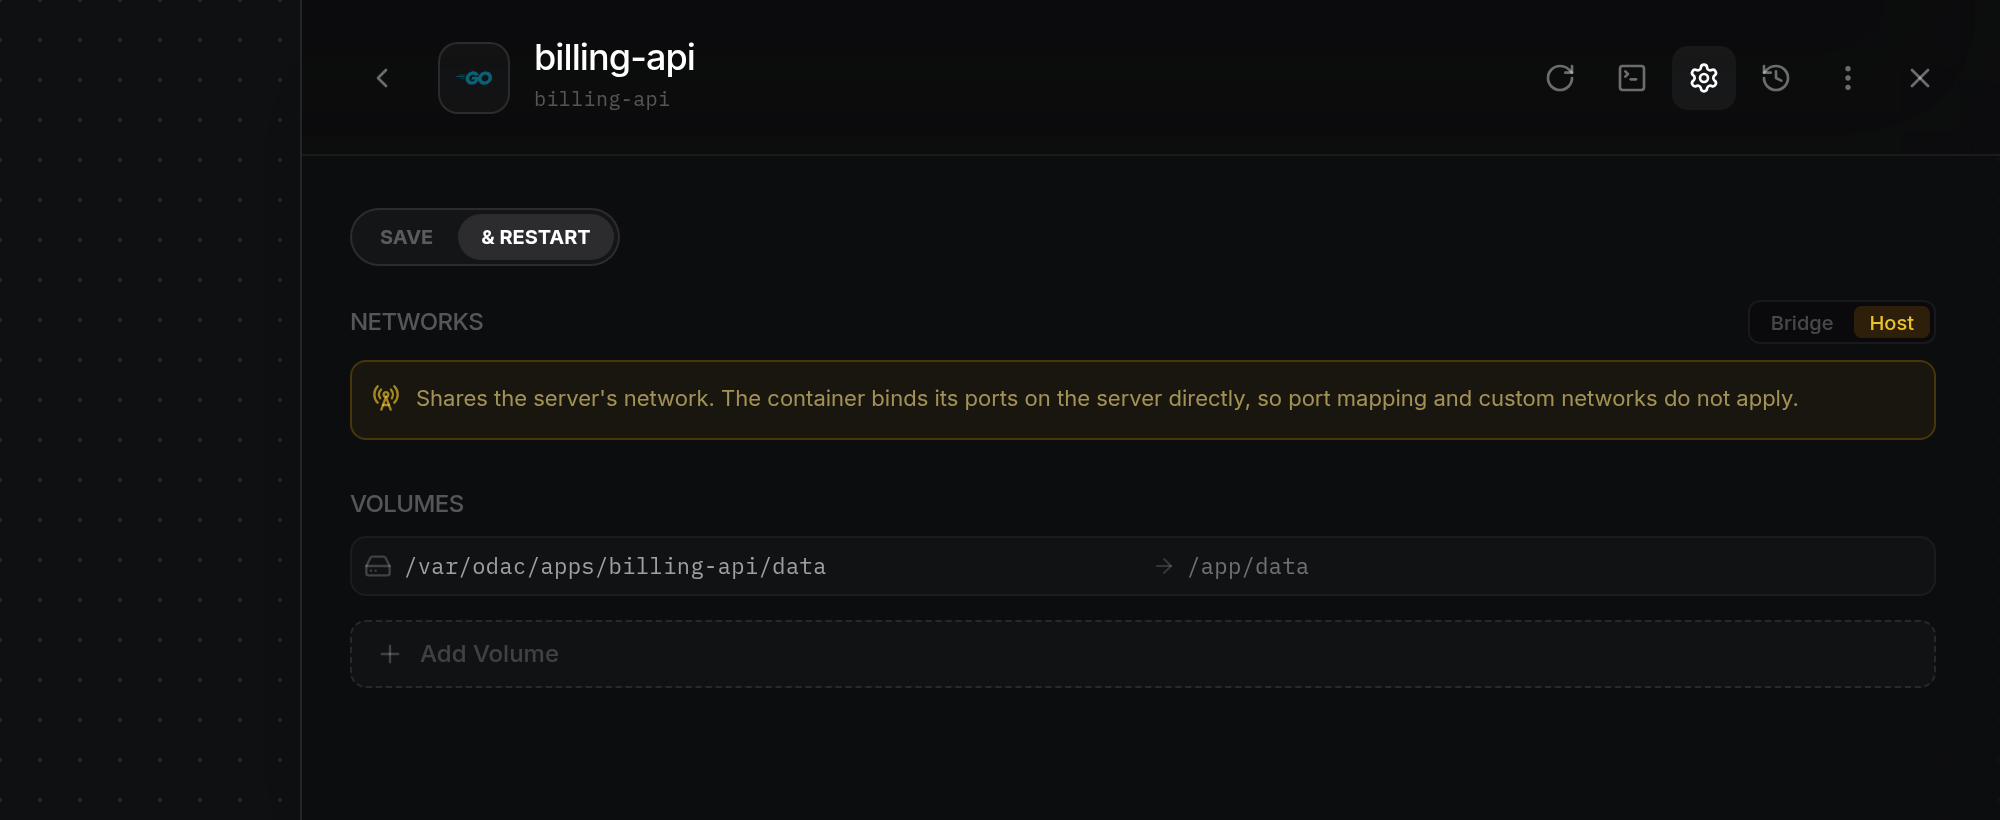
- On an app without an attached domain (such as billing-api), click Host to share the server's network directly. ODAC immediately collapses the custom networks list, Internet access, and Ports (any previously saved Bridge settings are kept and return if you switch back to Bridge), displays the notice
Shares the server's network. The container binds its ports on the server directly, so port mapping and custom networks do not apply., and reveals SAVE and & RESTART at the top left. Volumes stays visible below.
Add or remove custom networks
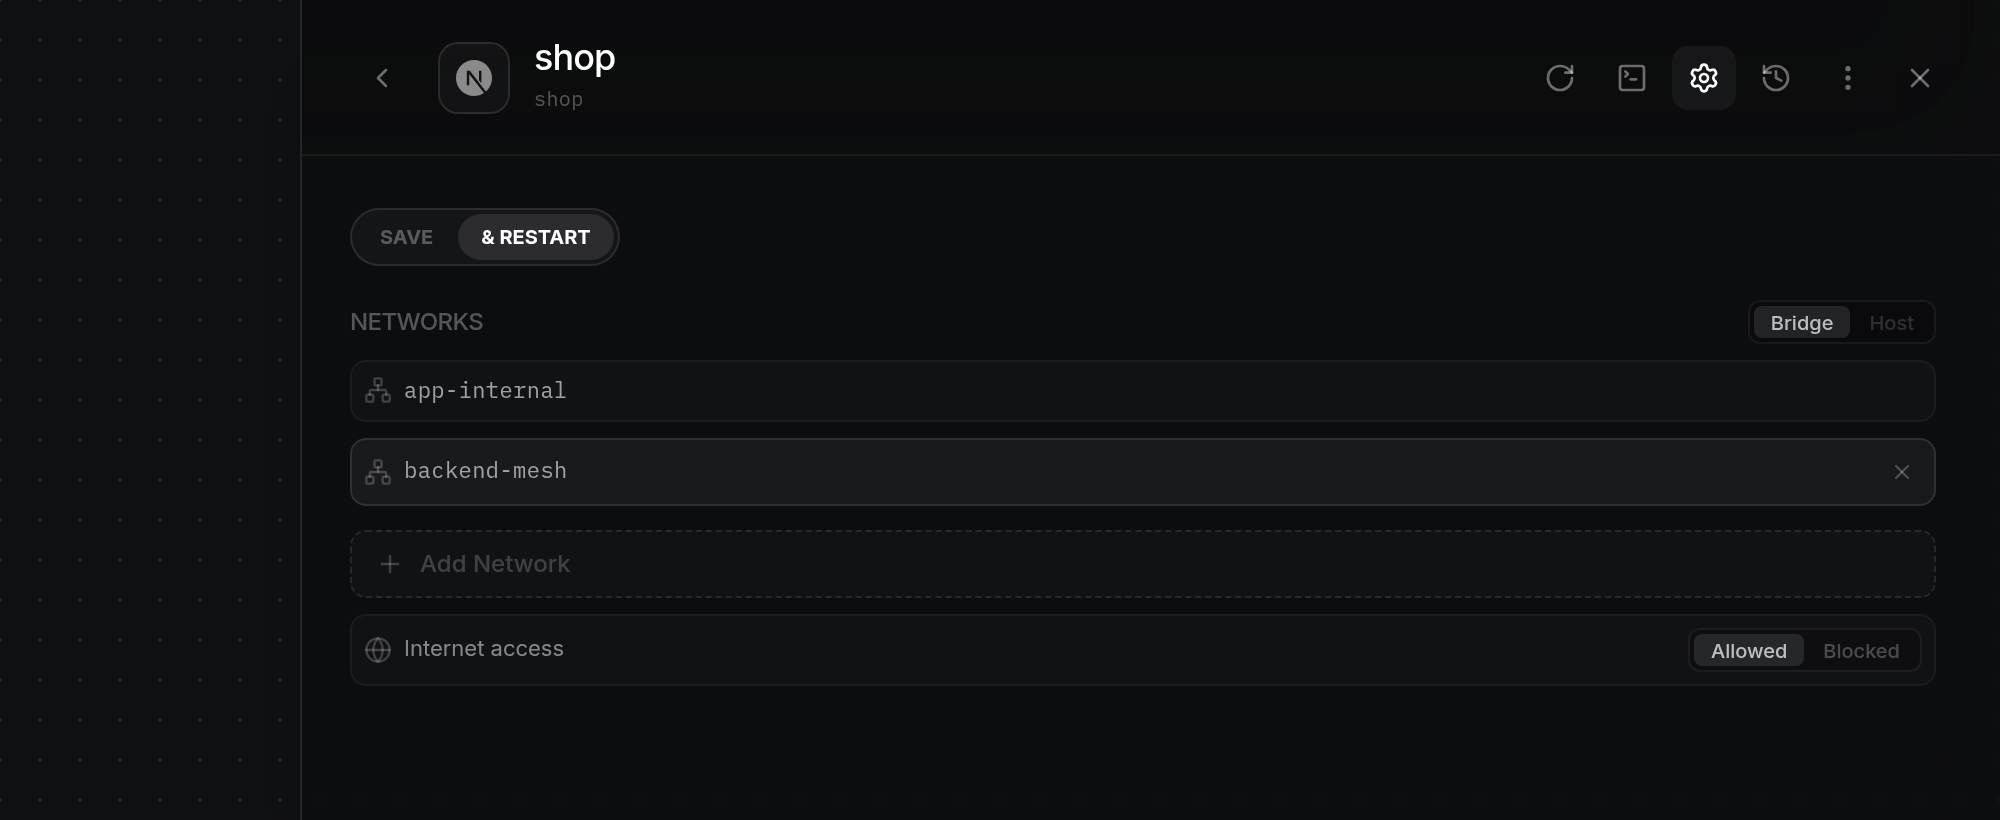
- In Bridge mode, click Add Network under Networks to add a new row with your cursor placed in the
network-namefield, then type a network name (such as backend-mesh) so containers on the same network can reach one another by name. Hover over any network row and click×on the right to remove it.
Allow or block outbound internet access
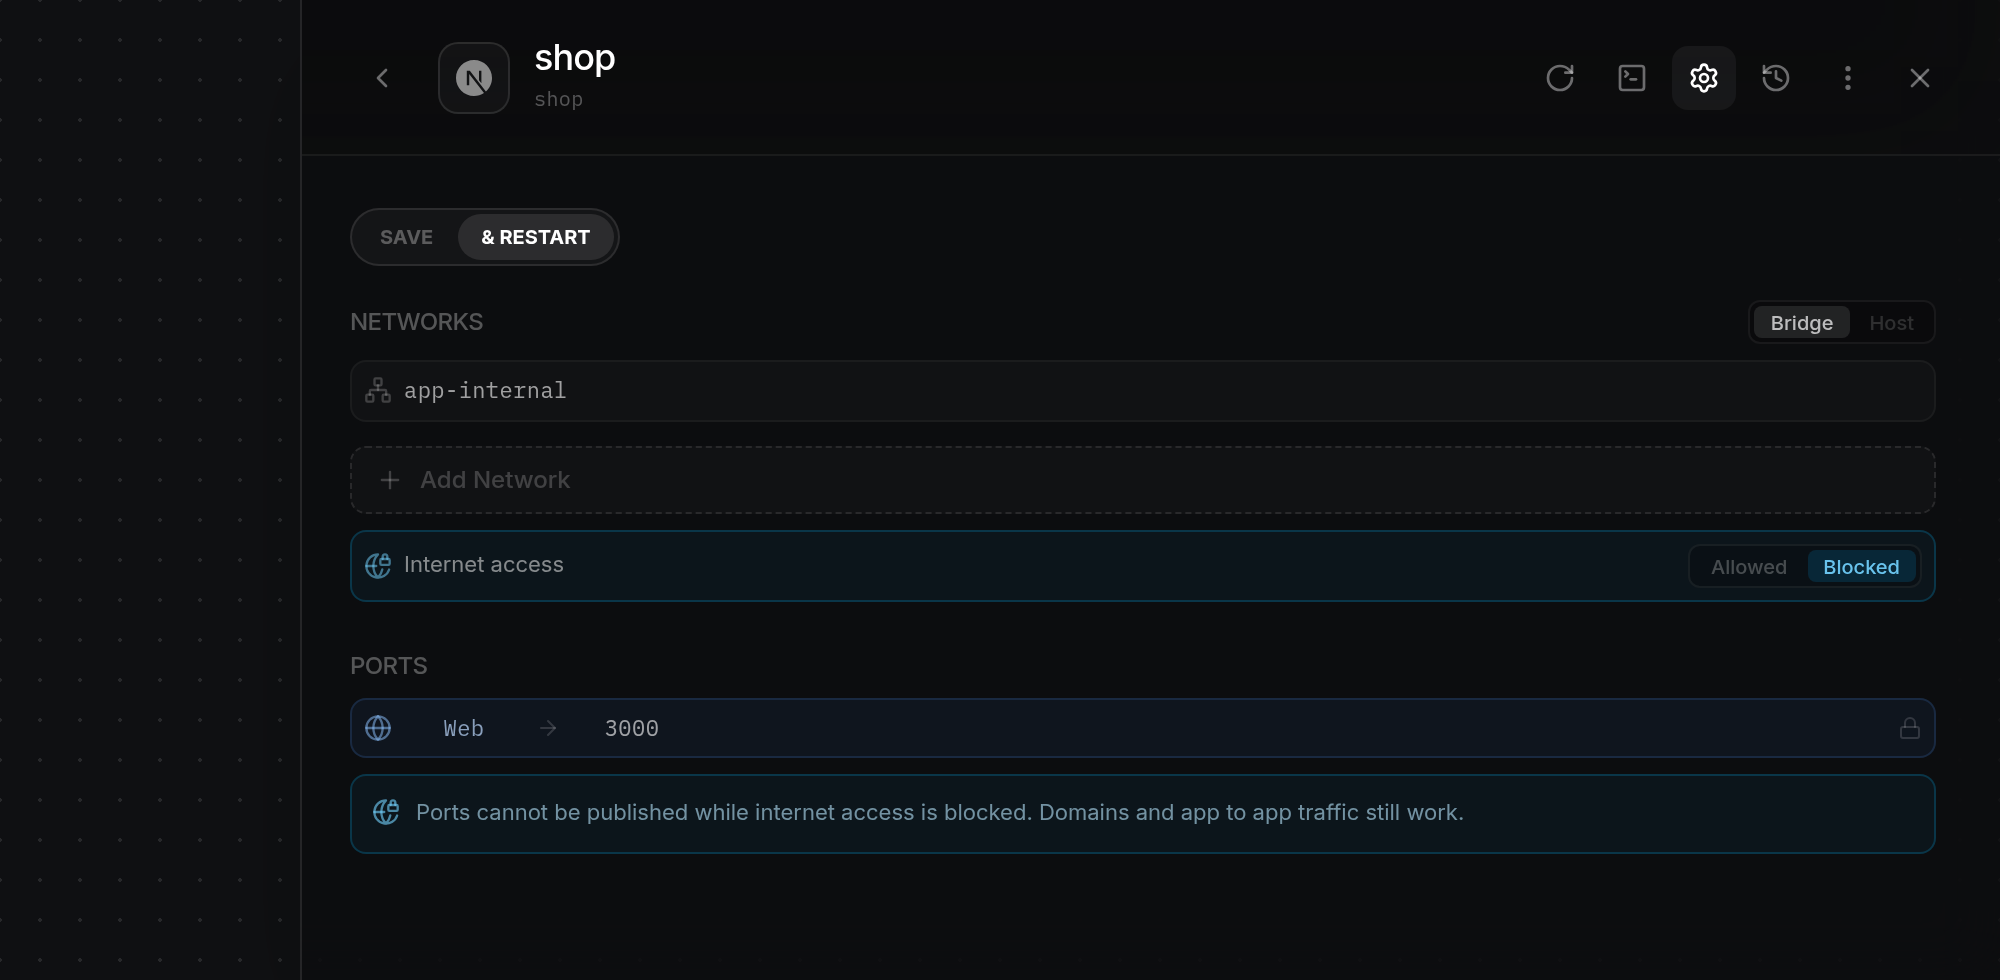
- In Bridge mode, use the Internet access row below the network list to switch between Allowed (default, the app can reach the internet) and Blocked (outbound internet connections are blocked).
- When you click Blocked, the Internet access row turns blue, publishable port rows and Add Port collapse under Ports, and ODAC displays
Ports cannot be published while internet access is blocked. Domains and app to app traffic still work.. If the app has a Web proxy port row, that row stays visible and editable so attached domains continue routing to your app over the internal network.
Configure the Web proxy port and publishable ports
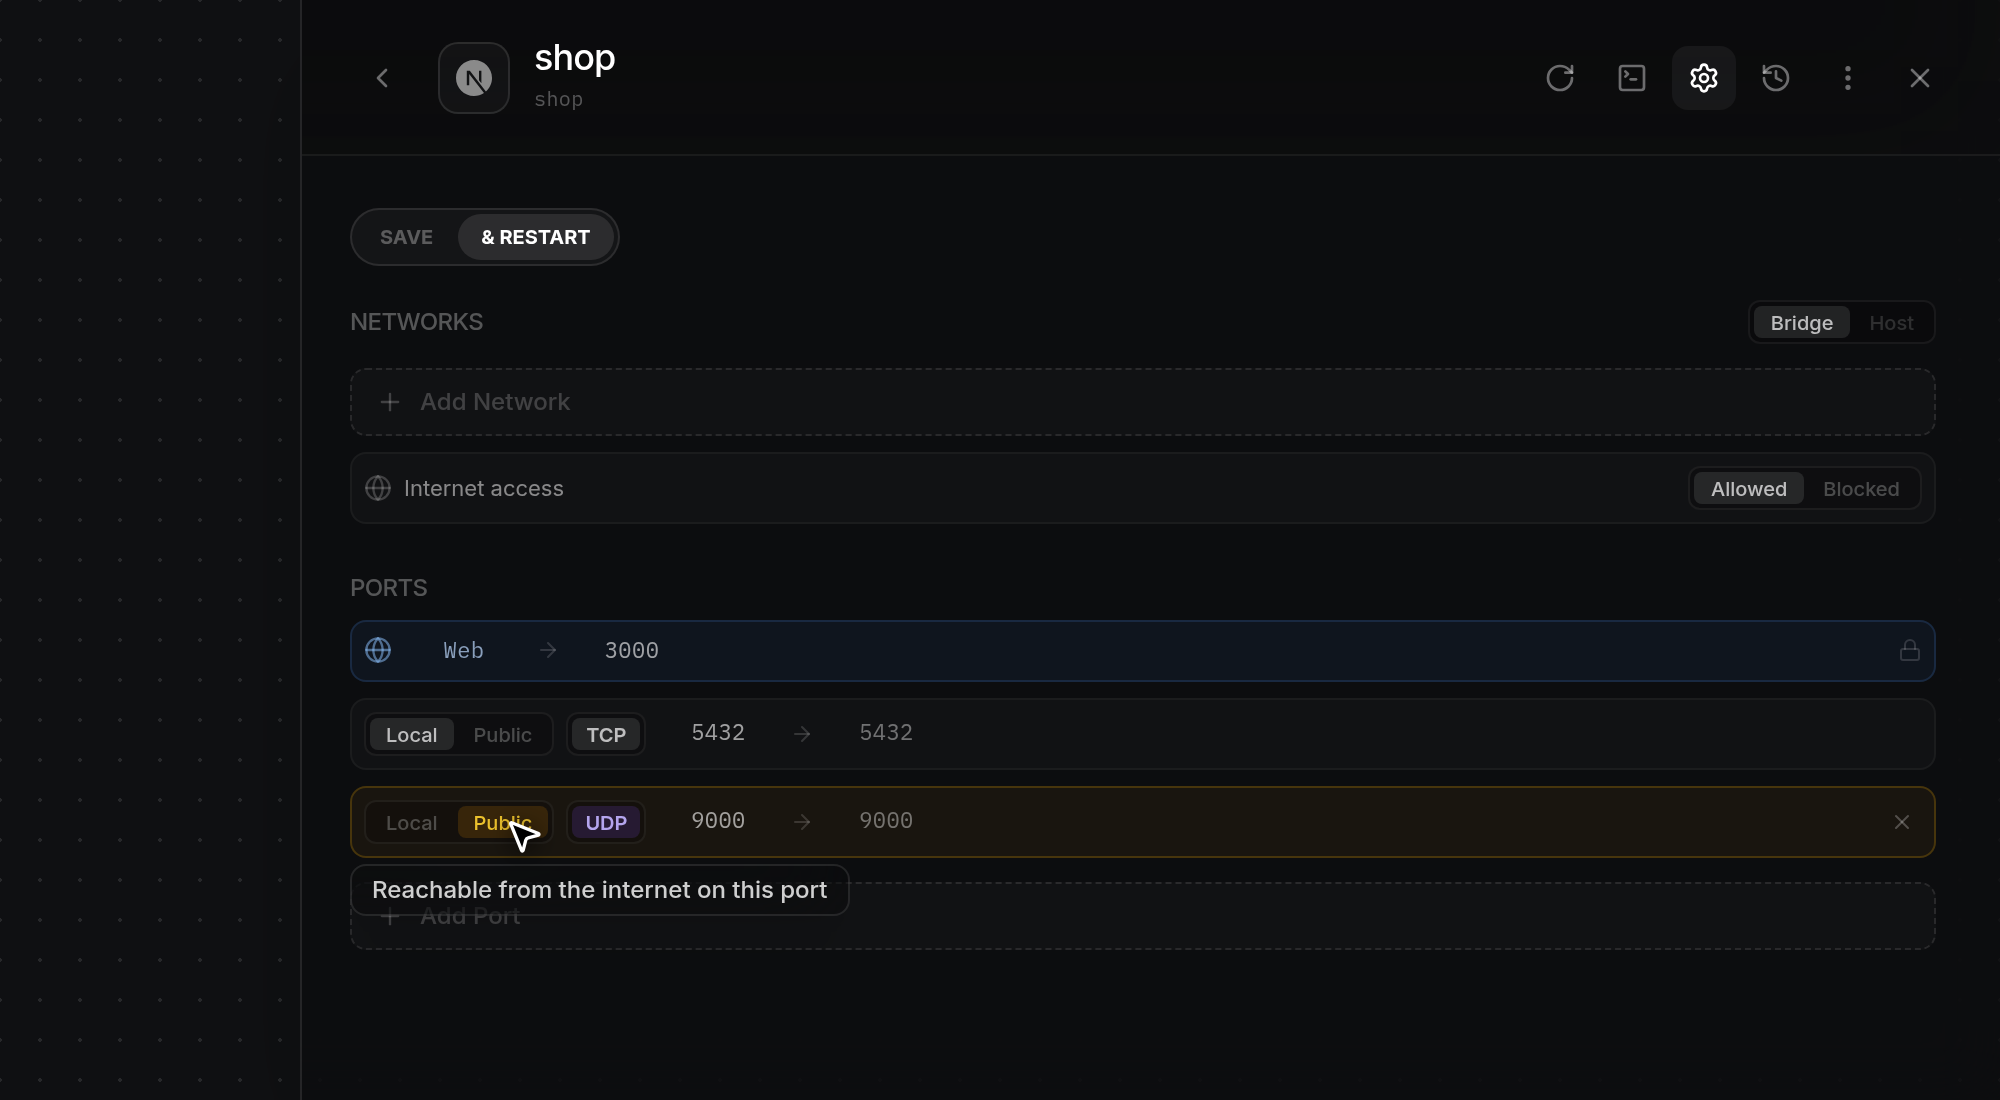
- Under Ports (in Bridge mode), web-enabled apps display a pinned blue Web row at the top. Edit the
containerport number to the right of the arrow (→) if your app listens on a different internal port (valid ports are1to65535). ODAC routes attached domains and tunnels to this port automatically without binding a port on the server. - When Internet access is Allowed, click Add Port to publish a container port on the server. New rows default to Local binding and TCP protocol, with your cursor placed in the
hostport field. Type the server port inhostand the app's port incontainer(leavinghostempty declares the container port without publishing it on the server). - Click Public if the port must accept direct connections from the internet on the server's IP address (the row turns amber as a warning), or keep Local so only the server itself can reach that port. Click the TCP chip to toggle between TCP and UDP (the chip turns violet in UDP mode). Hover over a publishable port row and click
×on the right to remove it. Each host port can only be bound once per protocol; if two rows share the same host port and protocol when you save, ODAC highlights the conflicting rows in red and warns that each host port can only be bound once.
Map persistent volumes
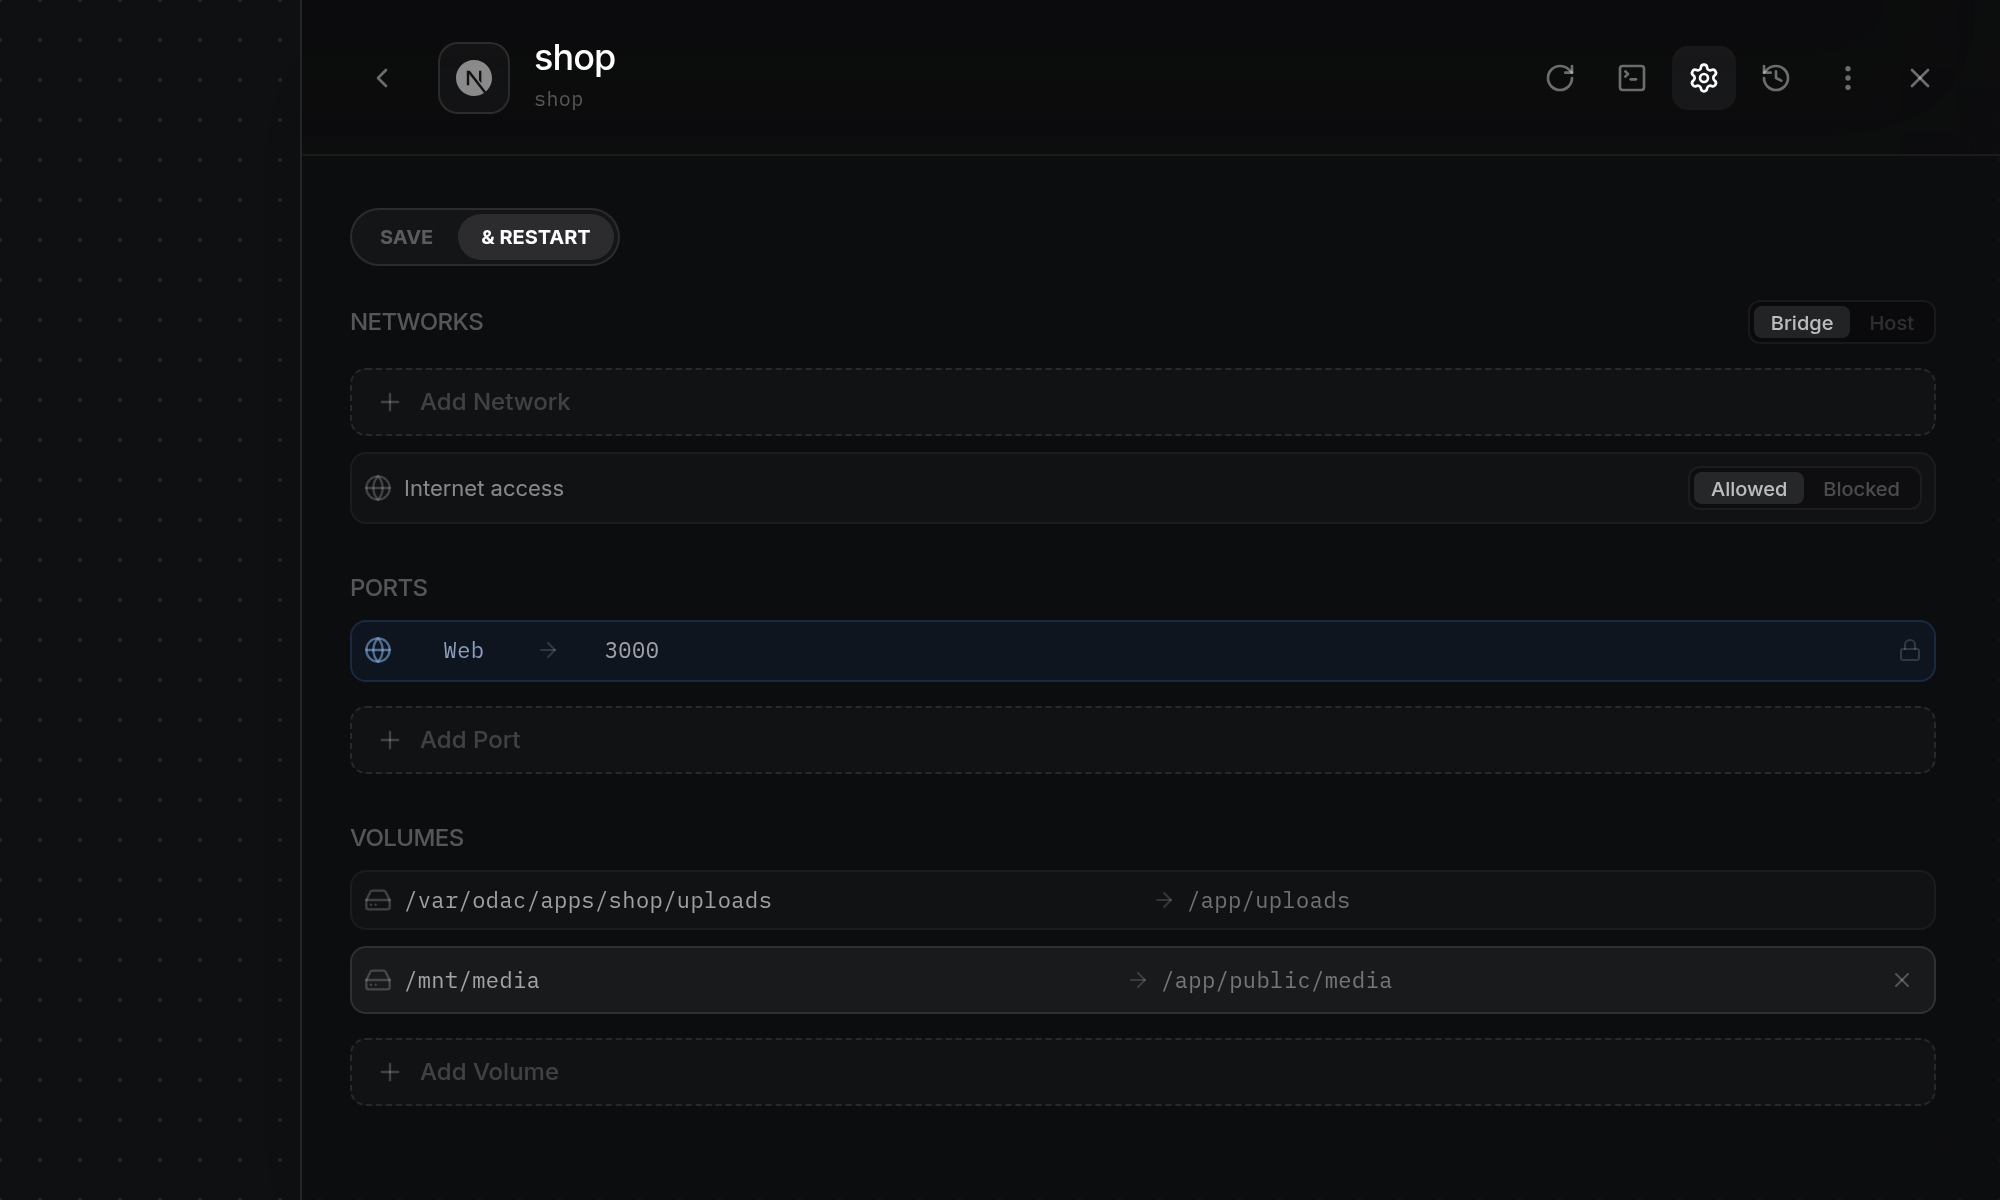
- Under Volumes, click Add Volume to add a storage mapping. ODAC pre-fills the
host pathfield on the left with your app's server directory and thecontainer pathfield on the right with/app/, placing your cursor at the end ofhost path. - Type a folder name after the pre-filled prefix on either side (such as uploads or
data) to keep both paths synchronized automatically. If you clear a field or enter a path outside the pre-filled base directory (such as /mnt/media), automatic syncing turns off for that row so you can set independent host and container paths. Hover over any volume row and click×on the right to remove it.
Save or save and restart
- Whenever you have unsaved changes in Settings, the SAVE and & RESTART action pill appears at the top left of the panel. Click SAVE to store your changes for the next restart, or click & RESTART to save and immediately restart the container so the updated networks, ports, or volumes take effect right away.
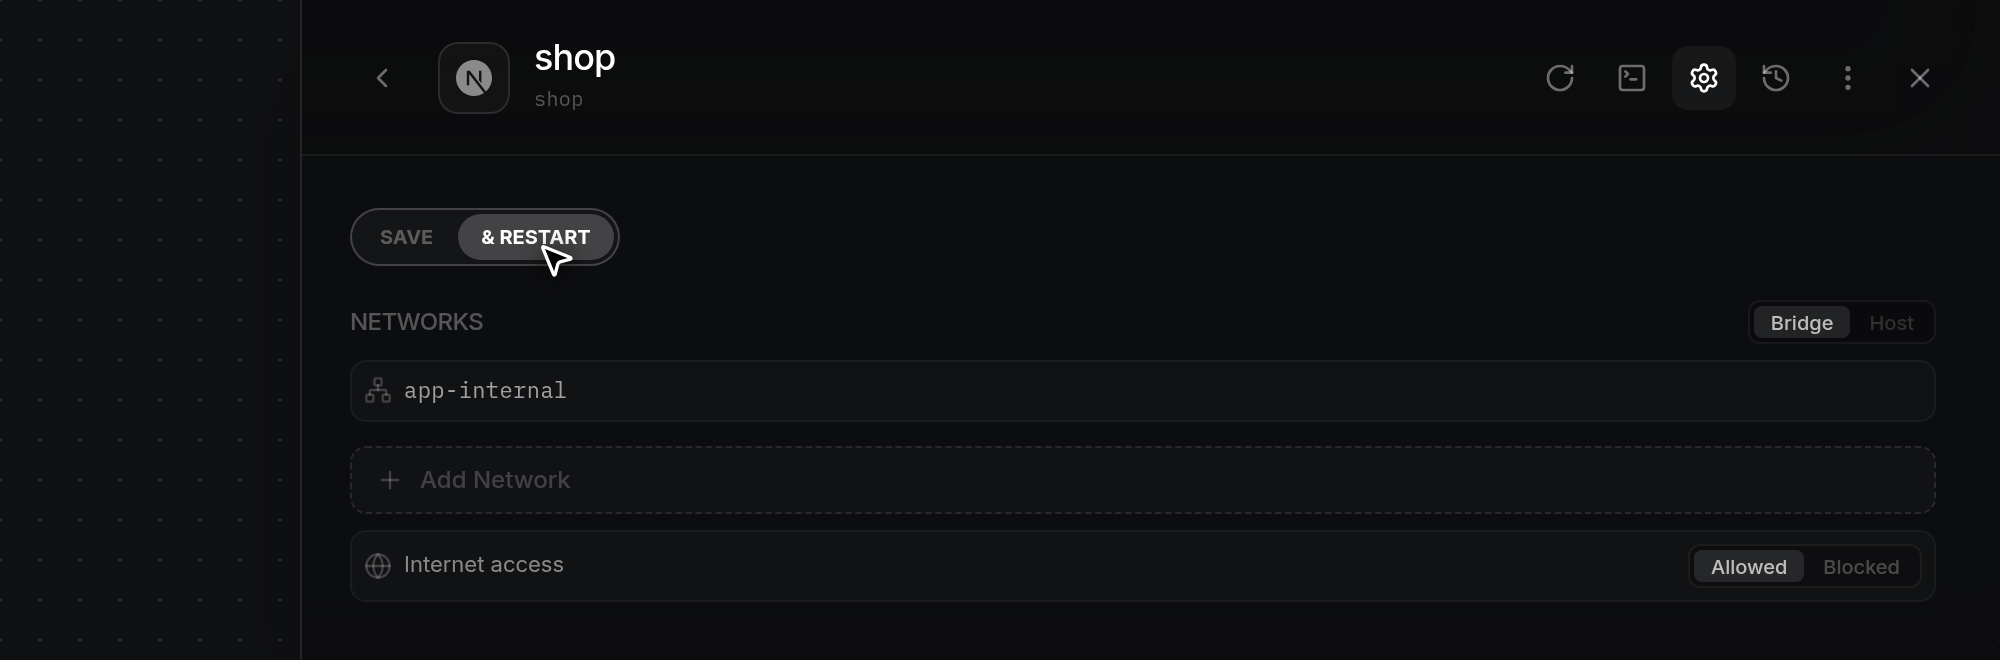
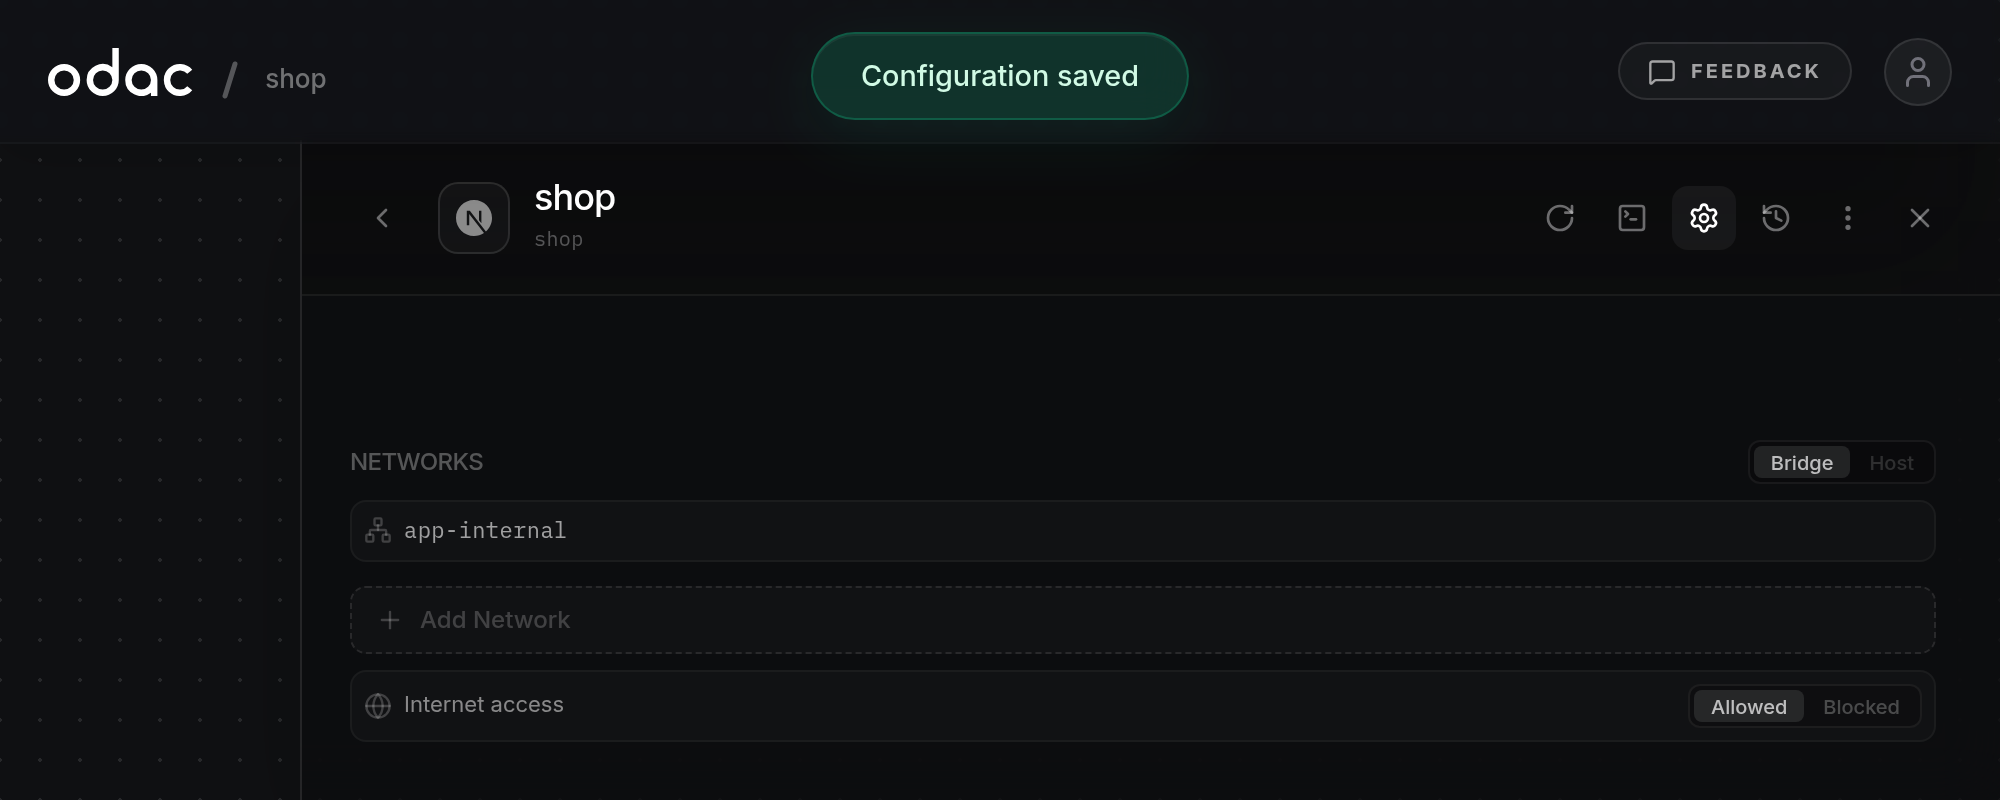
- When saving completes, the action pill hides and ODAC displays
Configuration saved(orNetwork mode changed, recreating appwhen switching between Bridge and Host). If the server is disconnected, ODAC showsServer is offline. Click Back (<) or Close (×) in the header when you are done.