Rename a project and manage its servers
Manage a project's display name and server assignments from Project Settings at app.odac.run. You can rename how the project appears in your dashboard, choose which attached server is the Default deploy target for new apps, and assign additional servers to the project.
Open Project Settings
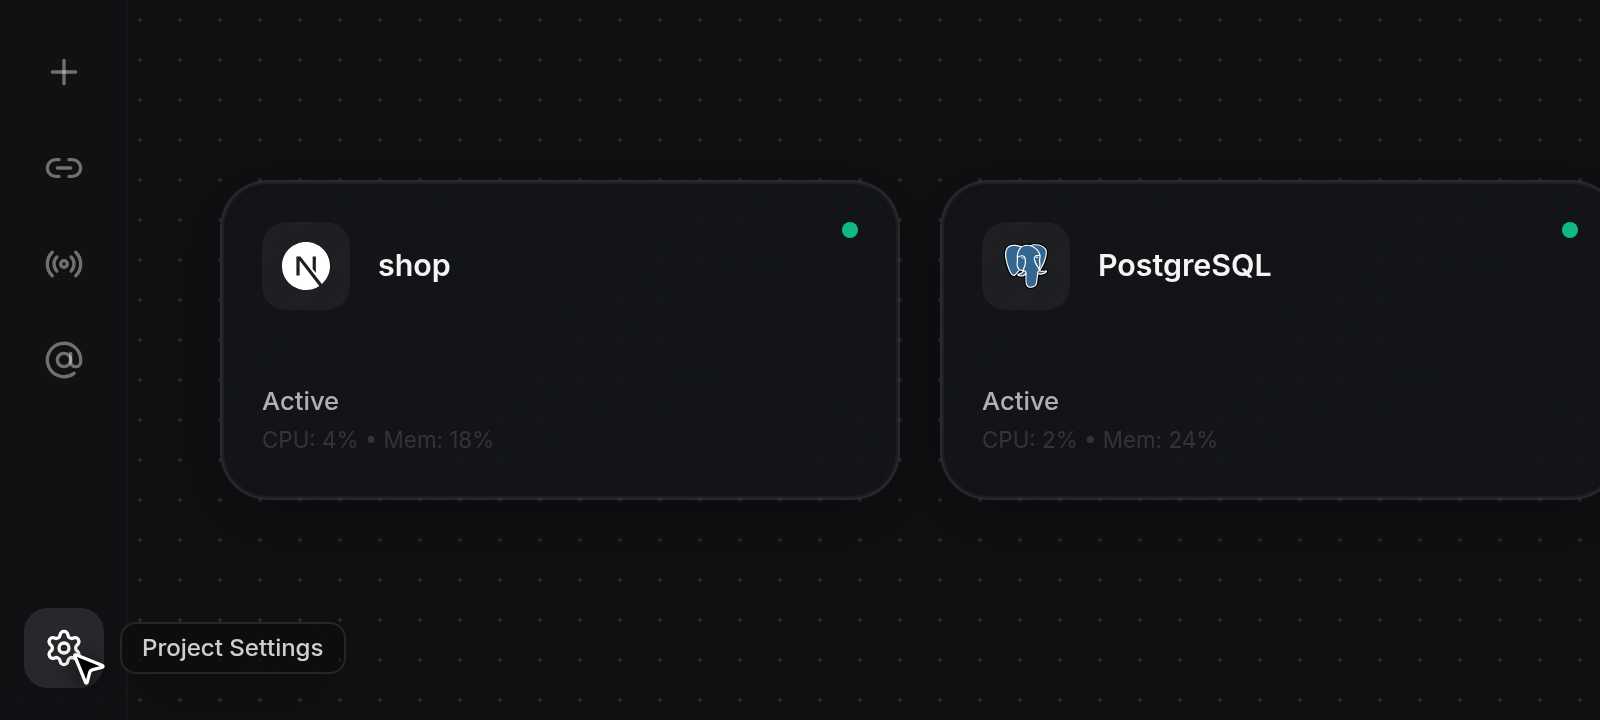
- Click the gear icon (Project Settings) at the bottom of the left sidebar rail on any project page (Canvas, Domains, DNS Settings, or Mail Accounts). Hovering over the icon displays the
Project Settingslabel.
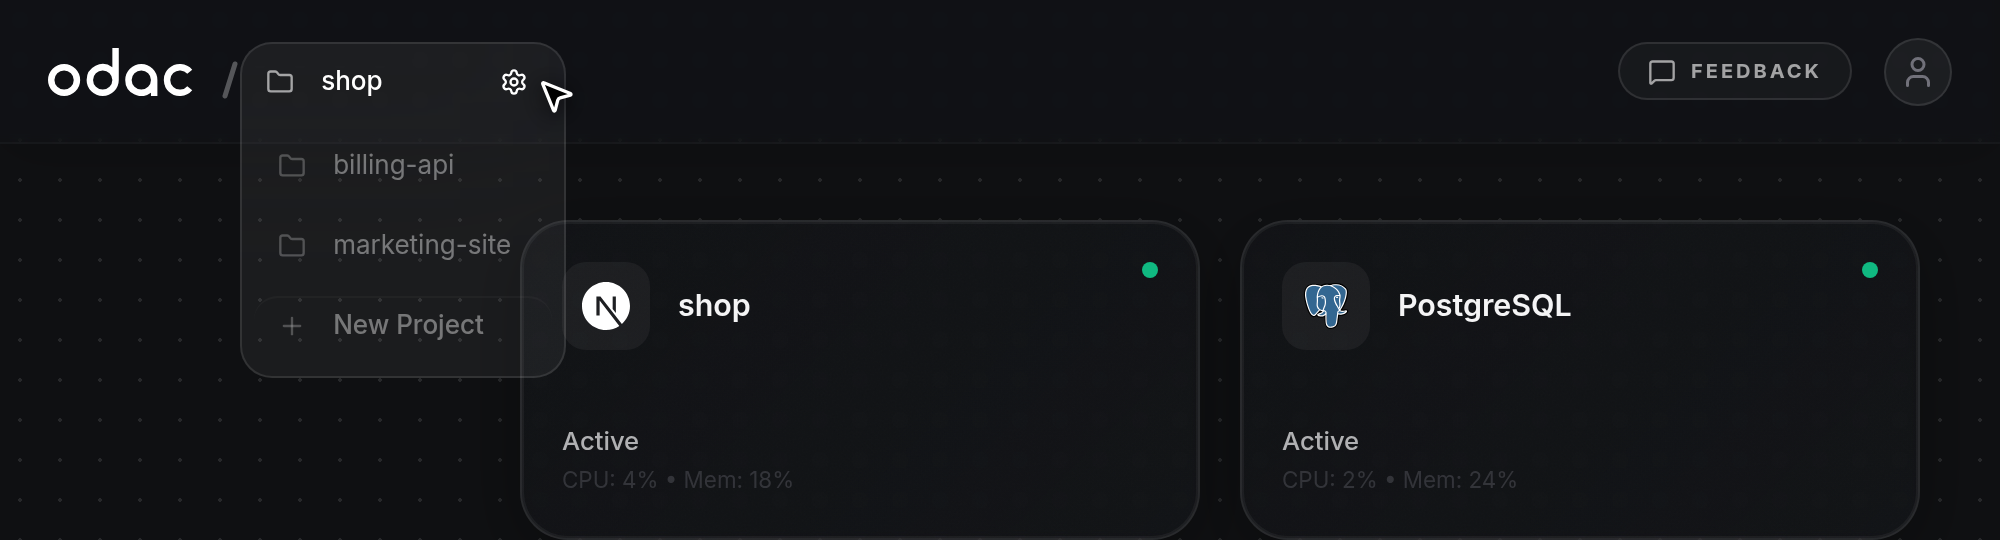
- You can also open Project Settings from the top-left header. Hover over or click the active project name next to the ODAC logo to expand the project menu, hover over the active project (or any other project in the list), and click the gear icon on the right side of its row (see Projects and navigation).
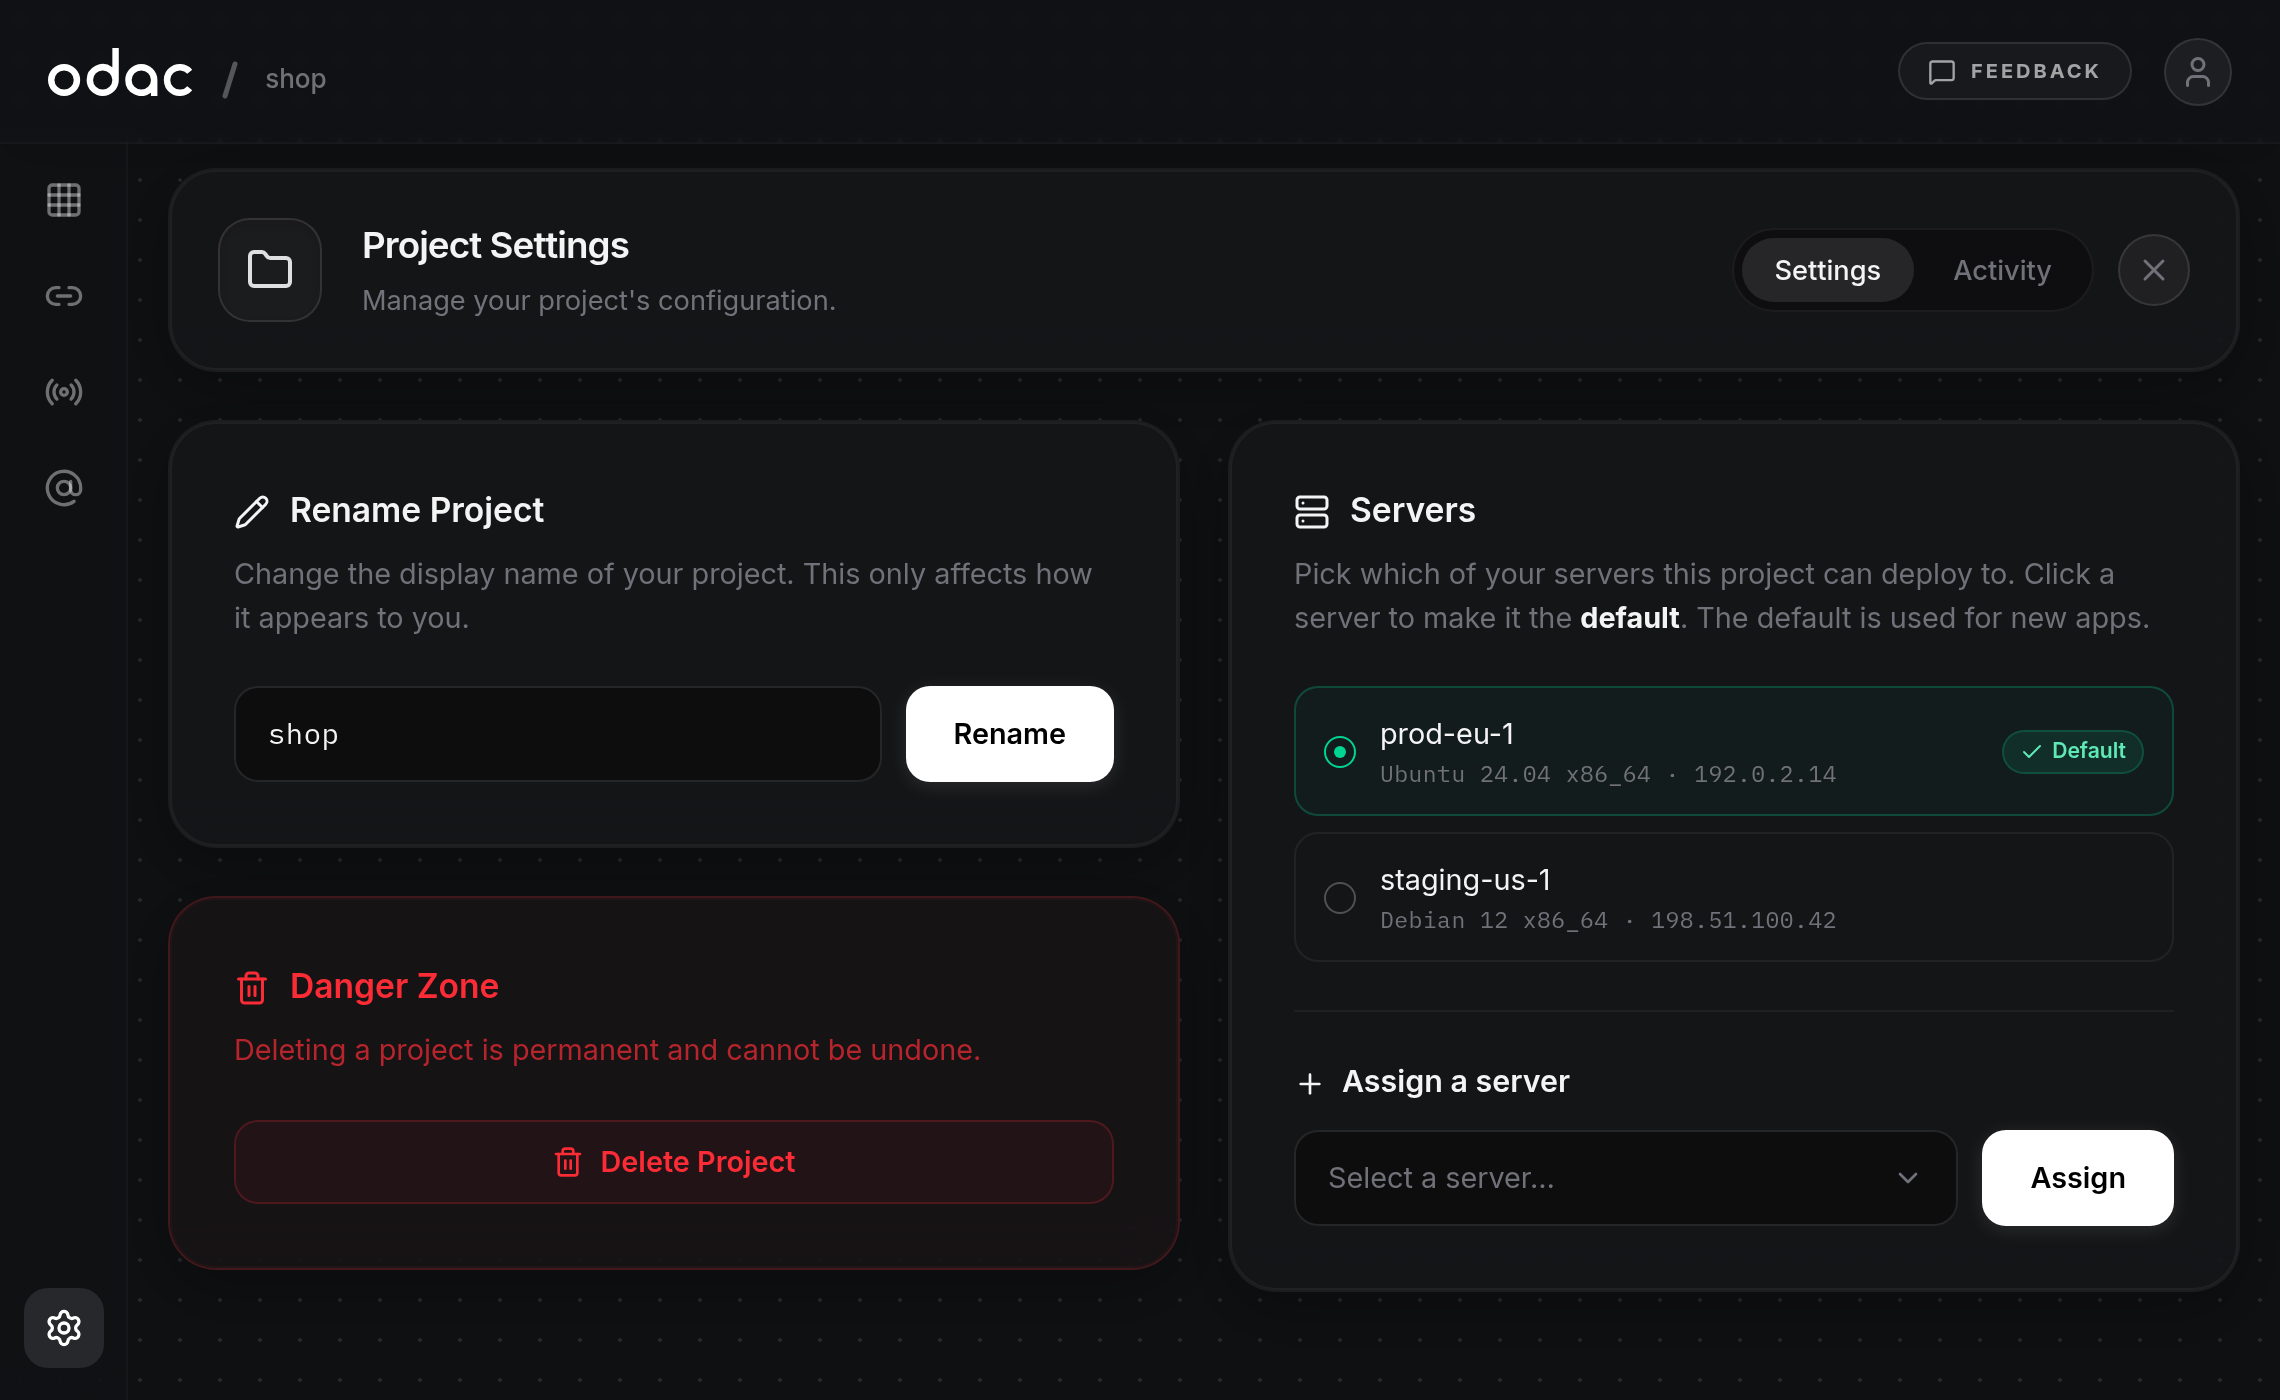
- Project Settings opens on the Settings tab, showing Rename Project and Danger Zone on the left and Servers on the right. Use the Activity tab in the header card to review project-wide changes or Danger Zone to delete the project (see View project activity and delete a project), or click
×in the top-right corner of the header card to return to the Canvas.
Rename a project
- In the Rename Project card, click the project name field (pre-filled with your current project name, placeholder
e.g. My First Project) and enter a new display name between 2 and 60 characters. Changing this name only affects how the project appears to you.
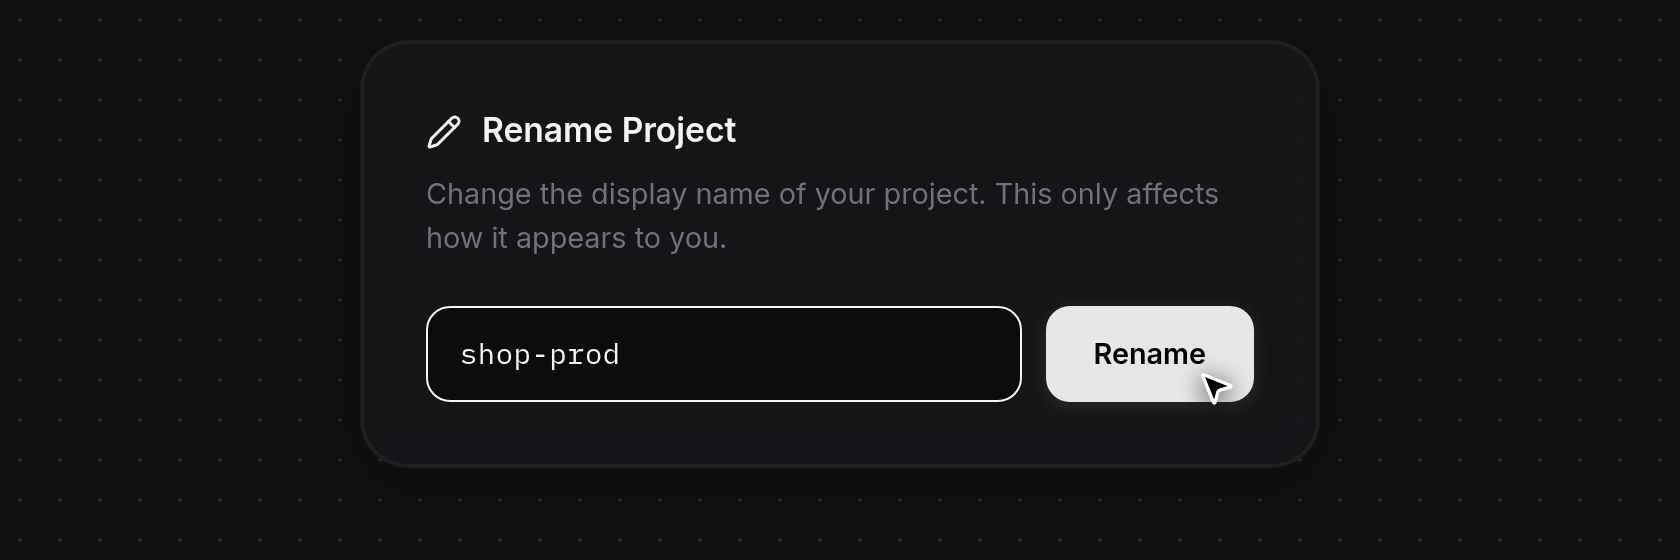
- Click Rename. While saving, the button reads
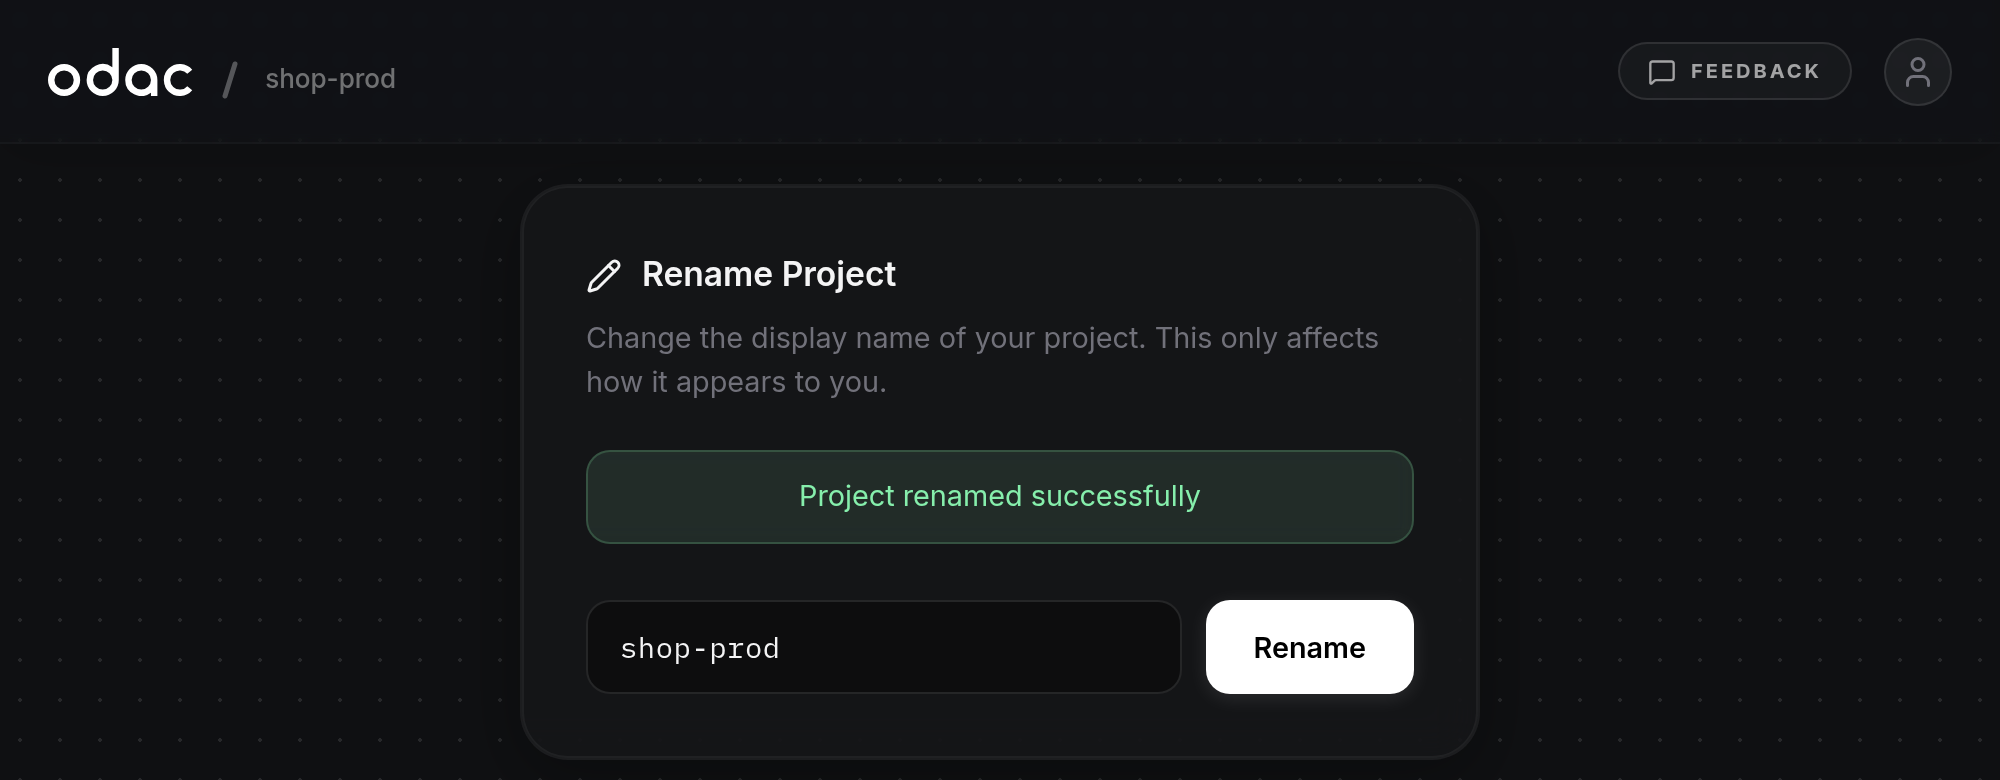
Saving.... When finished, ODAC displays a greenProject renamed successfullybanner above the field and immediately updates the project name in the top-left header selector. If the field is empty, under 2 characters, or over 60 characters, a red banner appears above the field instead (Project name is required,Name must be at least 2 characters, orName can't exceed 60 characters).
Set the default deploy server
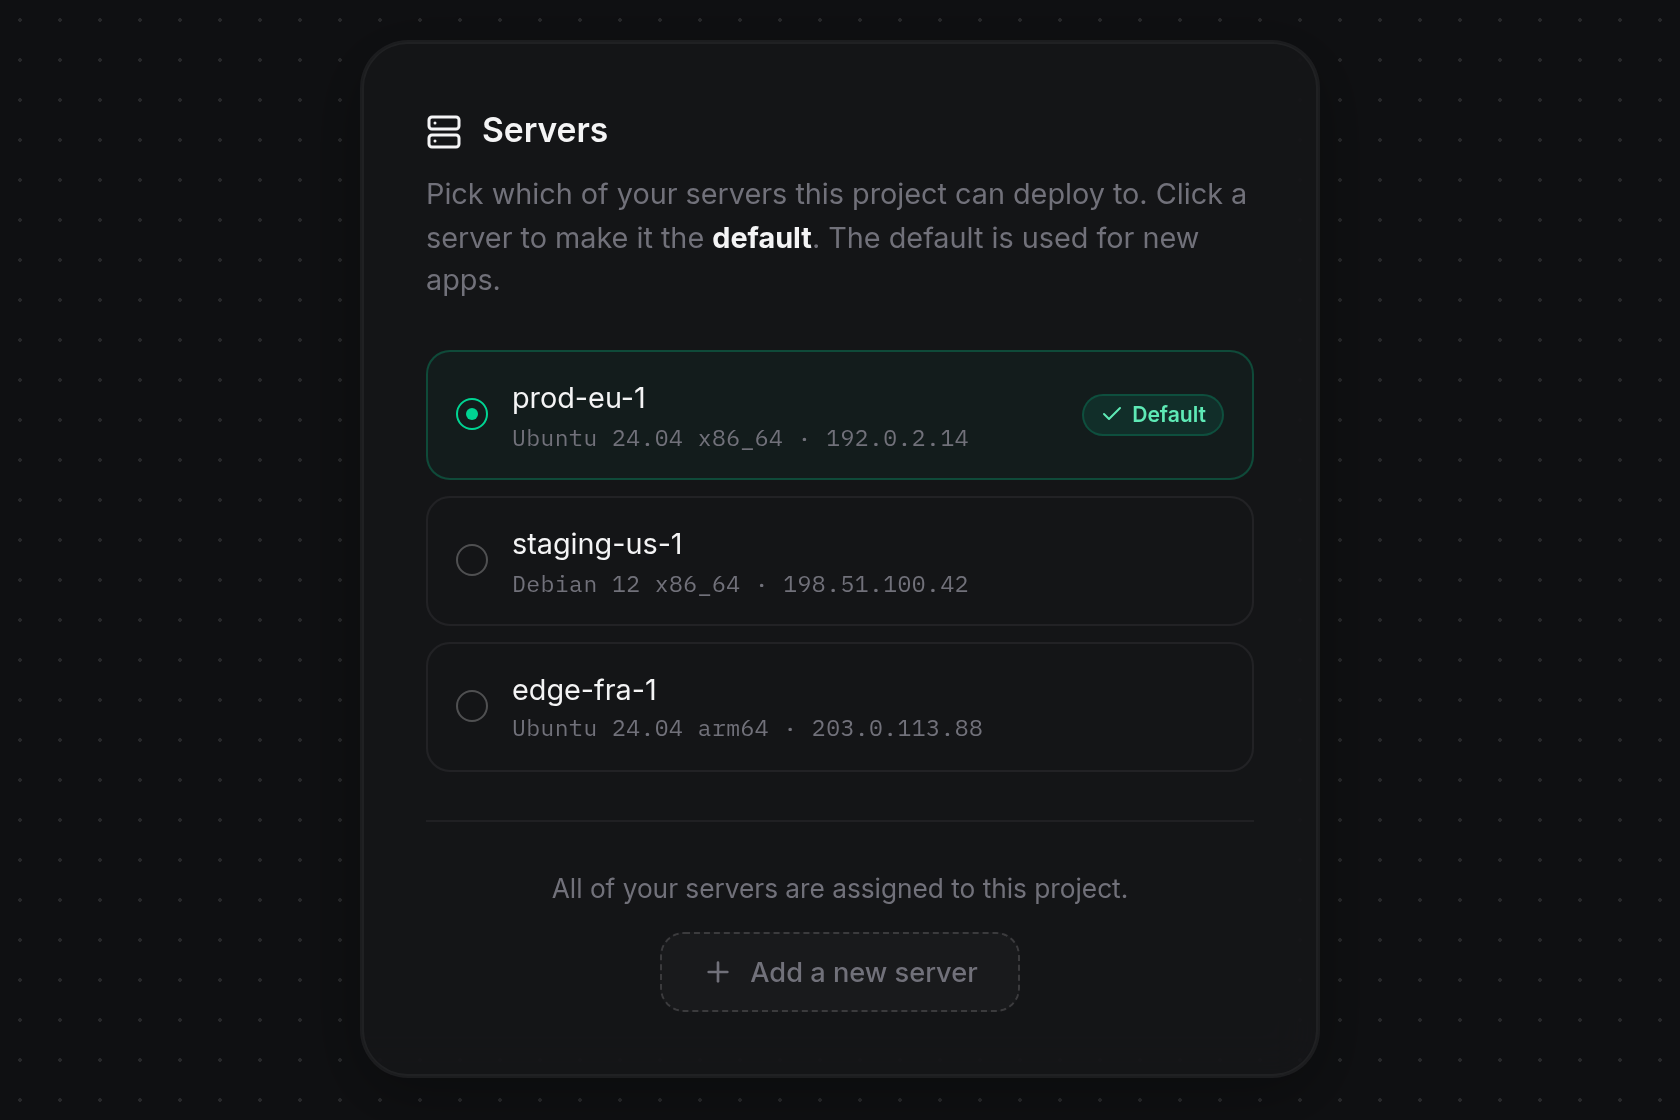
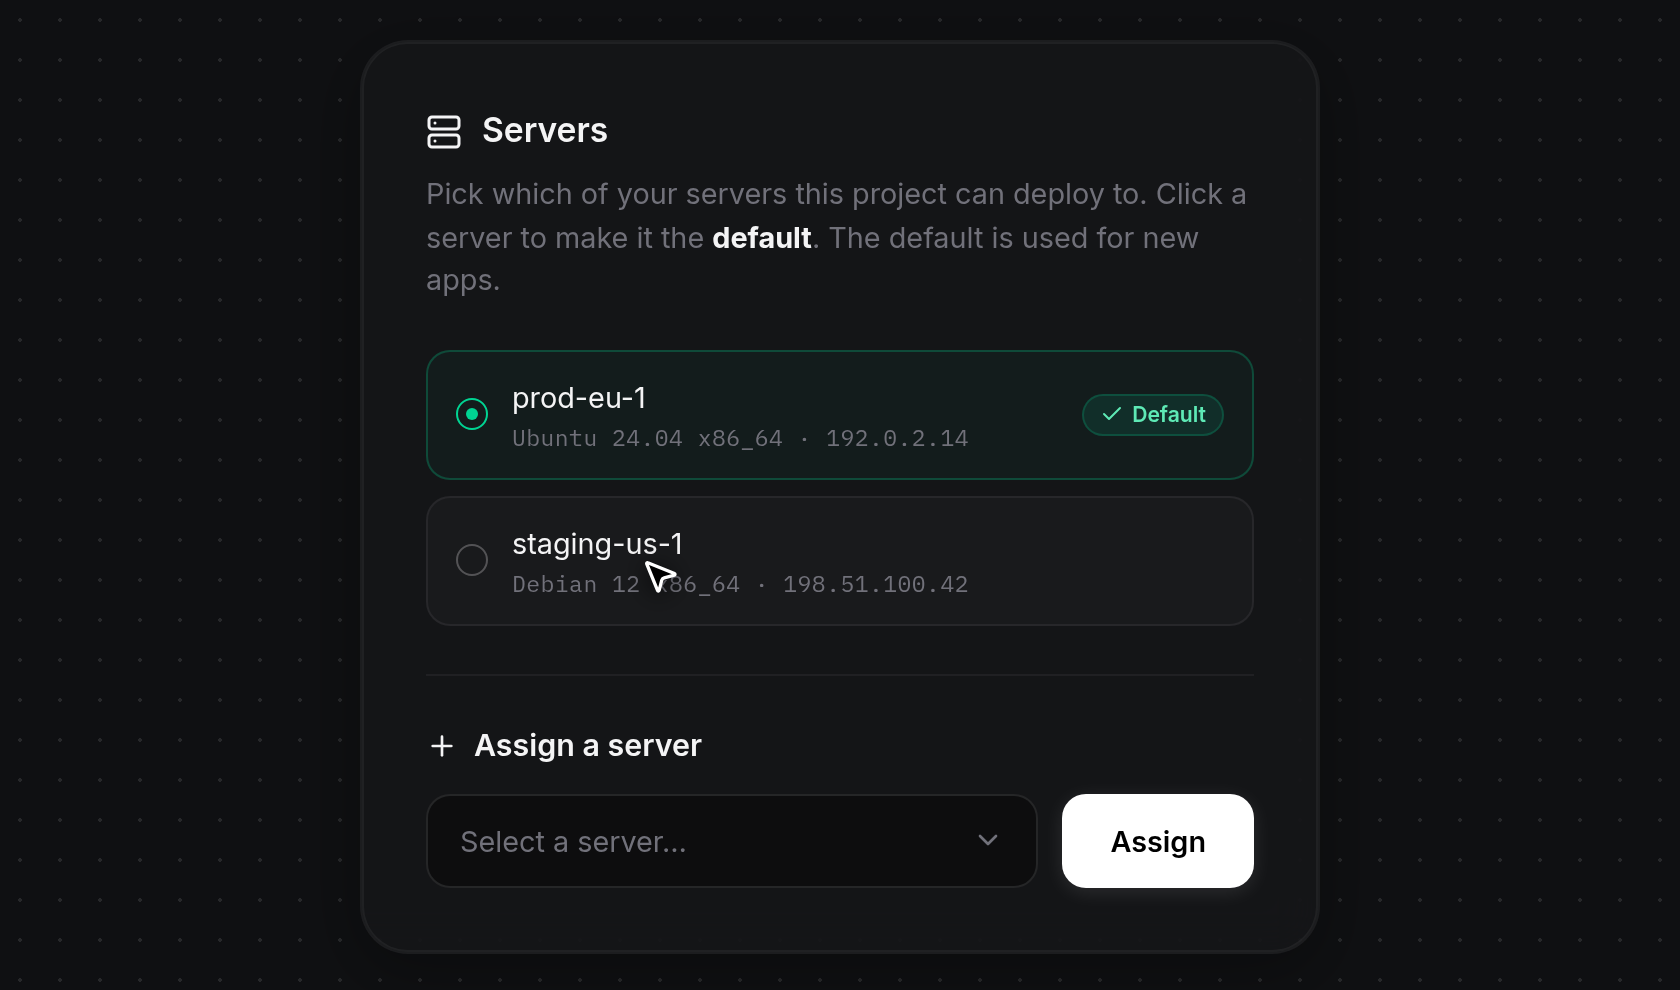
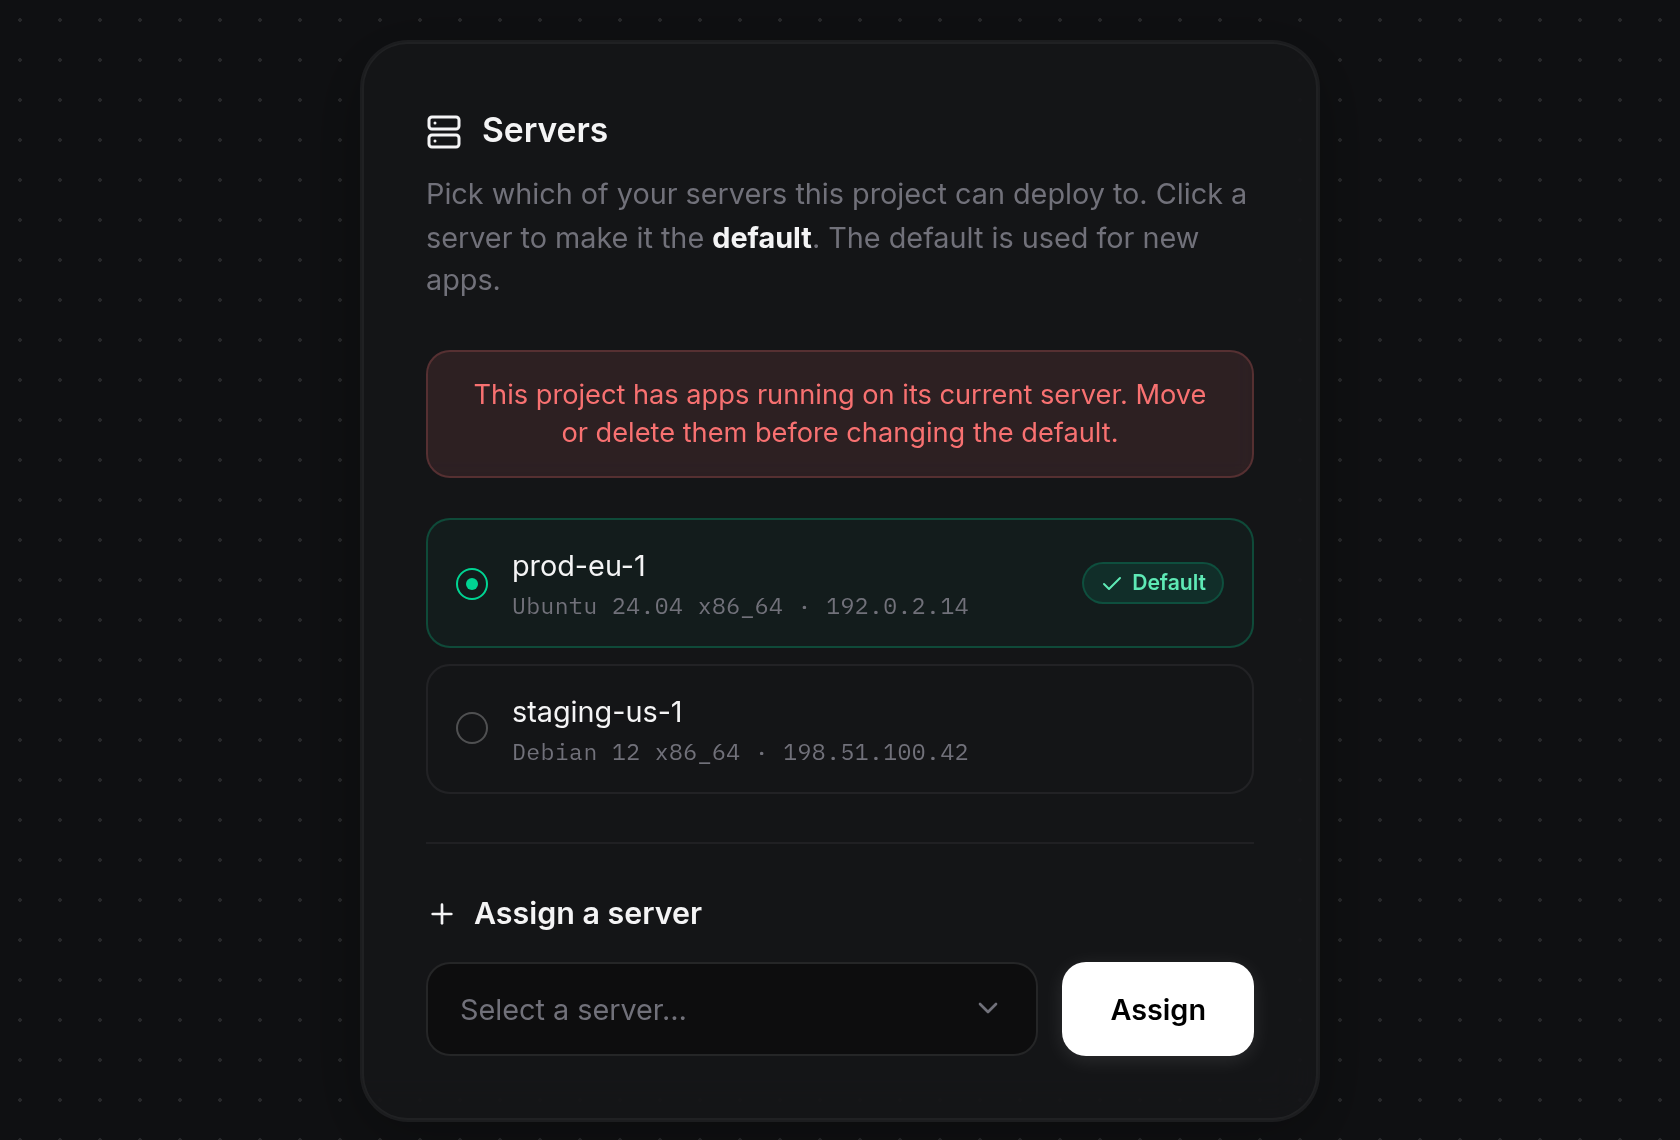
In the Servers card on the right, review the servers attached to your project. Each row shows a radio indicator on the left, the server name, its operating system, architecture, and IP address beneath it, and a green
Defaultbadge on the right of the active default server. New apps you add to the project deploy to this Default server. If no servers are attached yet, ODAC displaysNo servers are assigned to this project yet.instead.Click any attached server row that does not have the
Defaultbadge to make it the new default deploy target for new apps (clicking the server already markedDefaultdoes nothing).
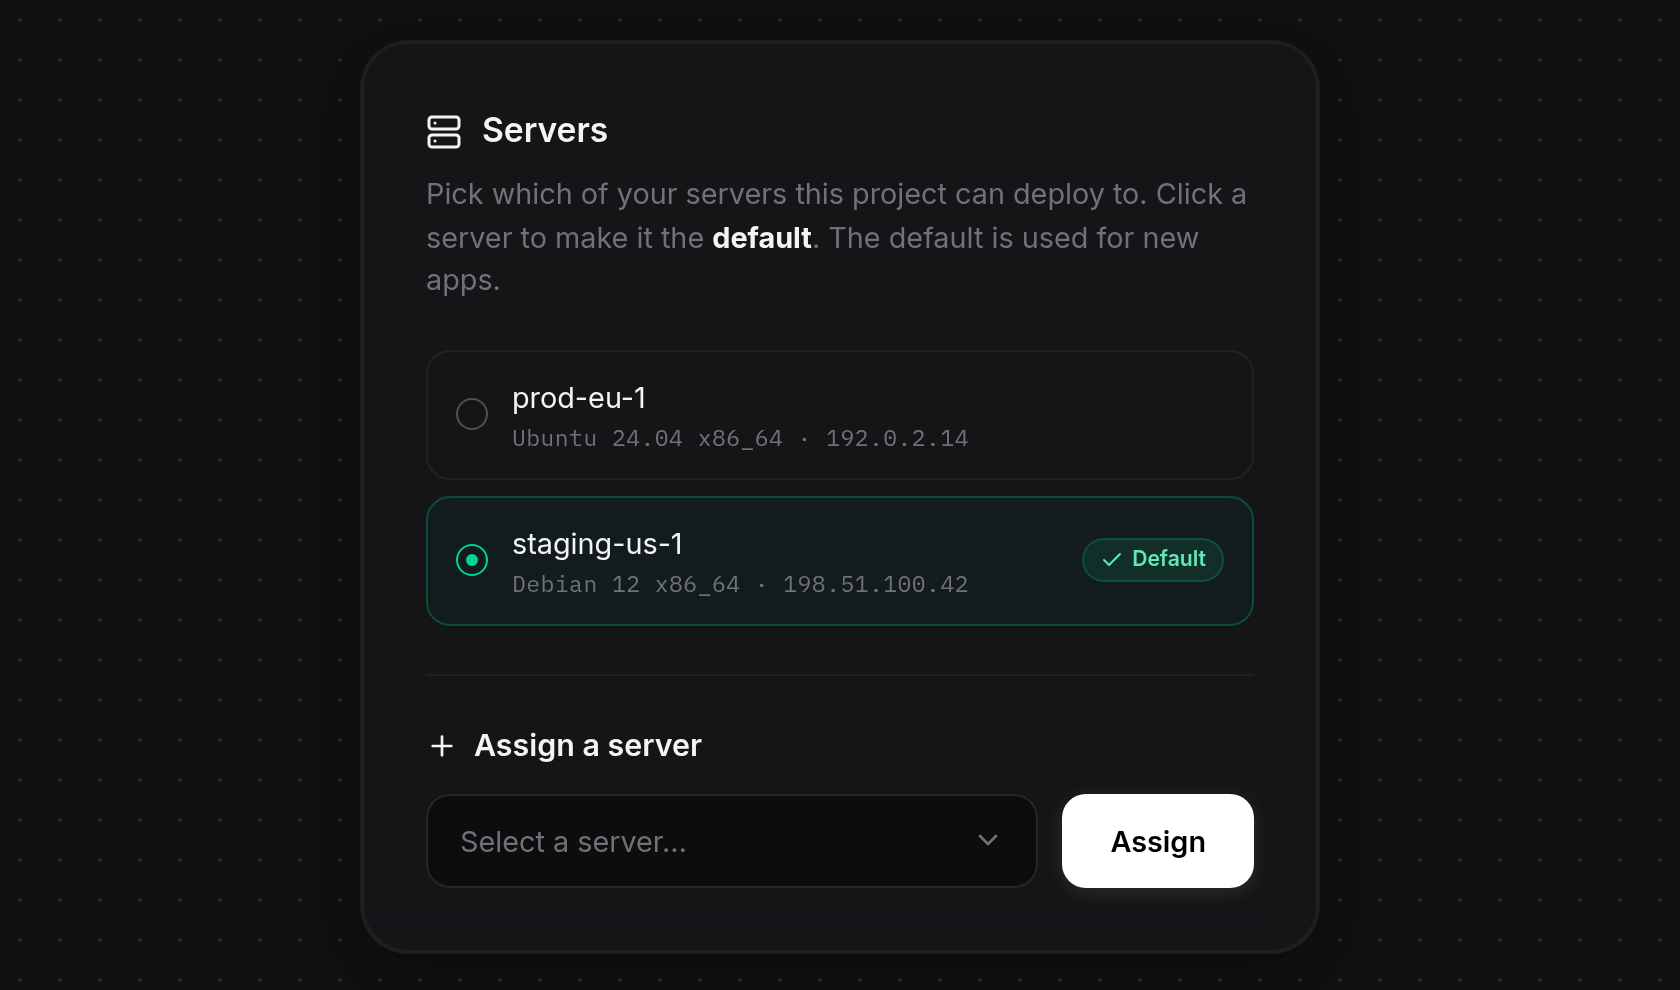
- ODAC refreshes the page with the filled green indicator and
Defaultbadge moved to the server you clicked.
- If the project already has apps running on its current server, ODAC prevents changing the default and shows
This project has apps running on its current server. Move or delete them before changing the default.above the server list. Move or delete those apps first (see App activity history and moving between projects and Inspect, rename, restart, and delete an app), then switch the default server.
Assign another server
- Under Assign a server in the Servers card, click Select a server… to open the list of other servers linked to your account that are not yet attached to this project. Type in Search servers… to filter the list by name (if nothing matches, it reads
No servers match your search.), then click a server to select it. If the server you need is not linked to your account yet, click Add a new server at the bottom of the dropdown to open Servers and connect it first (see Connect a server).
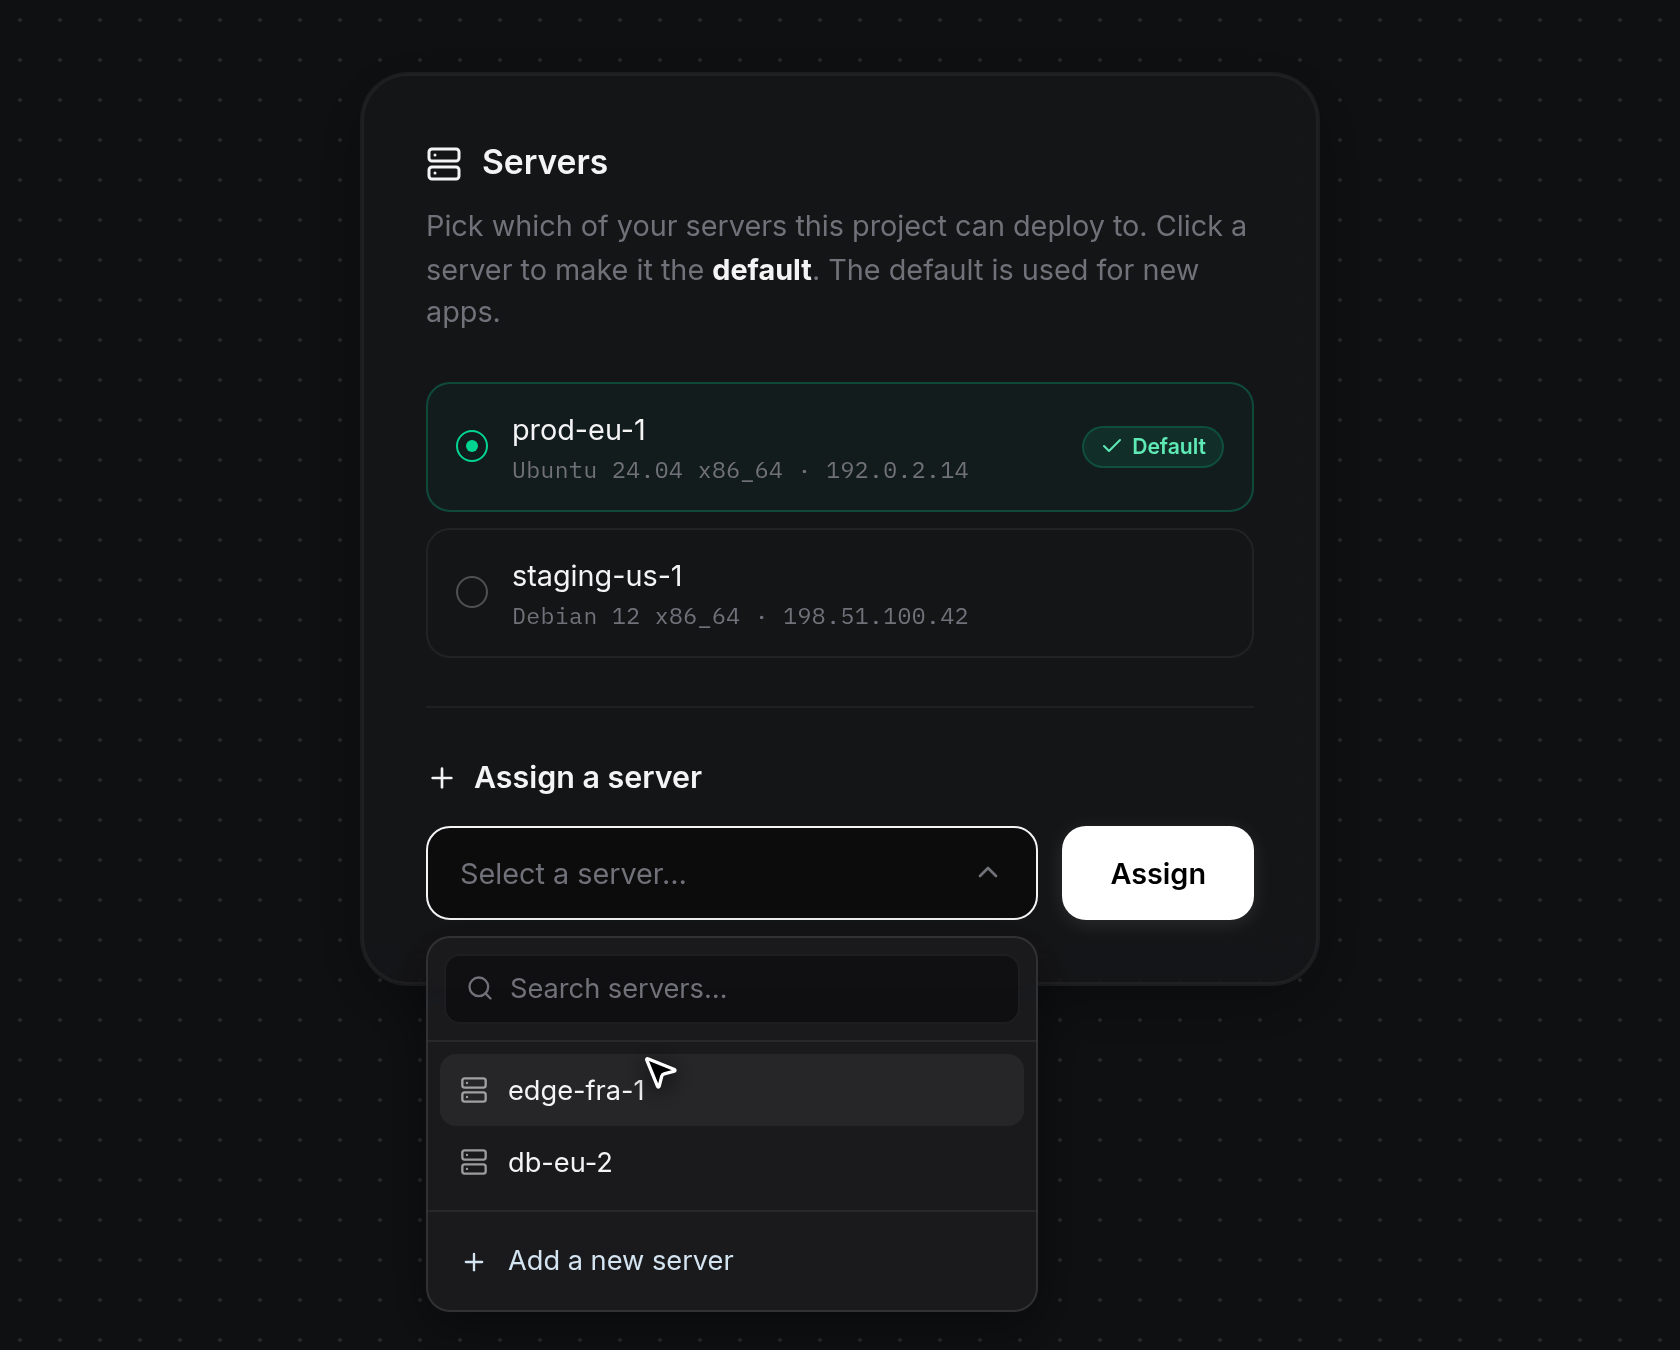
- With the selected server name displayed in the selector, click Assign. While assigning, the button reads
Assigning.... If you click Assign without choosing a server first,Choose a server to assign.appears above the selector.
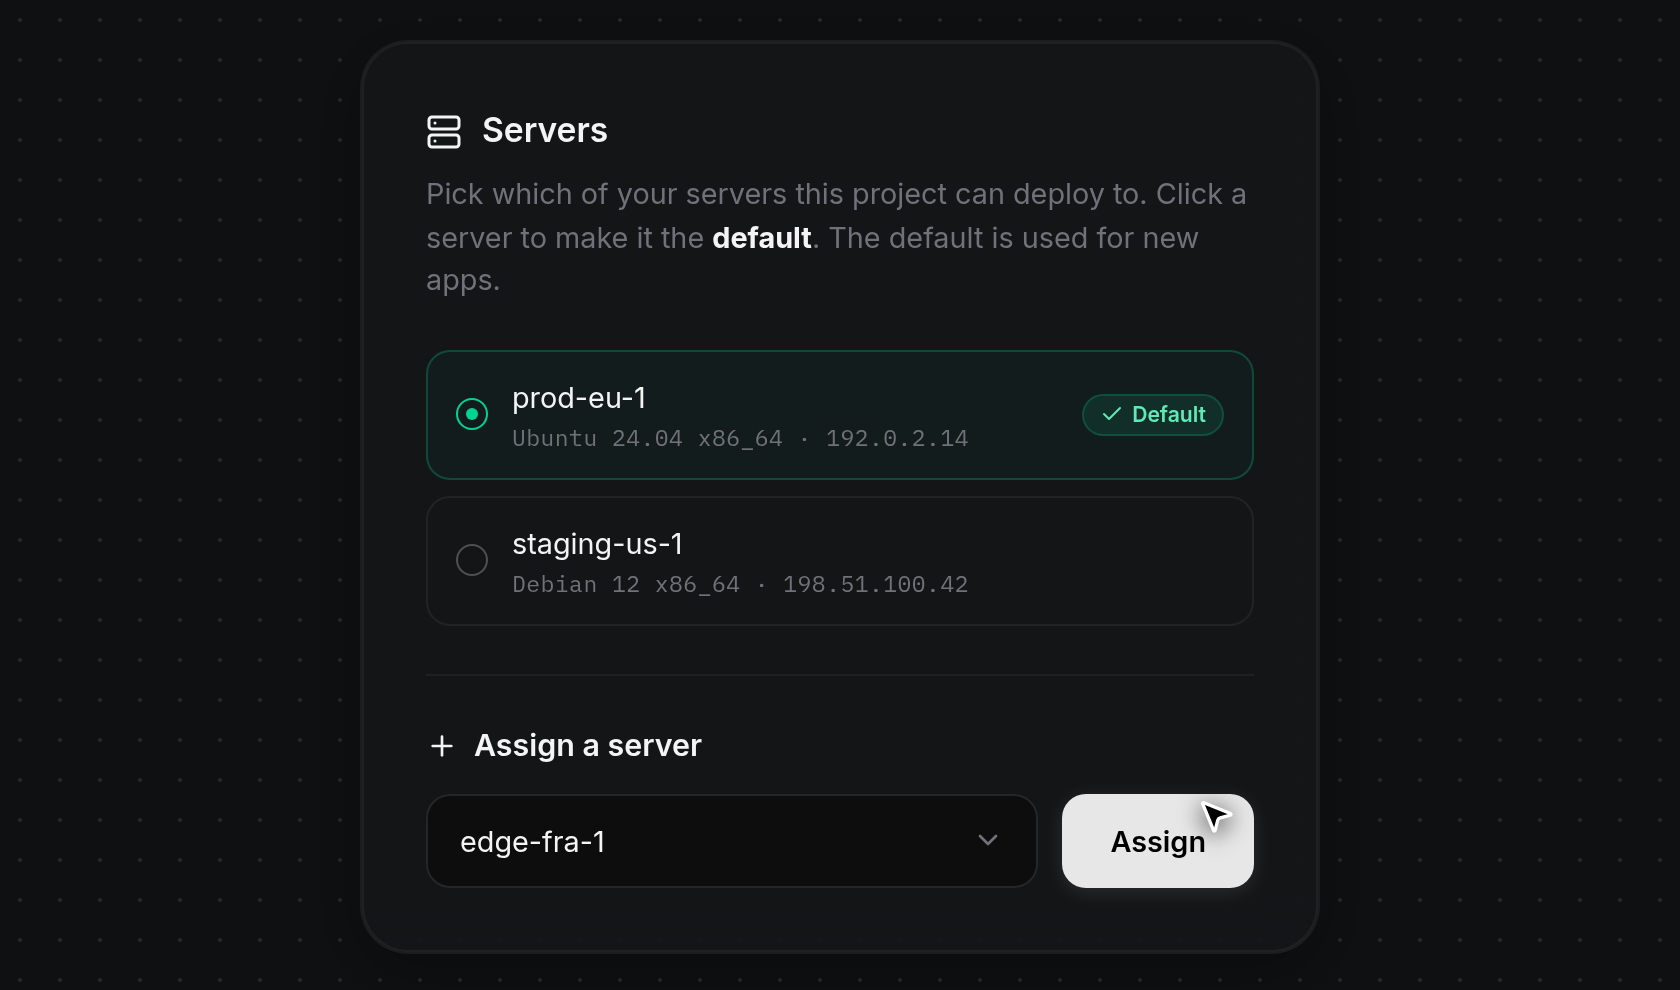
- The page refreshes with the newly assigned server added to the Servers list above. If the project had no servers attached before, the first server you assign automatically becomes the Default deploy target and begins deploying any queued apps (see Queueing apps before connecting a server). Once every server in your account is assigned to the project, the selector is replaced by
All of your servers are assigned to this project.and an Add a new server button (or Link a server first if your account has no linked servers yet).