Projects and navigation
Use the top header and left sidebar at app.odac.run to switch between projects, move through a project's sections, and create new projects.
Switch projects from the header
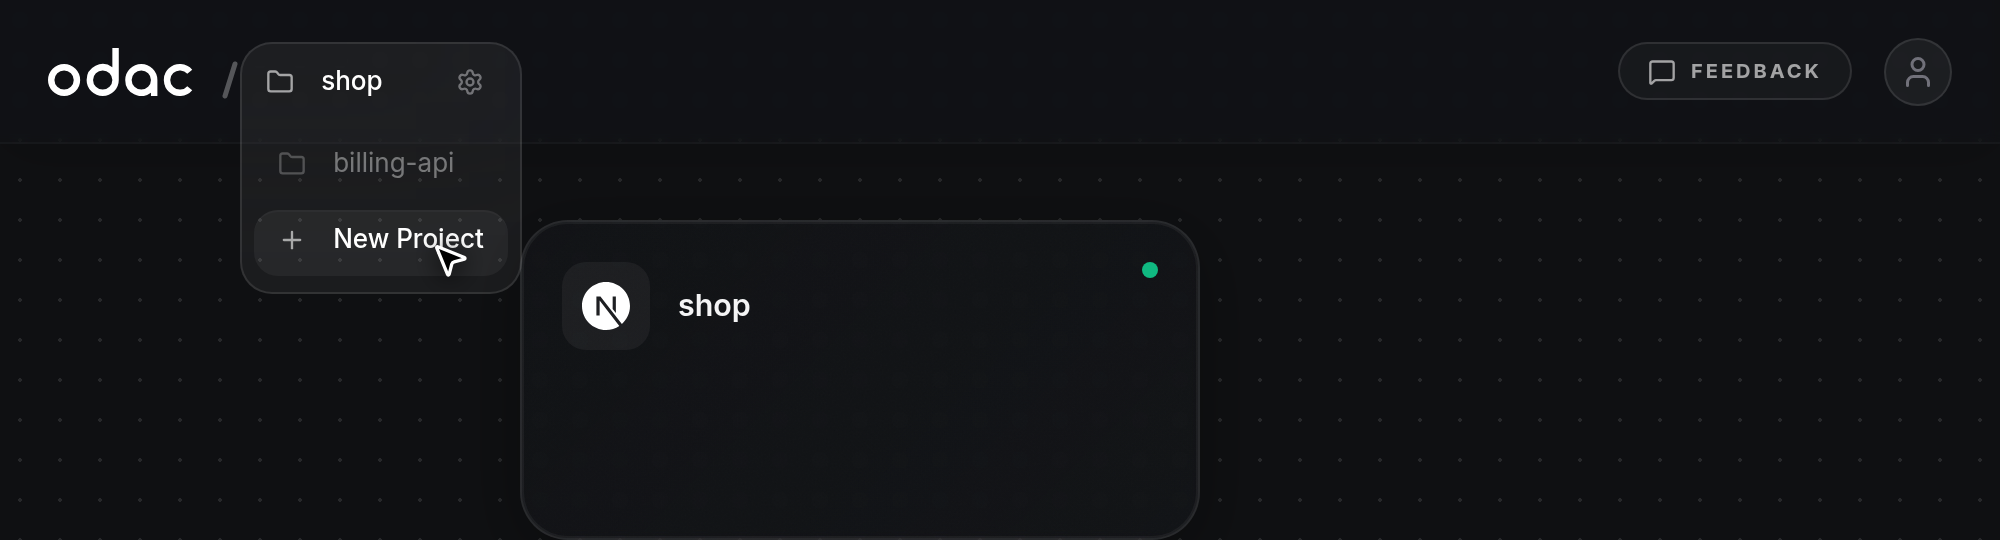
- Hover over or click the active project name next to the ODAC logo in the top-left header to expand the project menu. It lists your other projects along with New Project at the bottom. On account-level pages such as Profile or Servers, the selector reads Select Project.
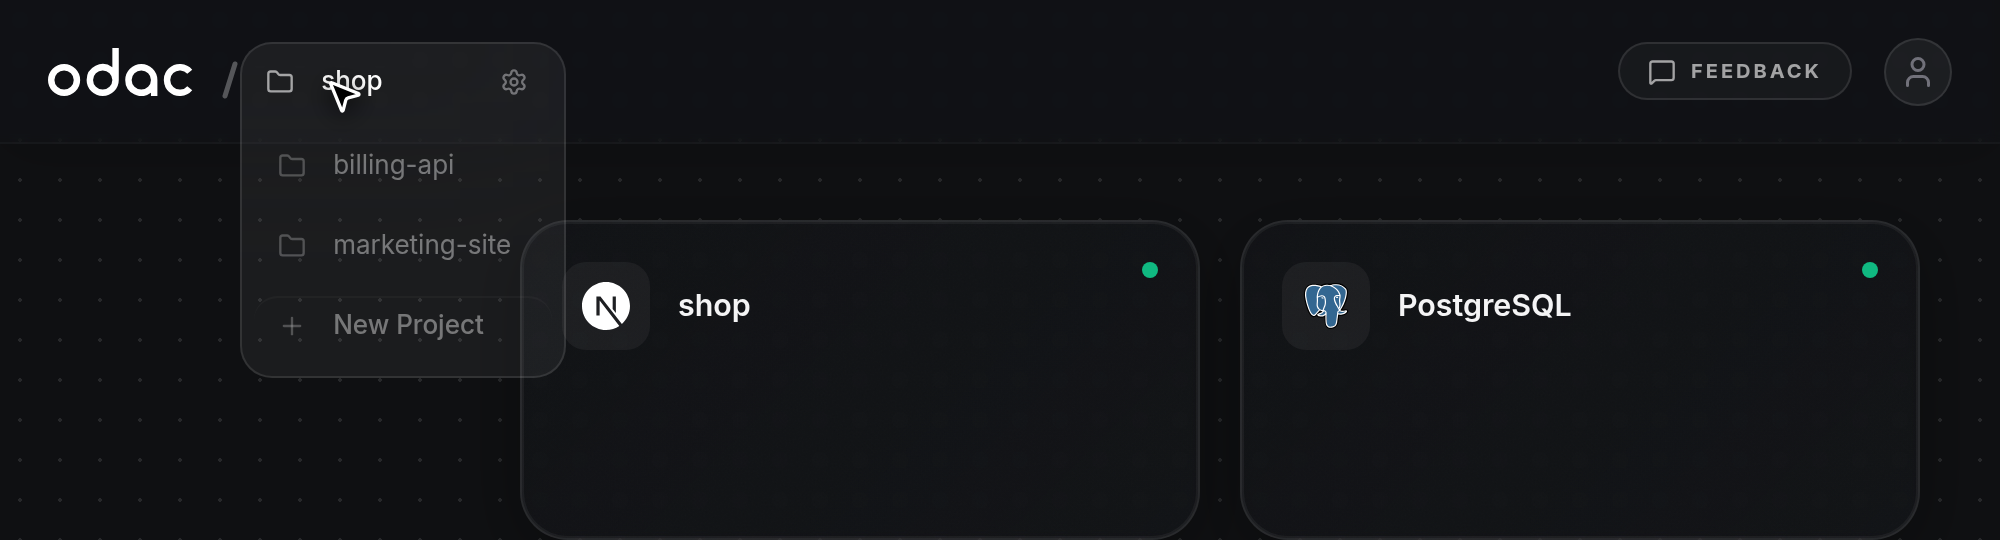
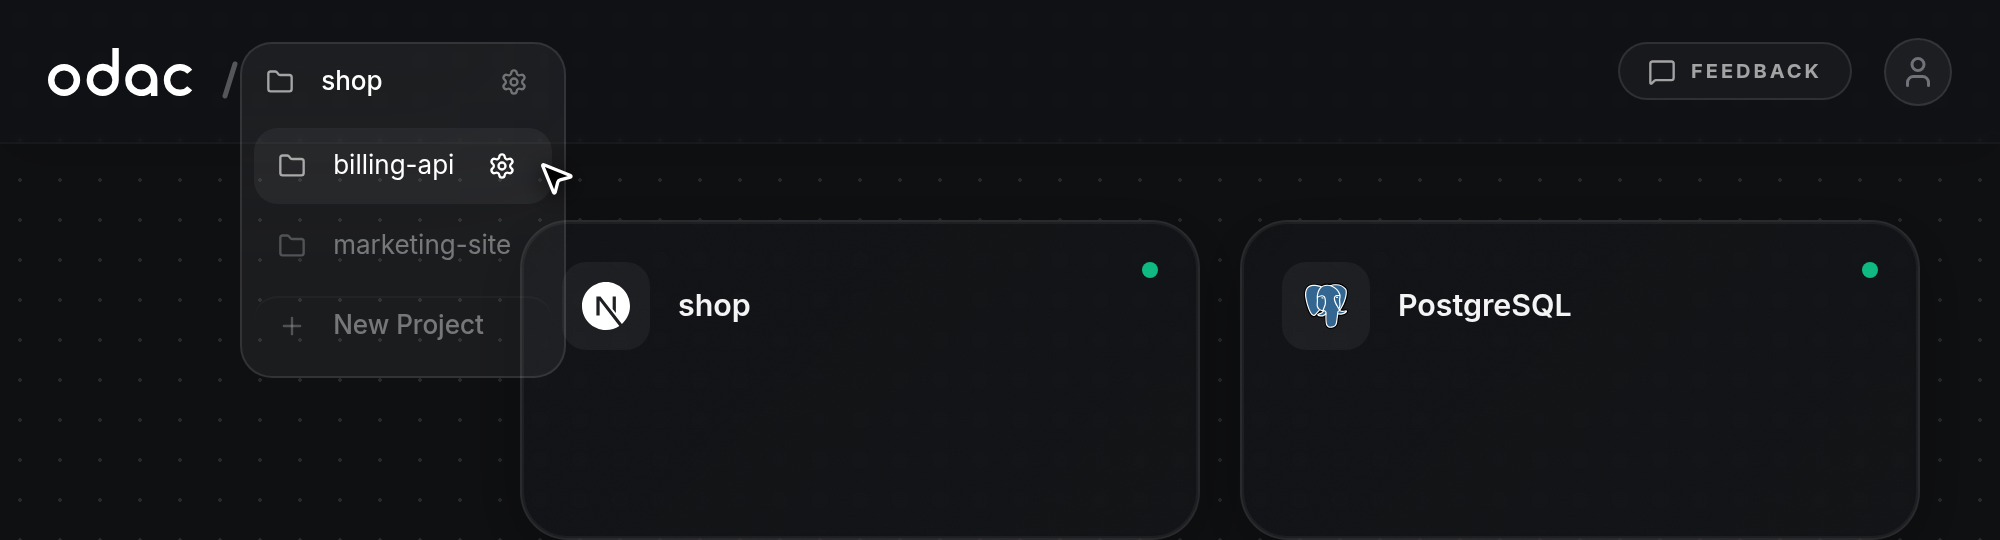
- Click any project in the list to switch to its Canvas. To jump straight to a project's settings instead, hover over its row (or the active project at the top) and click the gear icon on the right (see Rename a project and manage its servers).
Navigate with the left sidebar
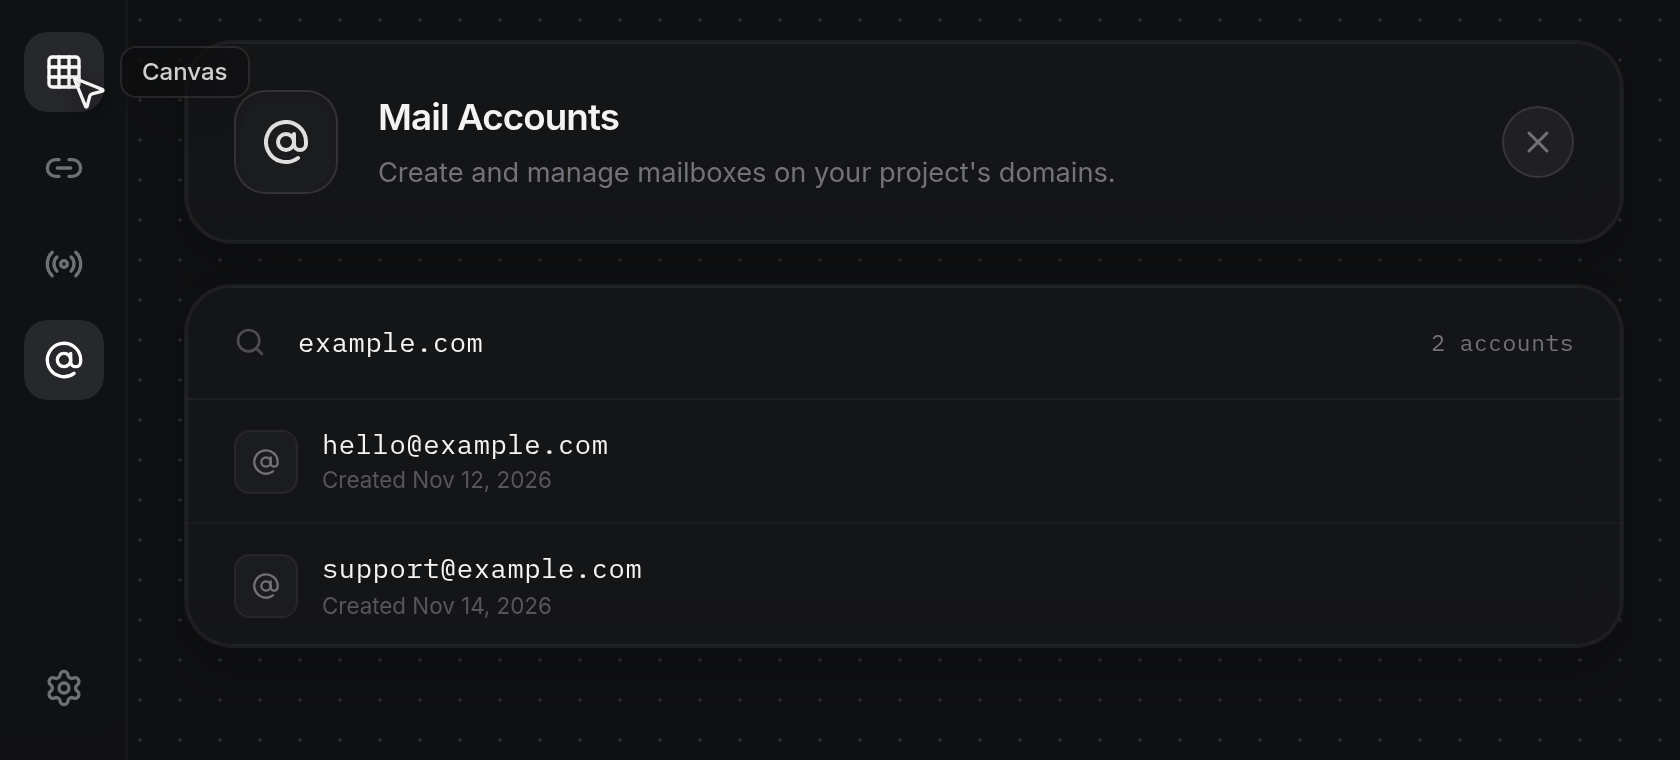
- Use the left sidebar rail on any project page to move between sections for the active project. Hover over an icon to see its label: Domains, DNS Settings, Mail Accounts, and Project Settings at the bottom. The active section stays highlighted in the rail.
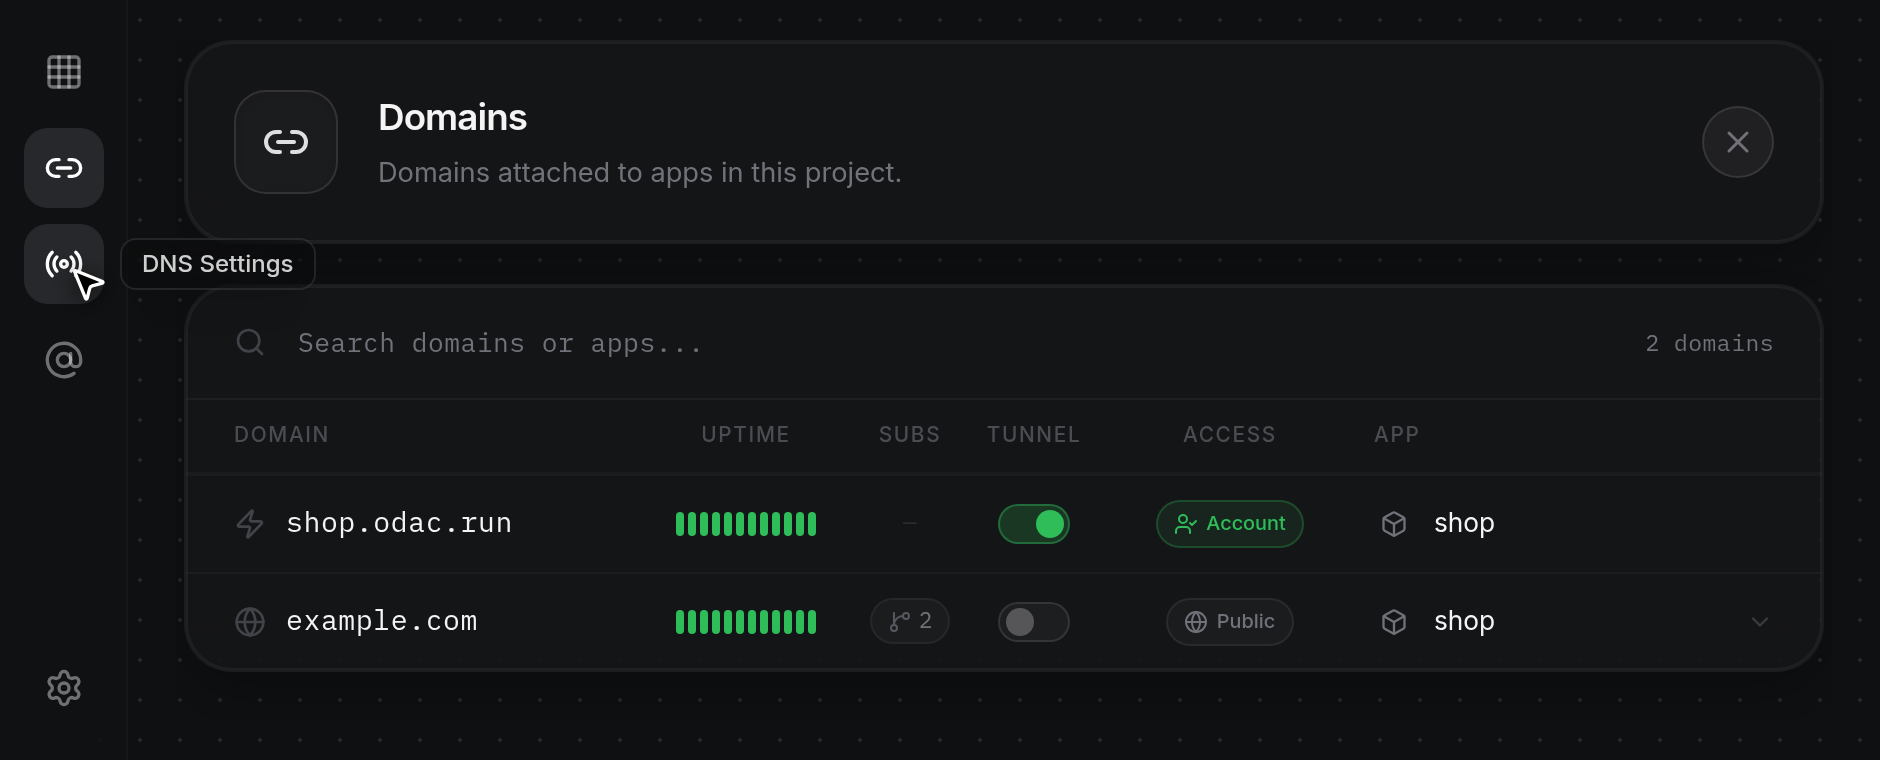
- Click the top grid icon (Canvas) from Domains, DNS Settings, Mail Accounts, or Project Settings to return to the project's Canvas. When you are already on the Canvas, this top icon becomes Add App and opens the app launcher instead (see Browse and deploy from the launcher).
Create a new project
- Open the project menu in the top header and click New Project at the bottom of the list.
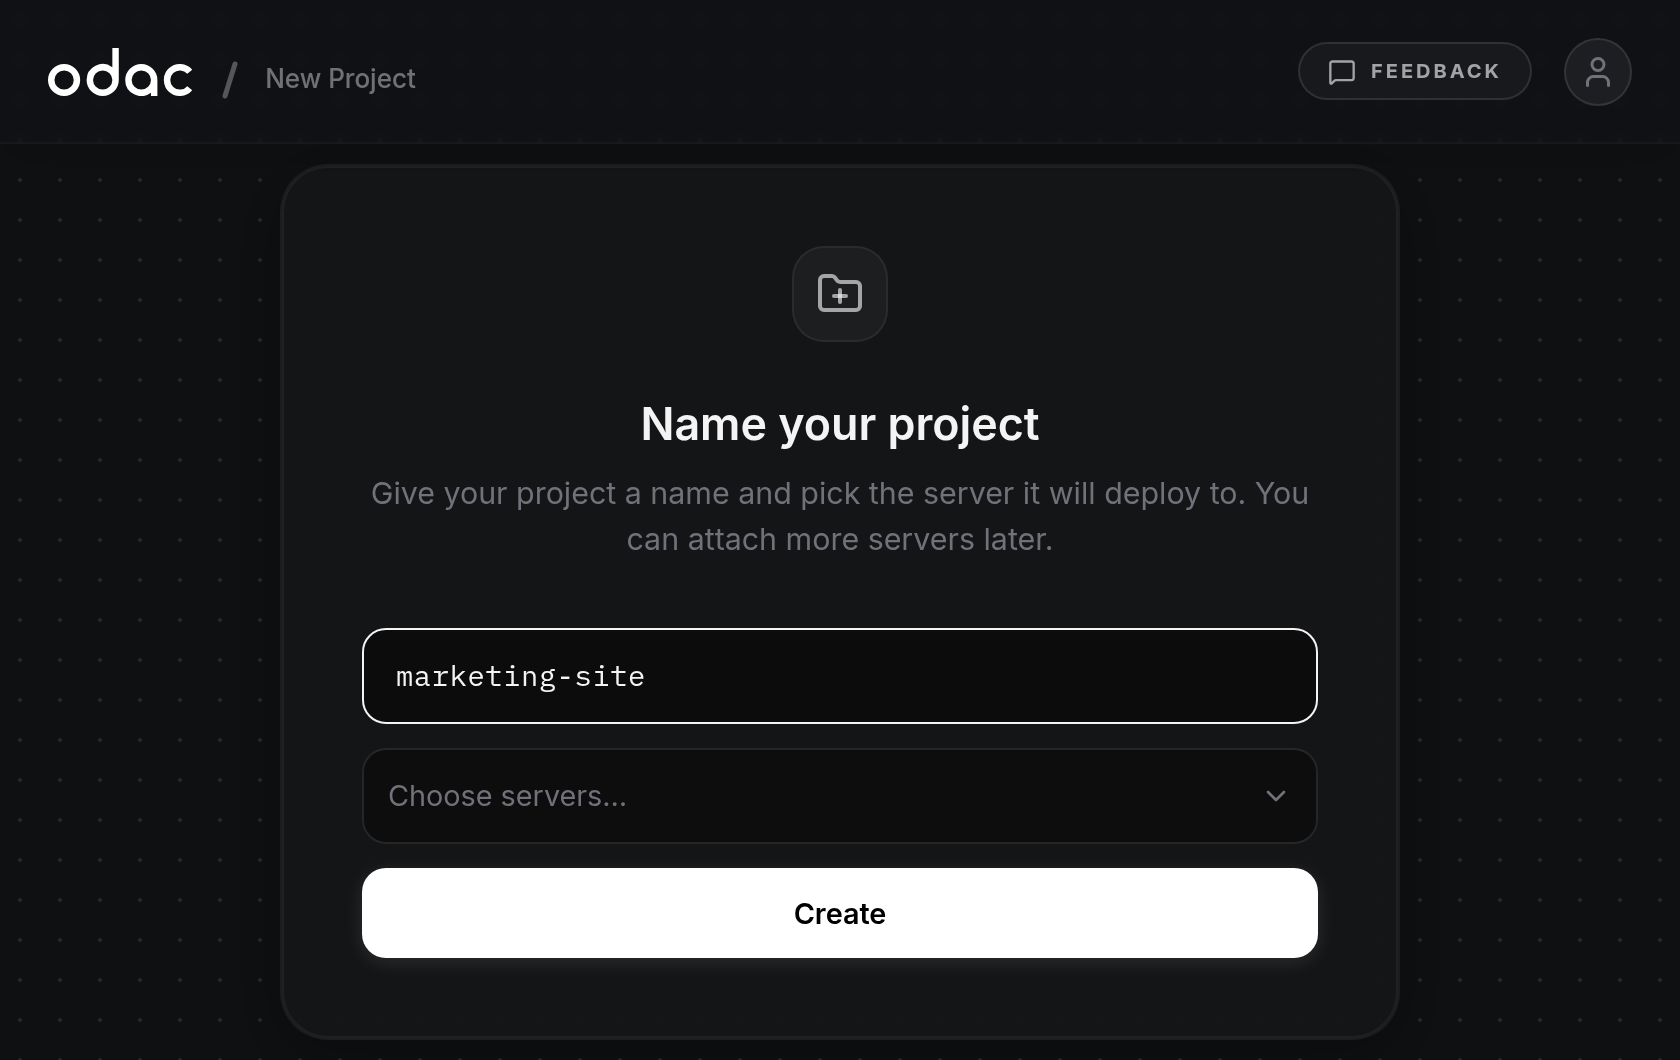
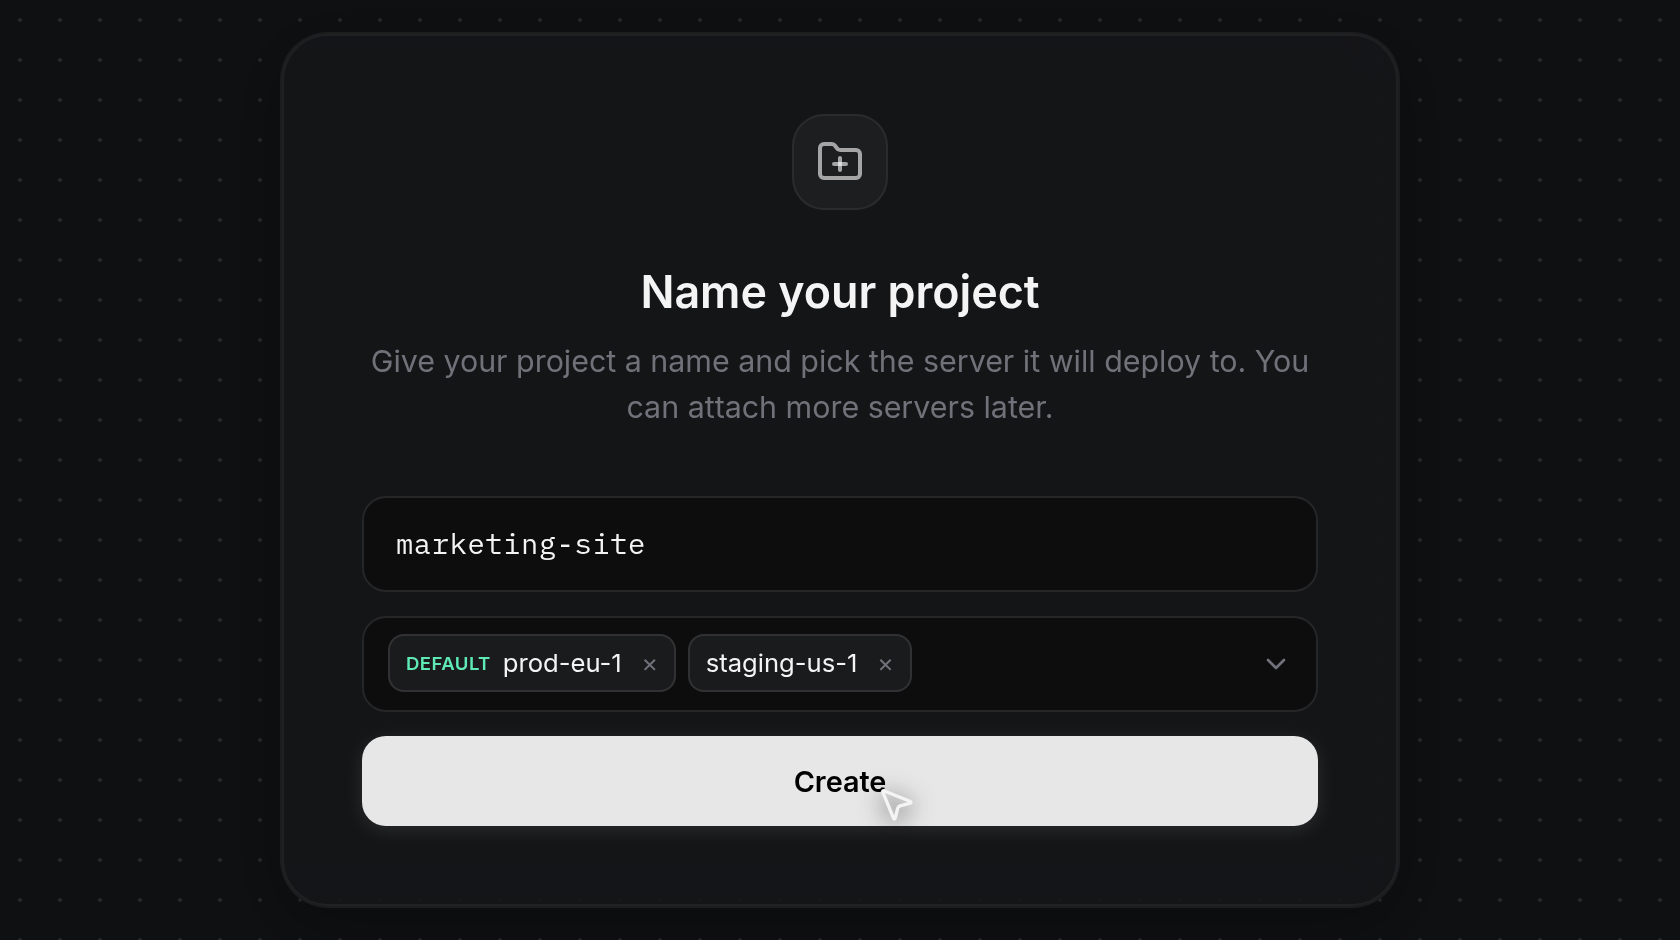
- On the Name your project card, enter a name between 2 and 60 characters in the project name field.
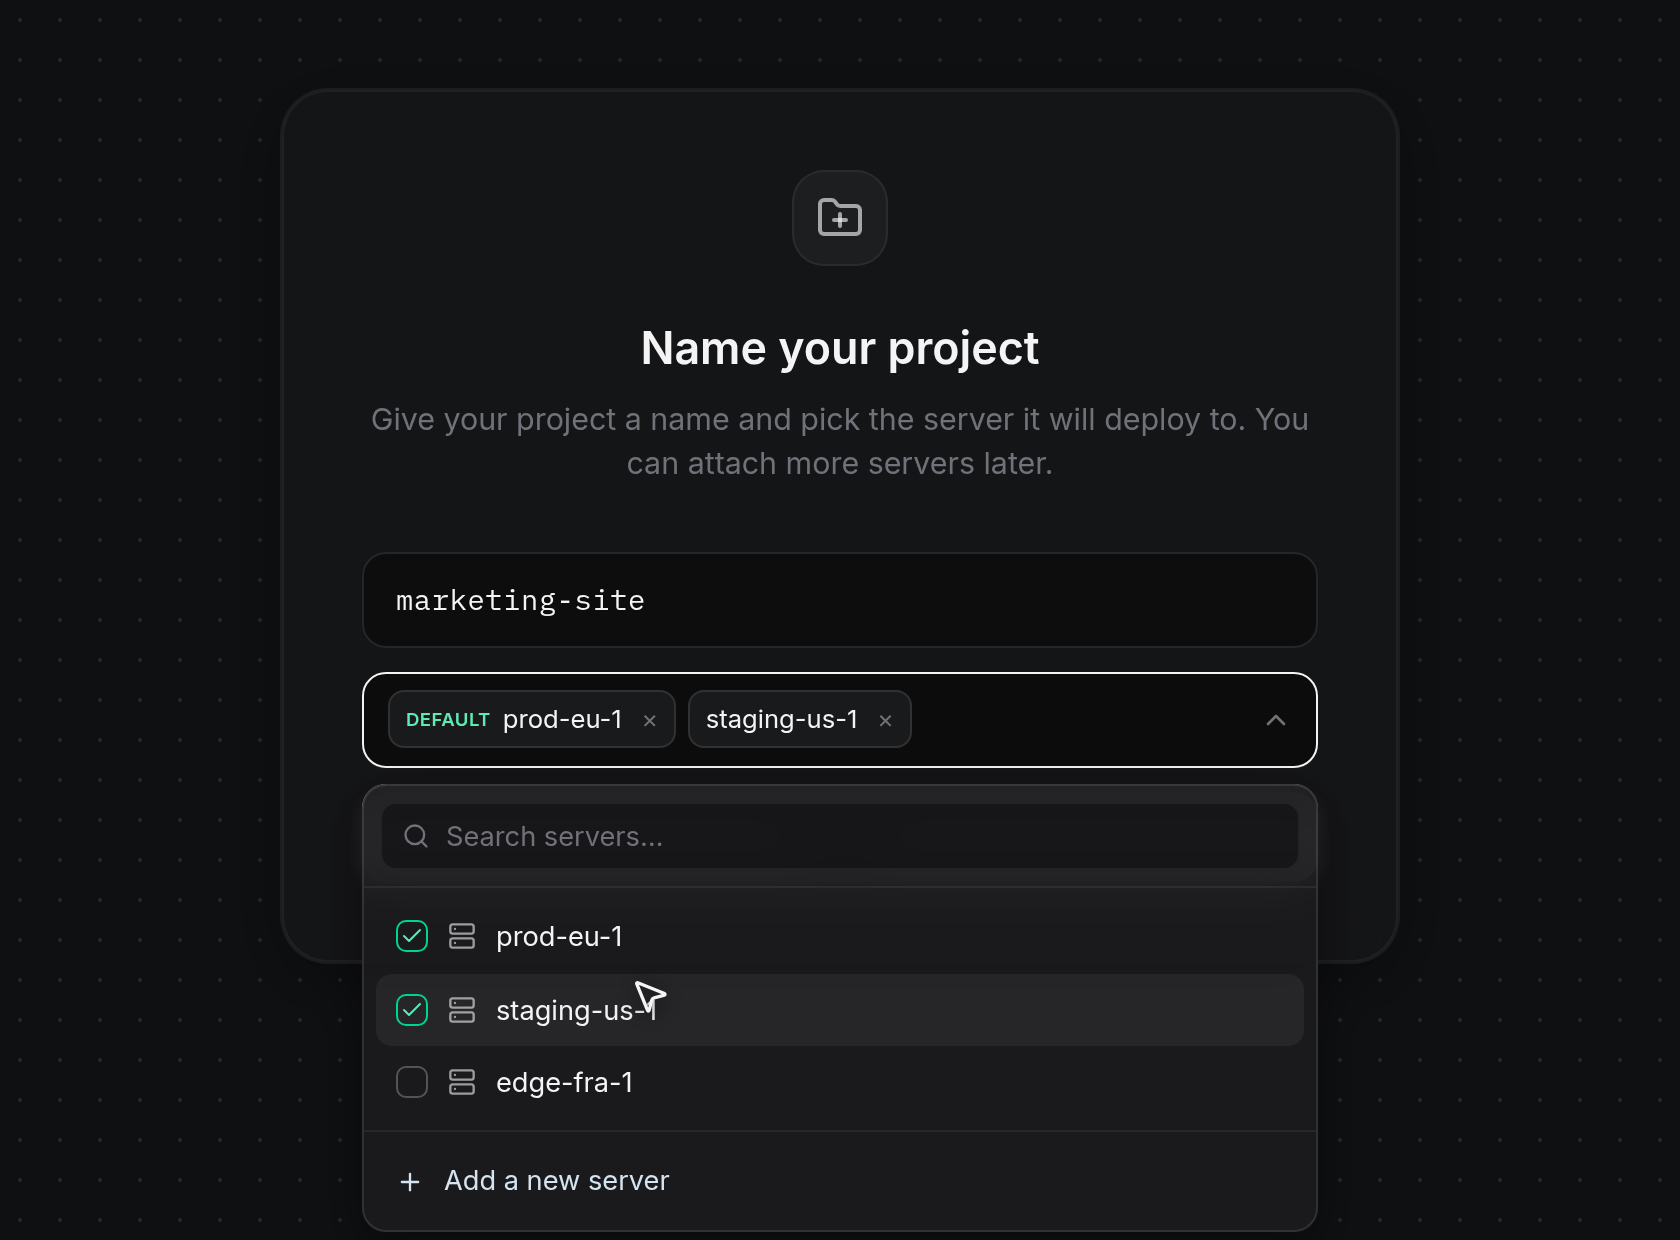
- Click Choose servers… to open the server selector. Type in Search servers… to filter the list by name, then click one or more servers to attach them to the project. Each selected server appears as a chip above the list with a checkmark beside its name, and the first server you choose is tagged
DEFAULTas the default deploy target for new apps. Click×on a chip (or click the server again) to remove it.
- Click Create to save the project. While creating, the button reads
Creating..., then ODAC showsProject createdand opens the new project's Canvas. If you need to connect a server first, click Add a new server at the bottom of the server dropdown to open Servers (see Connect a server).
When the project limit is reached
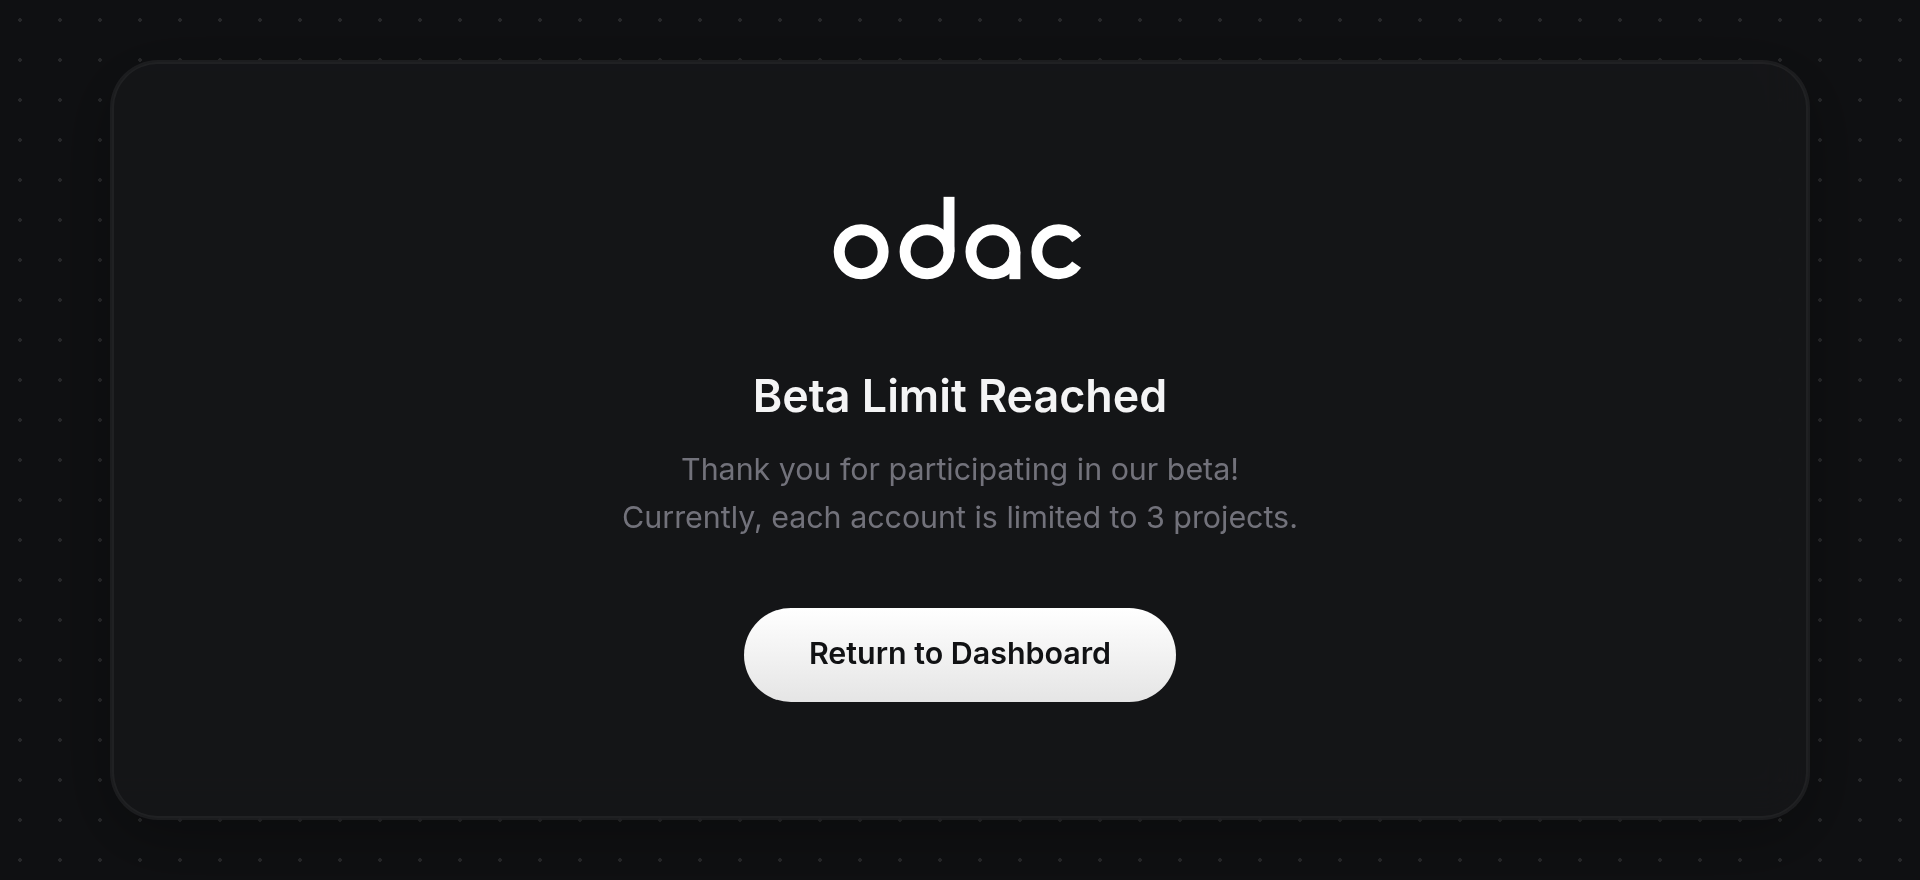
- If your account has already reached its project limit, opening New Project displays Beta Limit Reached instead of the creation form, stating how many projects your account allows. Click Return to Dashboard to go back to your existing projects (or remove an unused project from Project Settings first; see View project activity and delete a project).