Browse and deploy from the launcher
Use the app launcher at app.odac.run to browse ready-to-run catalog apps, inspect stack contents and server requirements, pick an image version, and place apps onto your project's Canvas.
Open the launcher
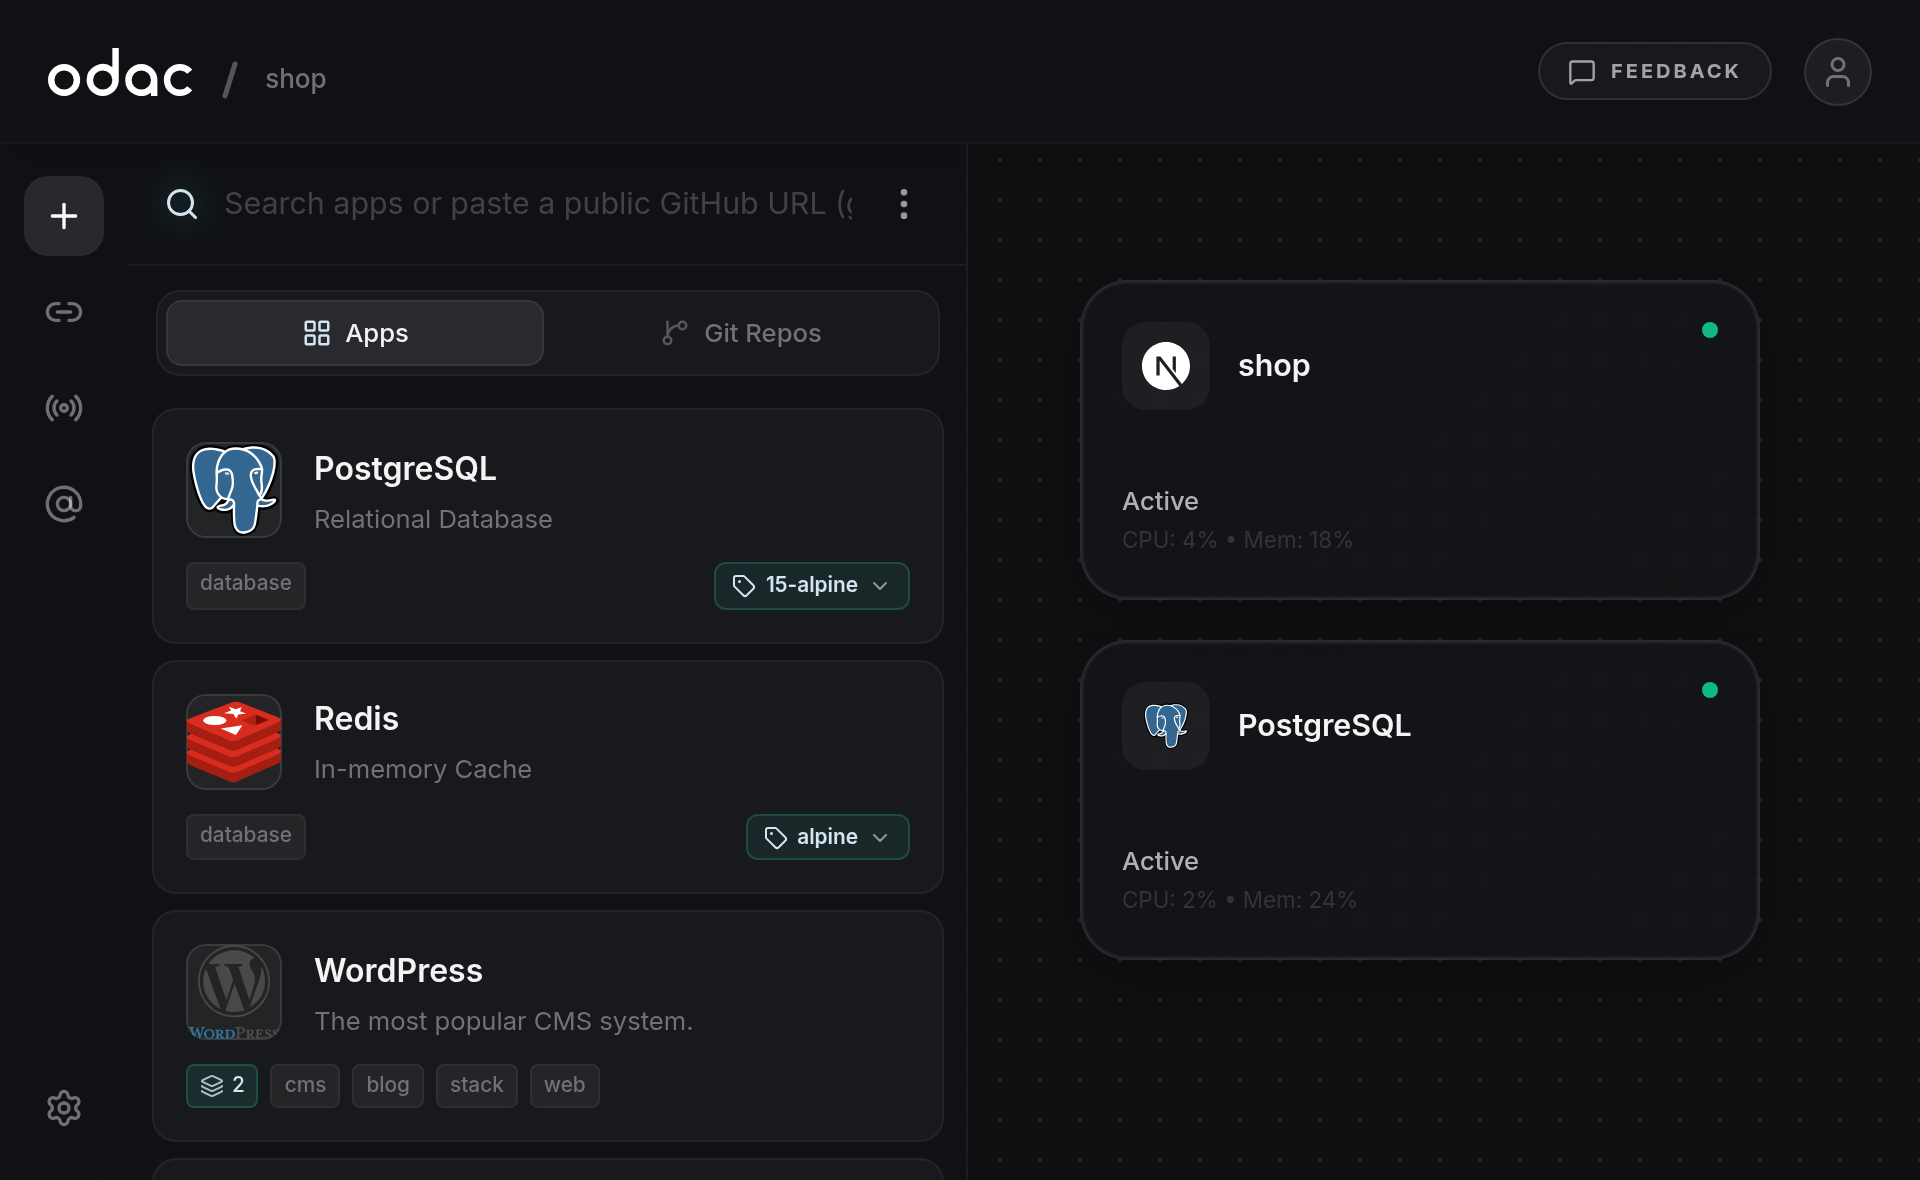
Open the app launcher from your project's Canvas using any of these triggers:
- Click the floating plus button centered at the bottom of the board when your server is online (see Overview).
- Click Add App at the top of the left sidebar rail.
- Double-click any empty spot on the dotted grid.
- On an empty board, click the dashed Add your first app card in queue mode (see Queueing apps before connecting a server) or Initialize Server Space when a server is connected.
The launcher slides out beside the left sidebar, and Add App stays highlighted in the rail. If your server is offline, the bottom button displays Server Offline and double-clicking the grid shows
Cannot create apps while server is offline. To close the launcher without placing an app, click empty space on the Canvas, click Add App again, or press Escape.
Search the catalog
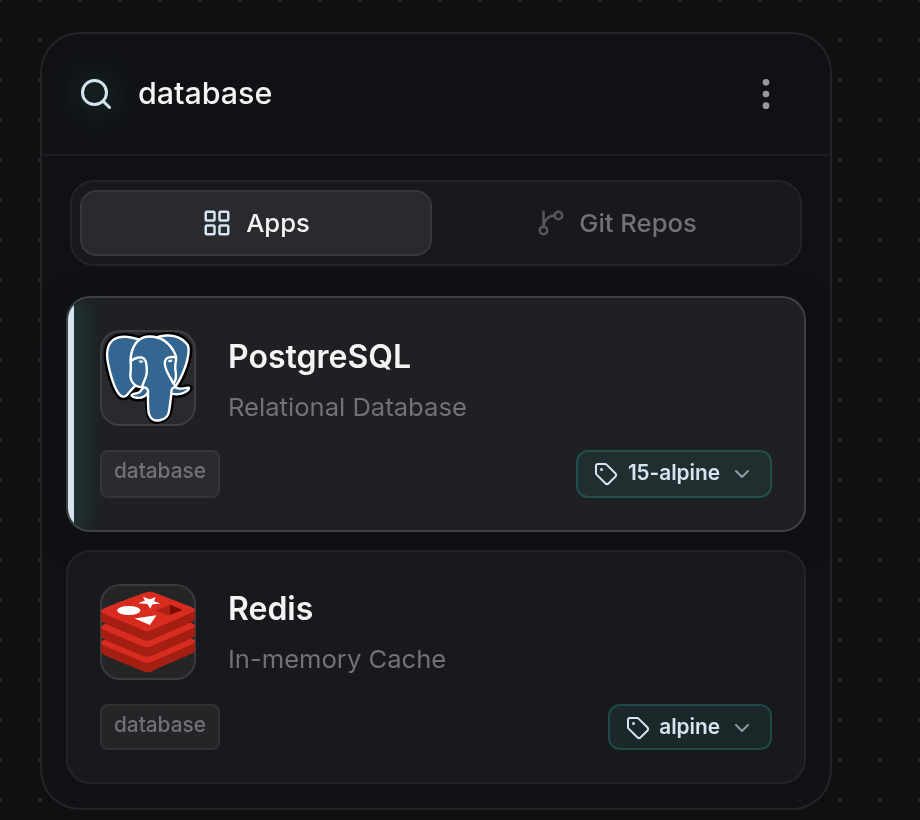
- Keep the Apps tab selected and type an app name or category tag (such as
database,postgres, orai) into Search apps or paste a public GitHub URL (github.com/owner/repo)... to filter the list. Press Down Arrow from the search box to focus the first card and press Enter to add it, or clear your query ifNo applications foundandTry adjusting your search or categoryappear. To deploy a repository instead, switch to Git Repos or paste a public GitHub URL: see Connect and deploy from GitHub.
Read card badges
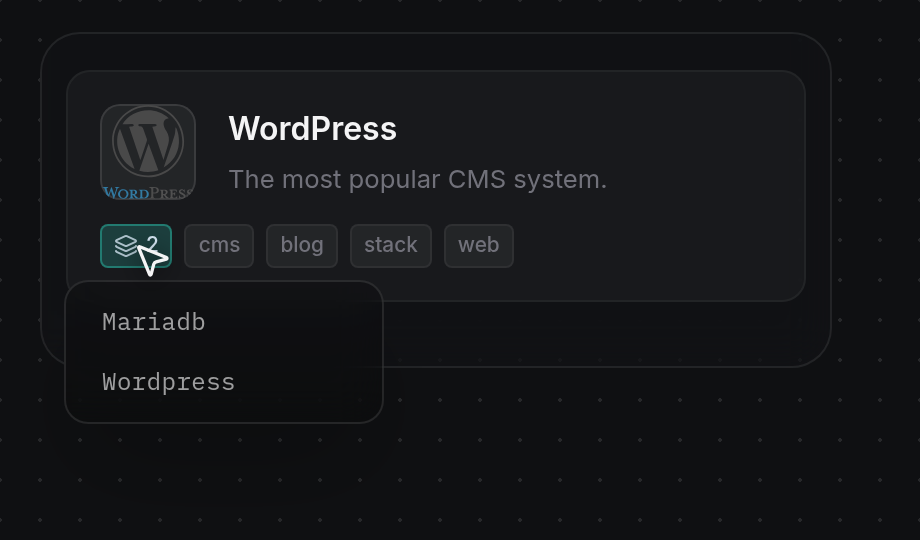
- Multi-app stacks: Apps that deploy multiple linked services together display a teal layers badge with the service count, such as
2on WordPress or Ollama + Open WebUI. Hover over the layers badge to open a popover listing every included service.
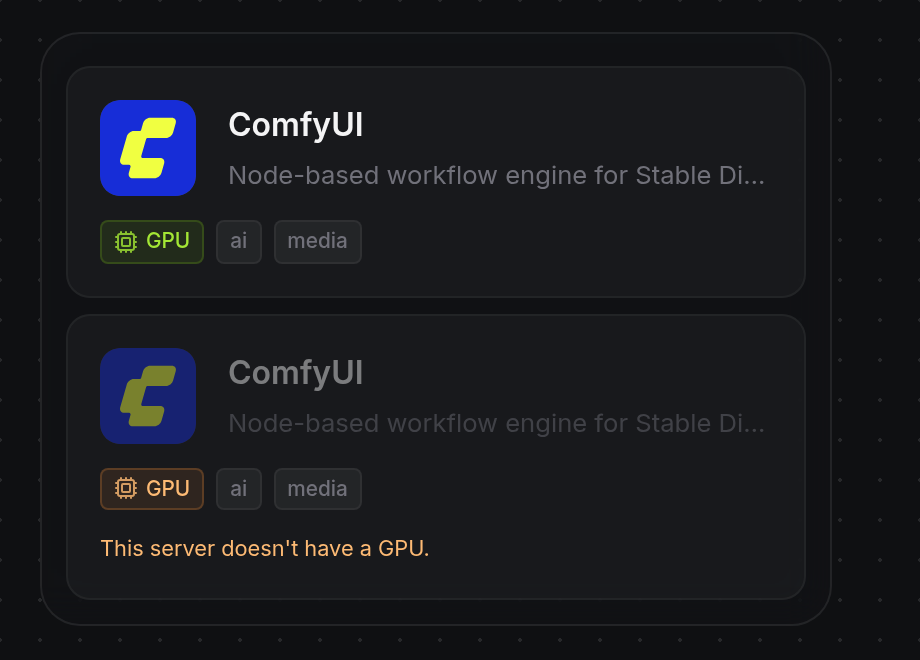
- GPU requirements: Apps that require a GPU display a chip badge (
GPU,NVIDIA GPU,AMD GPU, or Intel GPU). When your server satisfies the requirement (or before a server is attached), the badge appears in green and the card deploys normally. When your server cannot provide a compatible GPU or enough VRAM, the badge turns amber, the card dims, and a note below the tags explains why (for example,This server doesn't have a GPU.). Clicking or dragging an unavailable card shows that requirement in a notification instead of placing it. Apps where GPU acceleration is optional do not show a GPU badge.
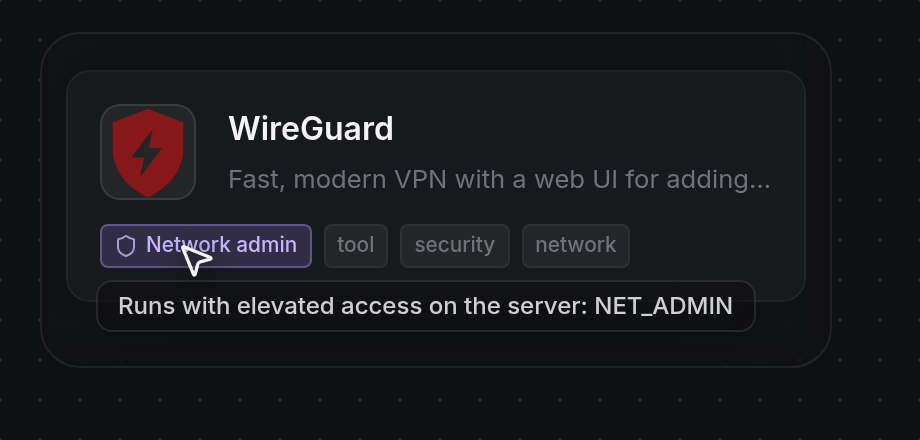
- Server access capabilities: Apps that need elevated host permissions display a violet shield badge: Network admin, Raw sockets, Low ports, Priority, or Host access. Hover over the badge to read the elevated access tooltip. Unlike an unmet GPU requirement, this badge is informational only and does not prevent you from placing the app.
Pick an image version
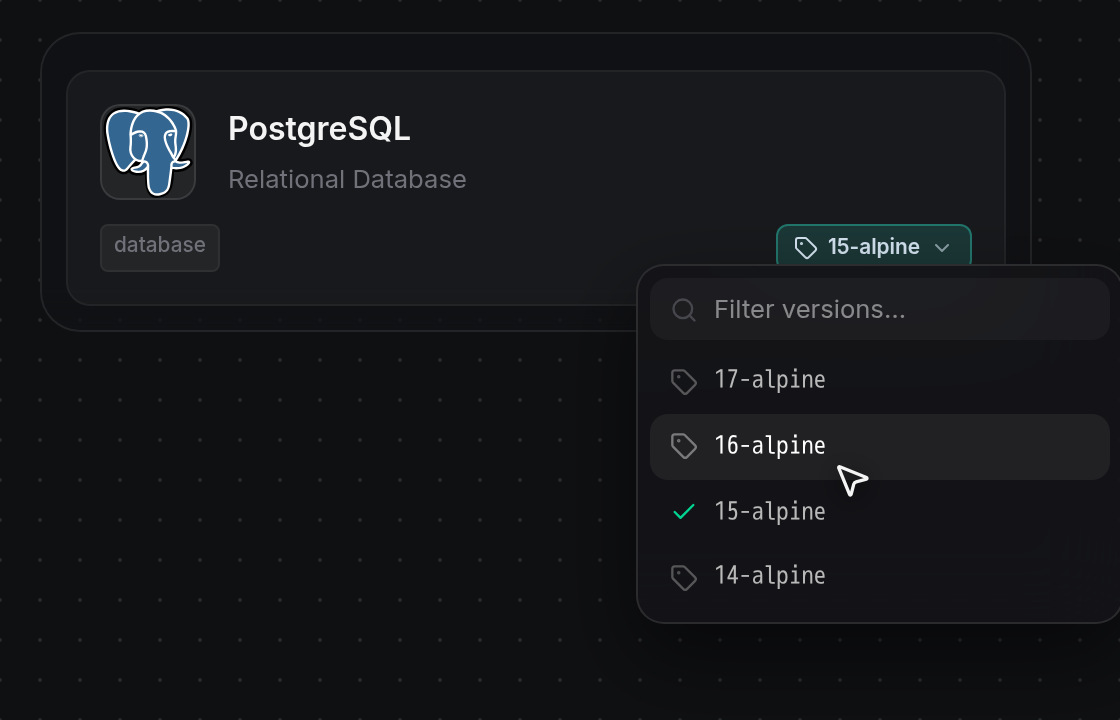
- On catalog cards that offer selectable versions, click the teal version pill on the right side of the tag row (showing the default tag, such as 15-alpine) to open the version menu without placing the card. Type in Filter versions… to narrow down the list, then click a version such as 16-alpine to update the pill (a green checkmark marks the active choice). Click outside the menu or press Escape to keep the current tag.
Place or cancel an app
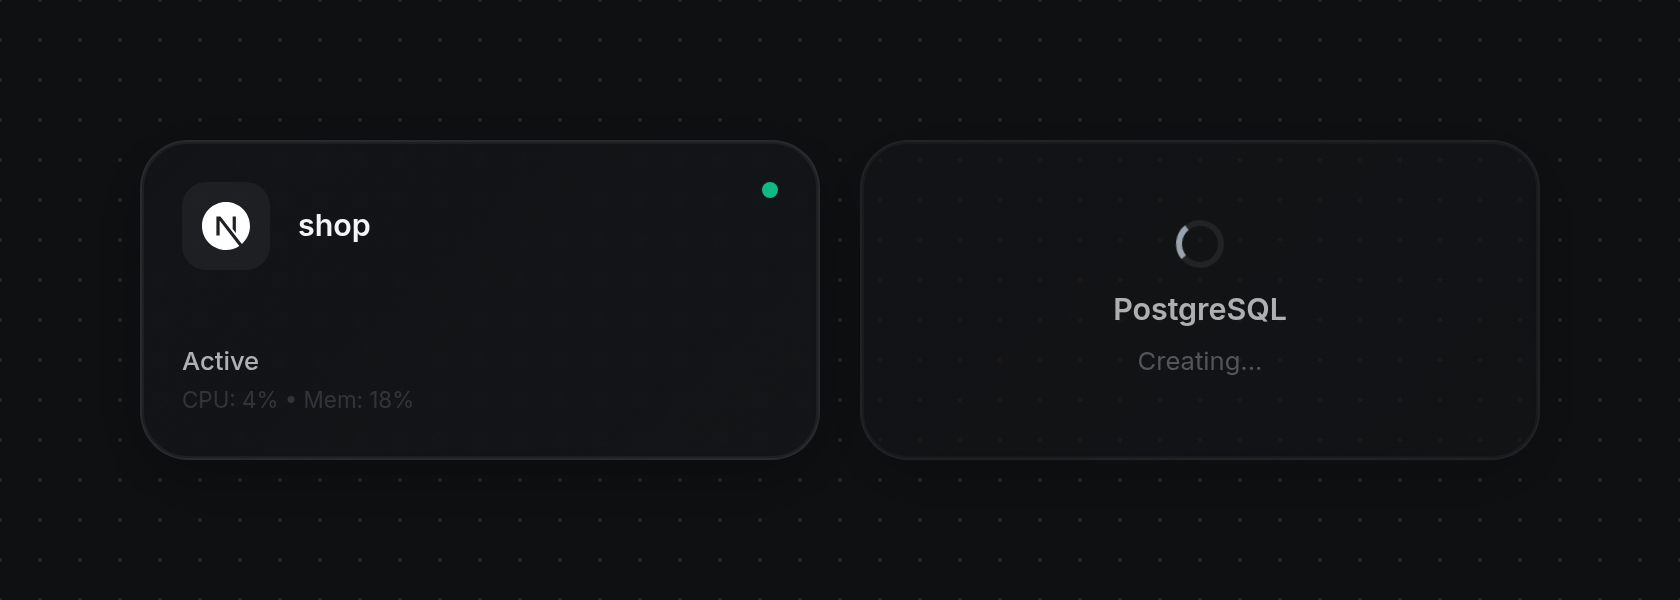
- Click to auto-place: Click an available card (anywhere outside its version pill) and release without dragging. The launcher closes, ODAC places the app in the nearest open grid spot, and the new card appears dimmed with a spinner and
Creating...while it deploys (orQUEUEDif no server is attached yet).
- Drag to a grid spot: Press and hold an available card, then drag it out onto the Canvas. The launcher closes and a translucent preview card labeled
Place on canvassnaps to the grid cells under your pointer. Over open cells, the preview shows a bright highlighted border and releasing deploys the app there; over occupied cells, the border turns red and releasing cancels placement withCannot place here: Collision detected.
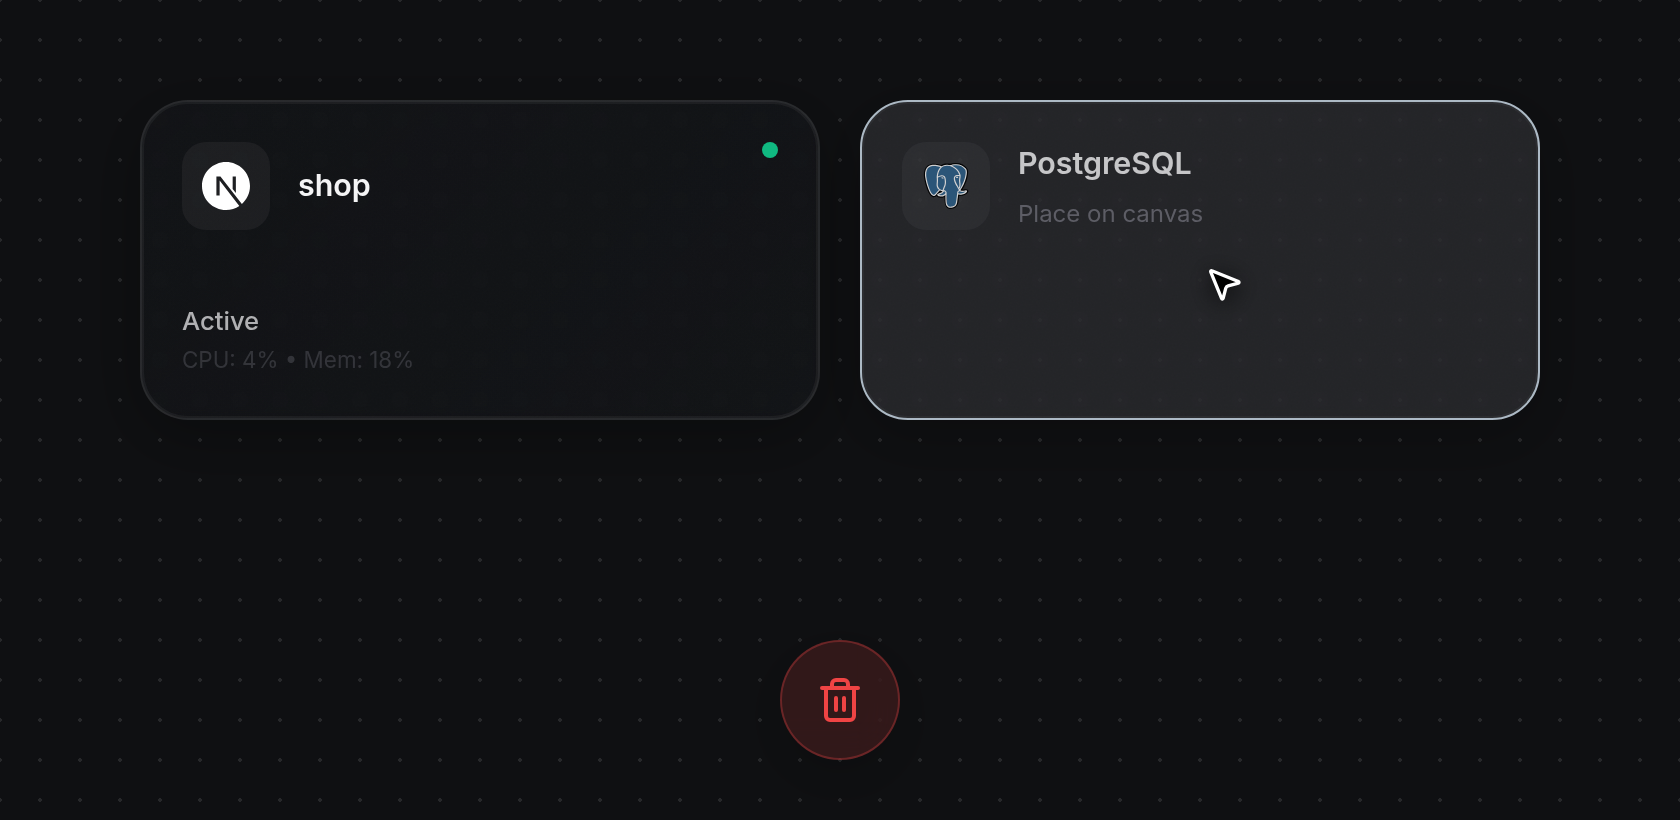
- Cancel placement: While you drag a card, the floating plus button at the bottom of the Canvas turns into a red trash button. Drag the preview card onto the trash button until it glows and the preview shrinks into it, then release to cancel. You can also right-click or press Escape at any time before releasing to cancel.