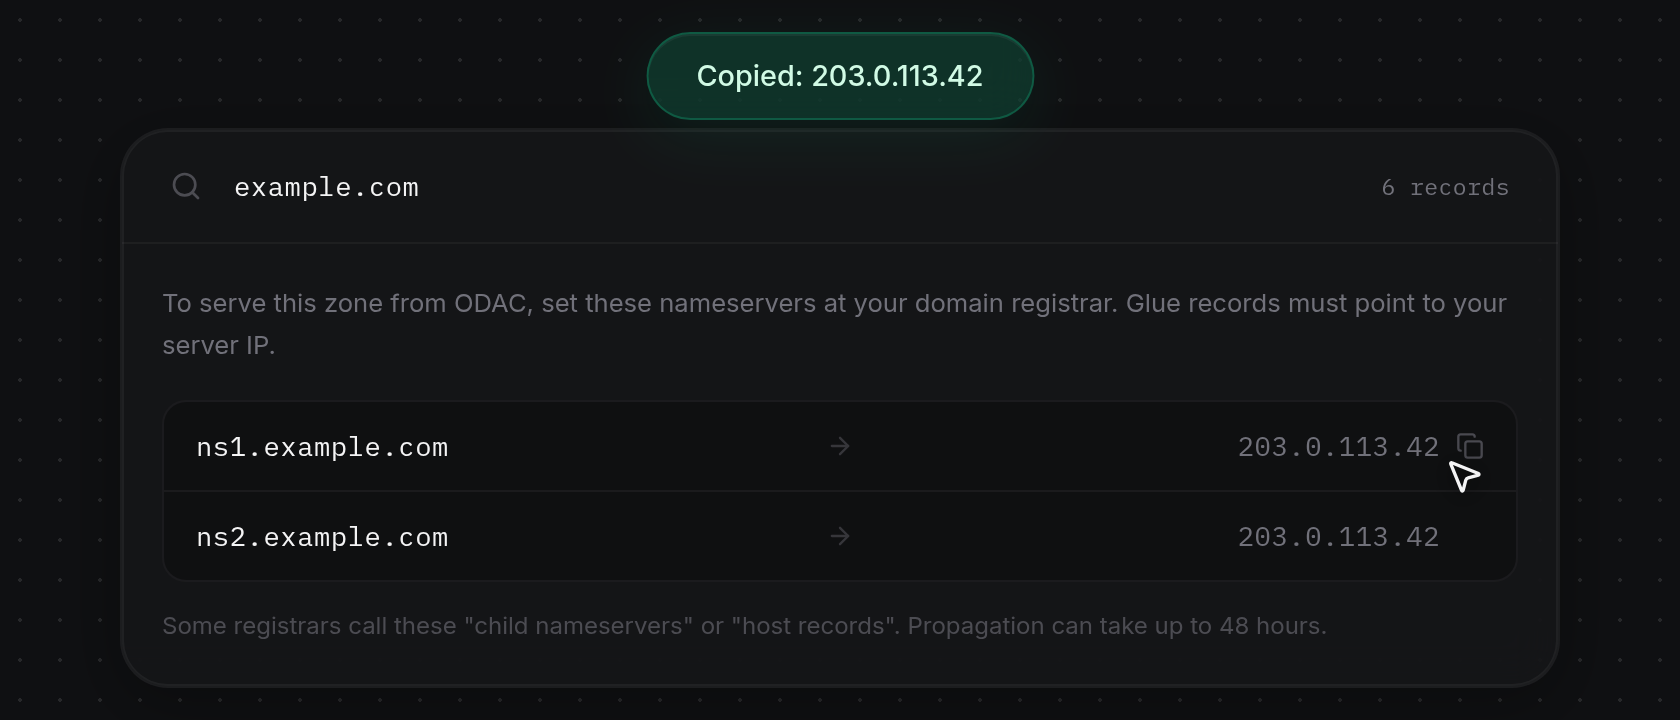
Select a DNS zone and set nameservers
Switch between DNS zones in your active project at app.odac.run and copy the nameserver hostnames and server IP needed to point a domain to ODAC from your registrar.
Open DNS Settings
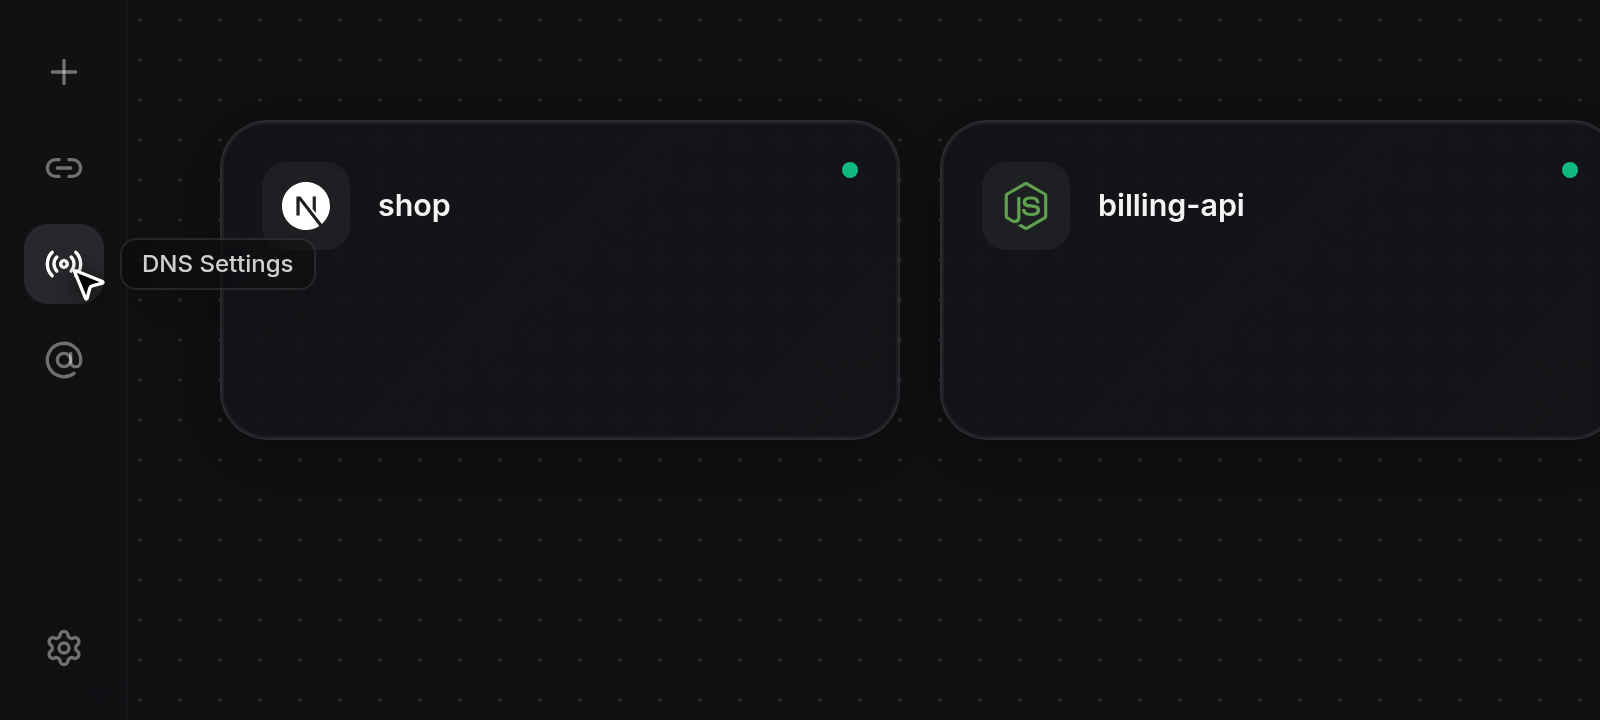
- Click the DNS Settings radio icon in the left sidebar rail on any project page. Hovering over the icon displays the
DNS Settingslabel.
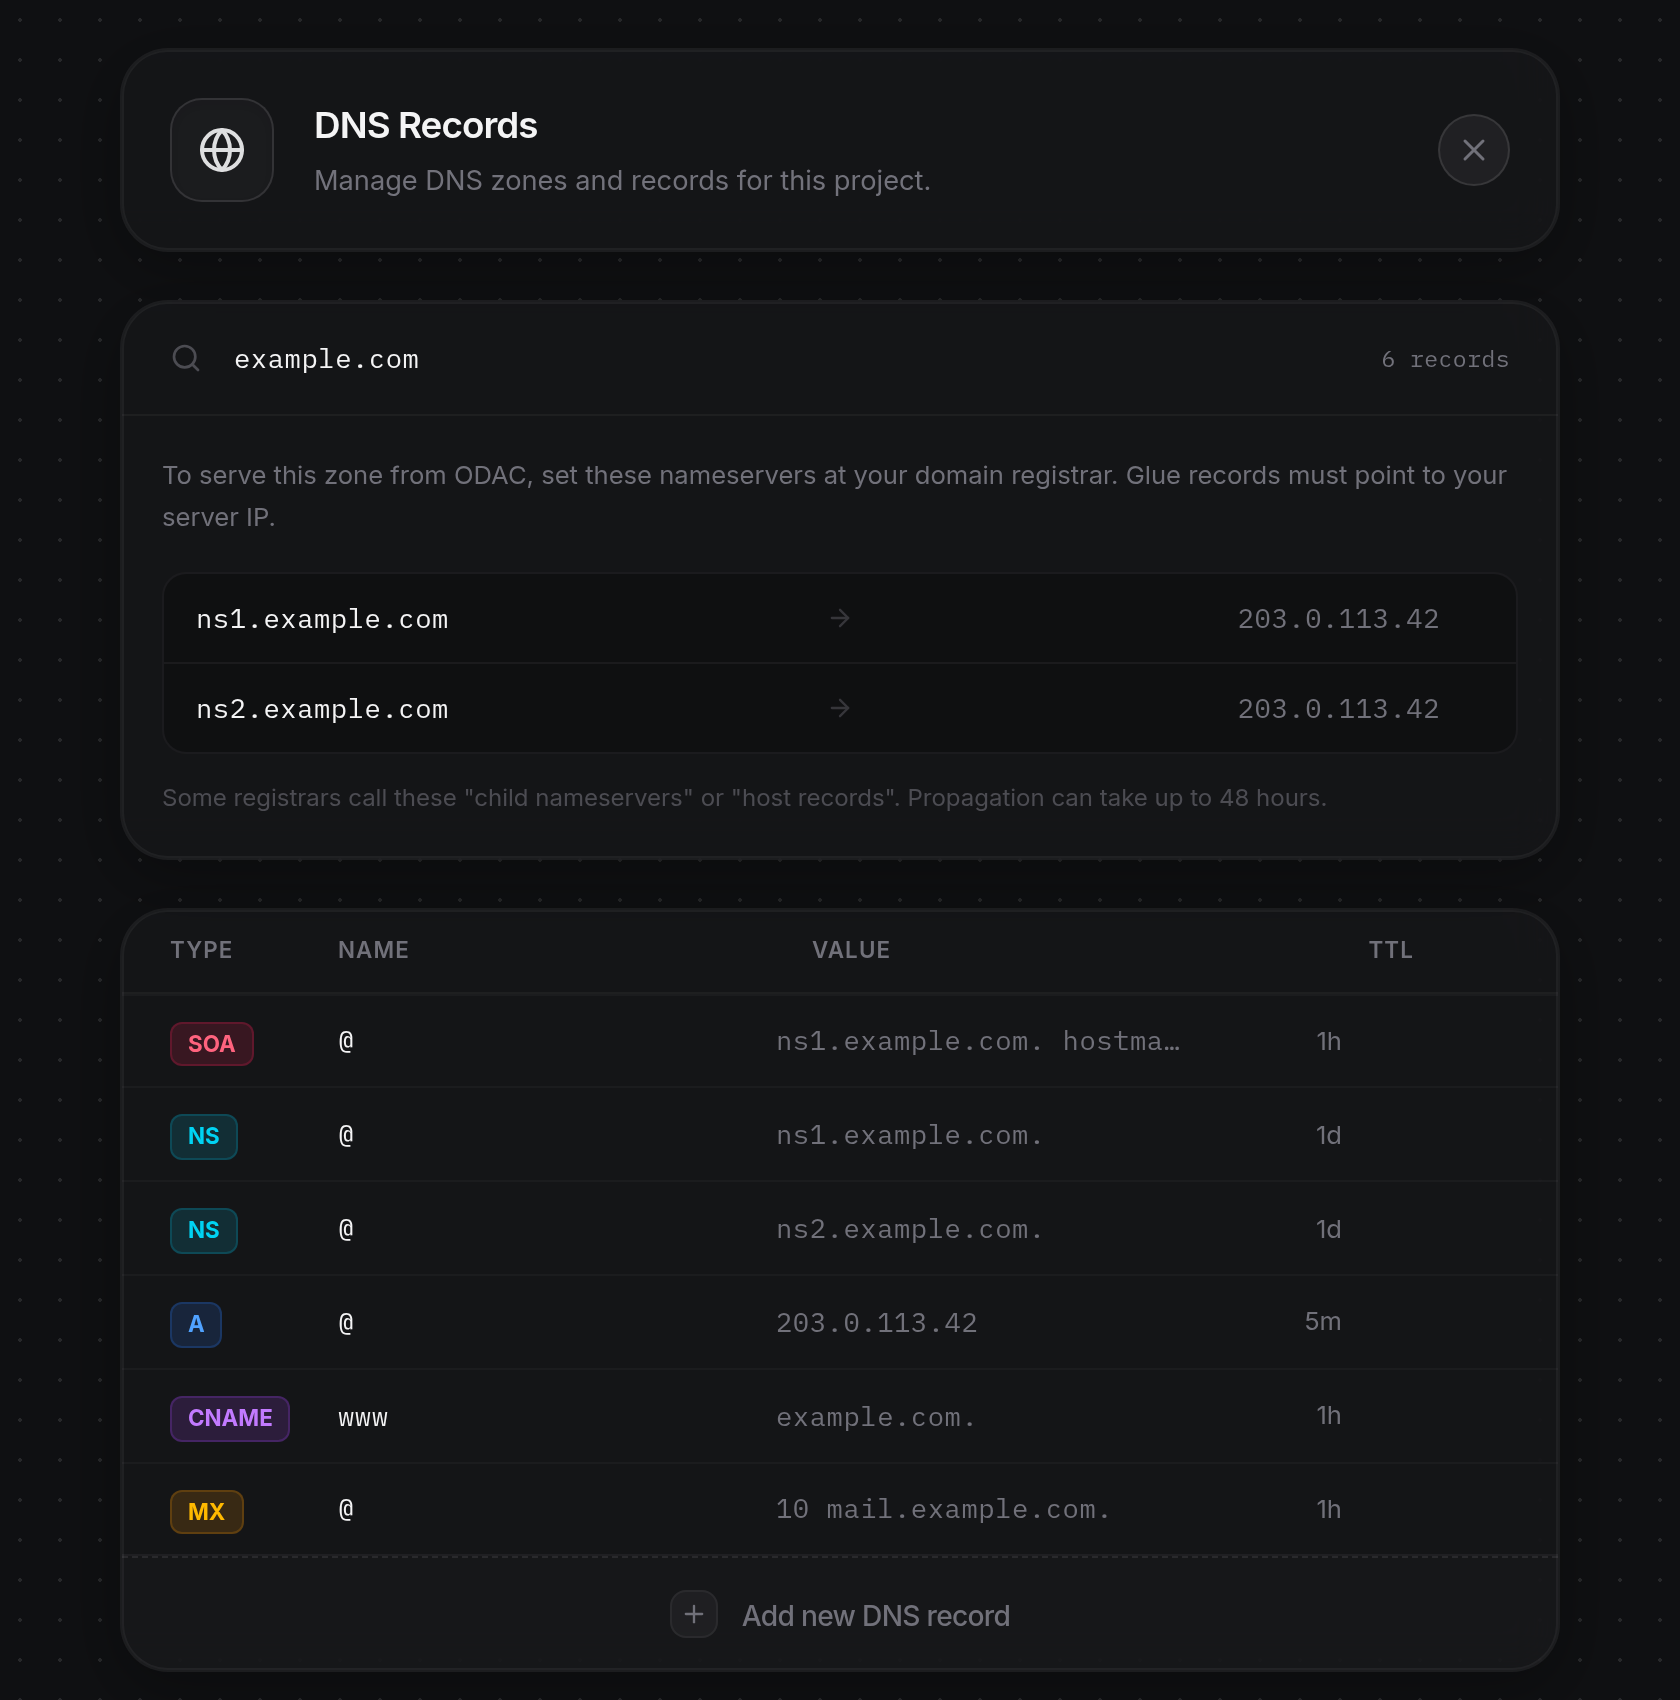
- At the top of the page, the DNS Records header card displays
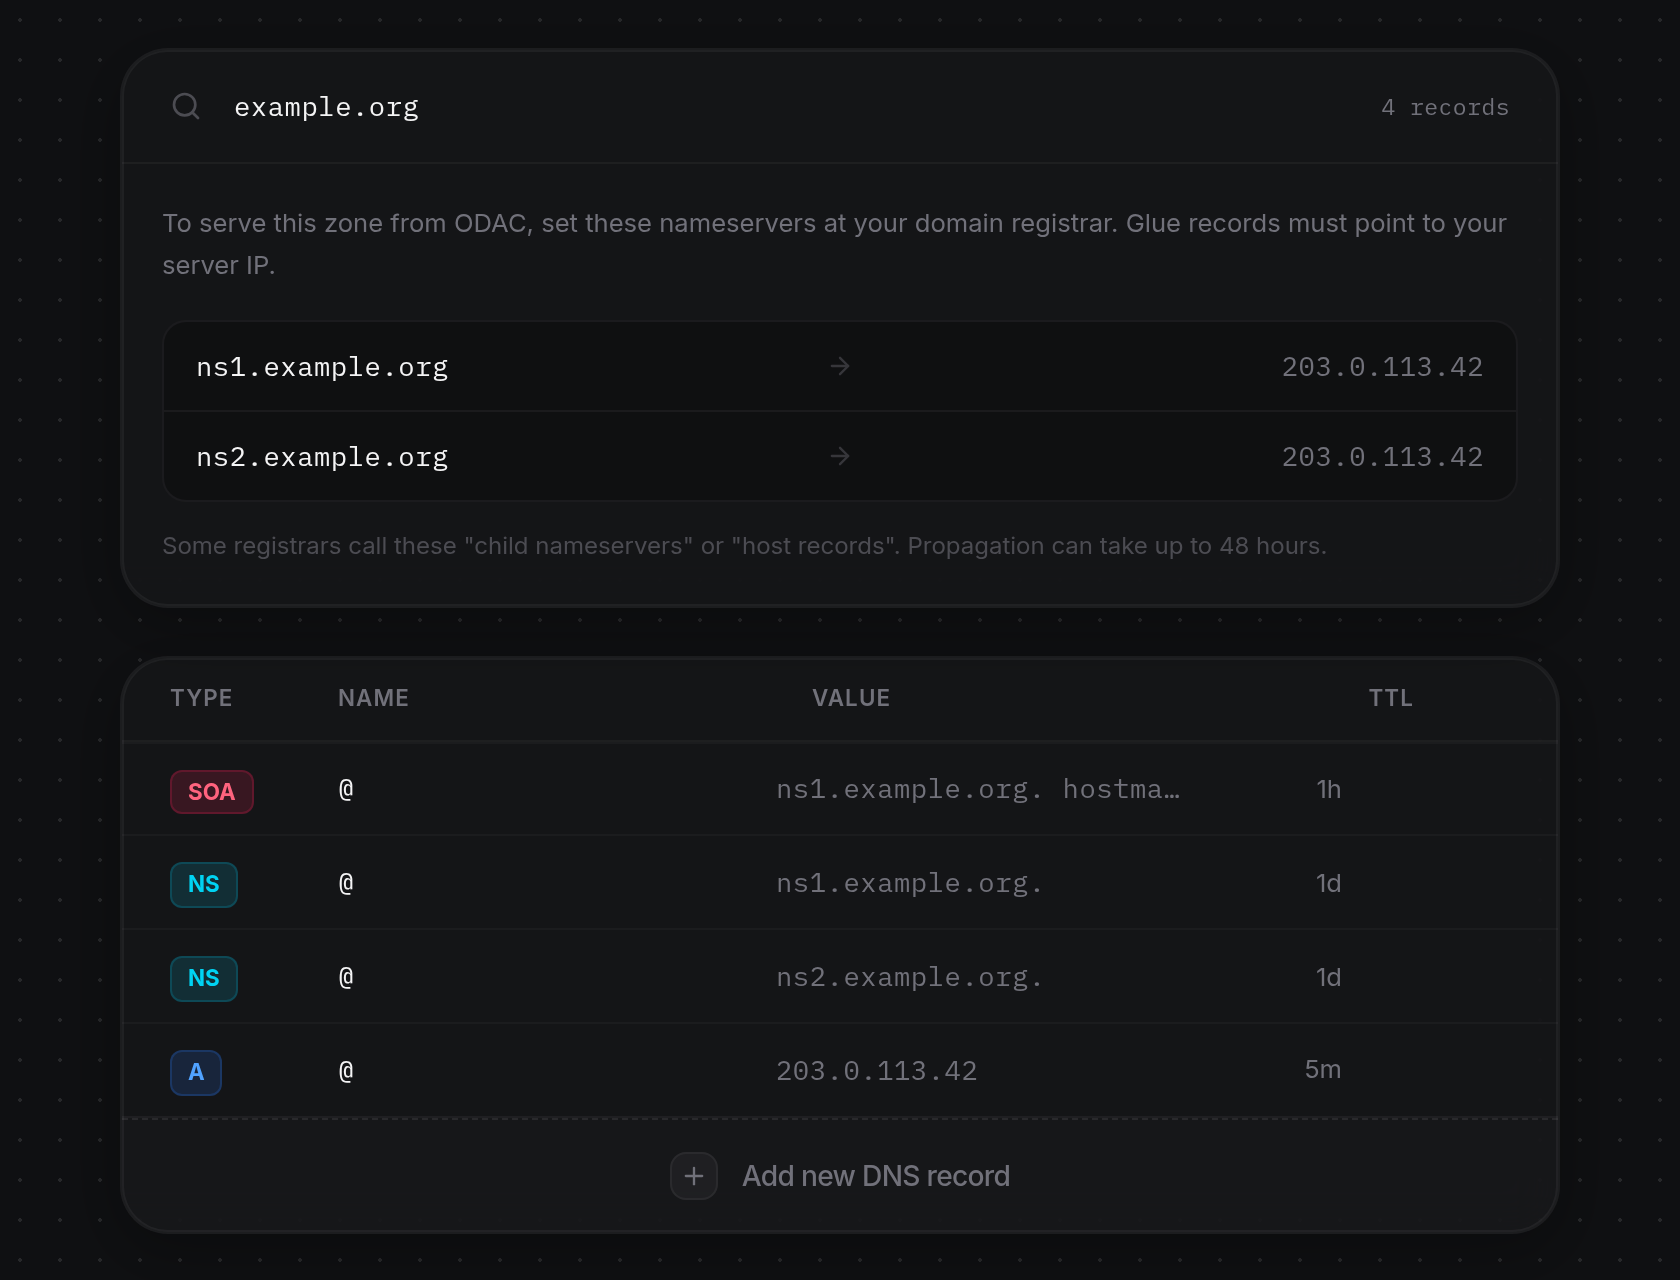
Manage DNS zones and records for this project.with an×button on the right to return to the Canvas. AfterLoading zones...finishes, ODAC automatically selects the first zone in the project and shows the Search domains... bar, the nameserver setup section, and the records table. If no custom domains are attached to apps in the project yet, the page displaysNo DNS zones found in this project.instead (see Attach domains and tunnels to an app).
Switch between DNS zones
- Click the Search domains... bar at the top of the zone card to open the zone dropdown directly beneath it. The list displays every DNS zone in the project with a globe icon beside each domain and highlights the currently active zone. The counter on the right shows how many records belong to the active zone (such as 6 records).
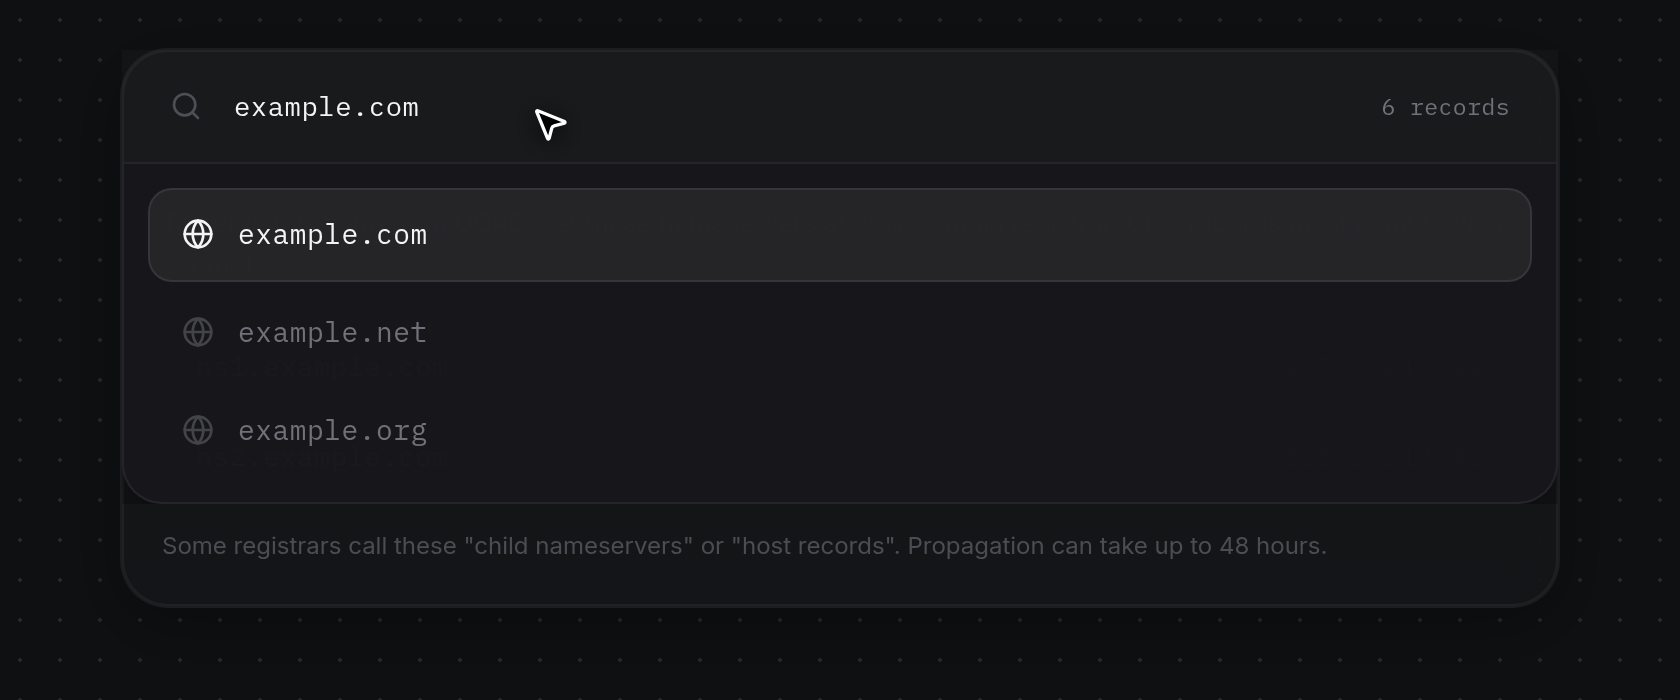
- Type part of a domain name into Search domains... to filter the list as you type. If no zone matches what you typed, the dropdown displays
No matching domains..
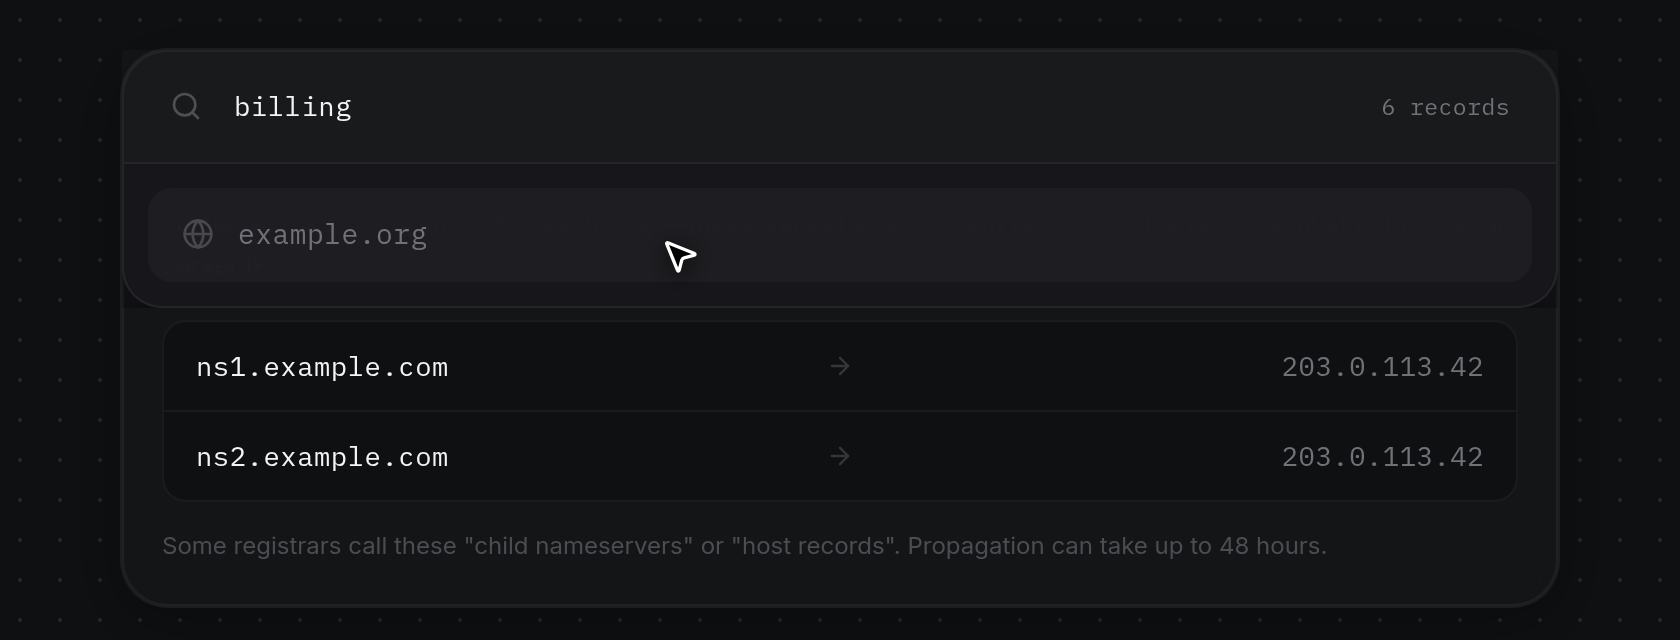
- Click any zone in the dropdown (or press
Enterto select the first match) to load it. To close the dropdown without switching zones, pressEscapeor click outside the search bar; ODAC discards any filter text and restores the active zone name. Selecting a zone closes the dropdown, updates the search bar and record counter, refreshes the nameserver values below, and loads the zone's records card (see Add, edit, and delete DNS records).
Copy nameservers and server IP for your registrar
- Look below the Search domains... bar for the nameserver setup section, which reads
To serve this zone from ODAC, set these nameservers at your domain registrar. Glue records must point to your server IP.Below it, two rows pair the zone'sns1andns2hostnames on the left with your server IP on the right. Hover over a nameserver hostname (such as ns1.example.com) to reveal its copy icon, then click it to copy that hostname to your clipboard and trigger a green Copied: ns1.example.com notification at the top of the screen. If the zone's server does not have a public IP address yet, this nameserver section stays hidden until an IP is available.
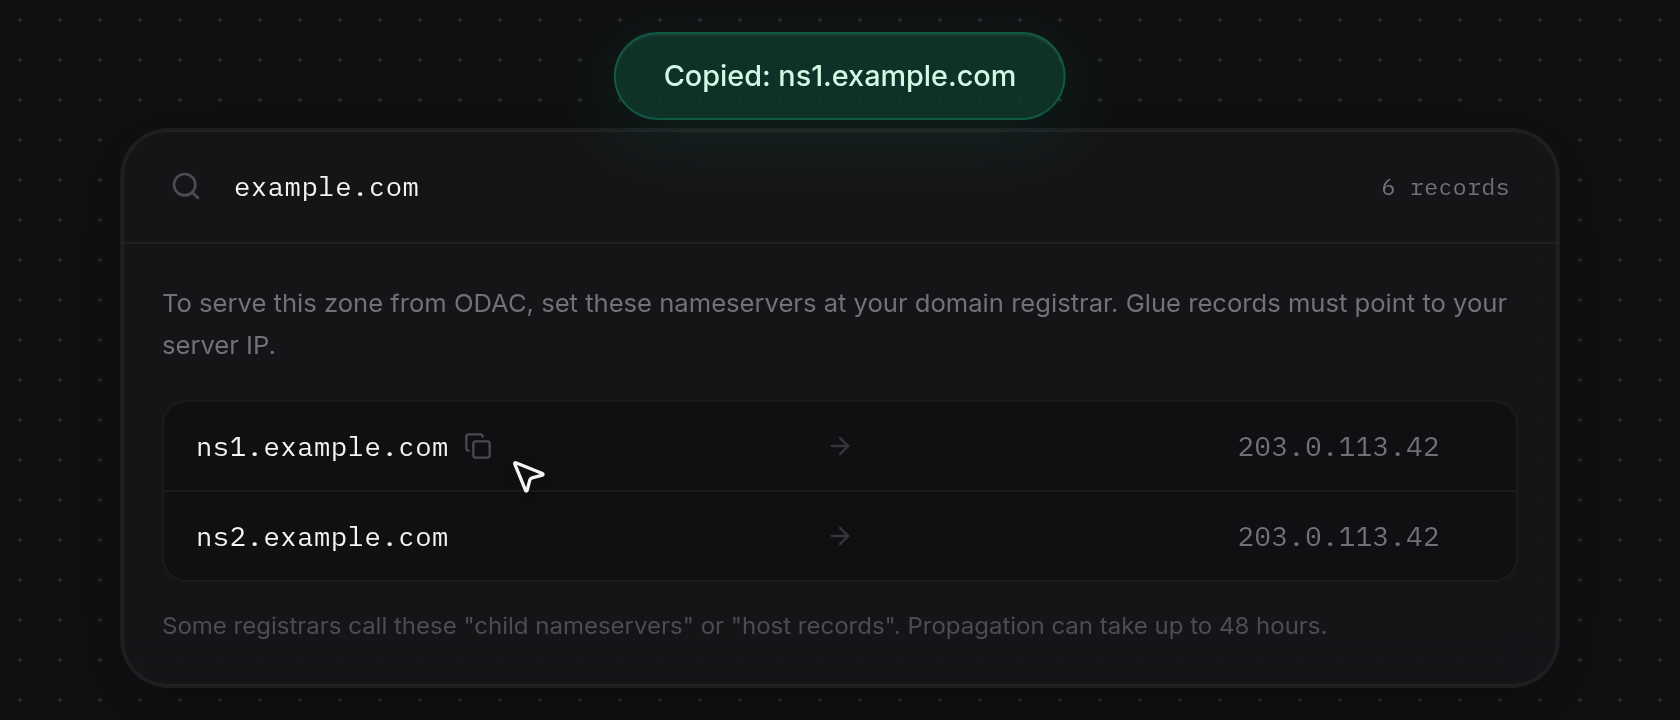
- Hover over the server IP address on the right side of either row to reveal its copy icon, then click it to copy the IP (Copied: 203.0.113.42). At your domain registrar, add child nameservers (also called host records or glue records) for both
ns1andns2pointing to that server IP, and set those two hostnames as the domain's nameservers. As noted below the rows,Some registrars call these "child nameservers" or "host records". Propagation can take up to 48 hours.